Independent Reviews
The verdict from thousands of real buyers.
Noolaguide covers small kitchen appliances by synthesizing verified buyer reviews — not sponsored opinions. Every verdict is grounded in data.
Plant-Based Milk Makers
Buying guides and ranked picks grounded in verified buyer data.
Oat vs Soy in a Milk Maker: Why Heat Ruins One and the Other Needs It
Oat and soy pull a milk maker in opposite directions. Oat needs cold or gentle blending — heat gelatinizes its starch and turns the milk slimy and gluey. Soy needs the opposite: sustained heat to cook off the raw, beany taste and the compounds that make uncooked soy unpleasant and hard to digest. That single divergence decides which machine you should buy: a heated 'soy' cycle wrecks oat milk, and a cold-only machine makes poor soy milk. Here is what each one needs, and how to pick a maker for what you actually drink.
Read →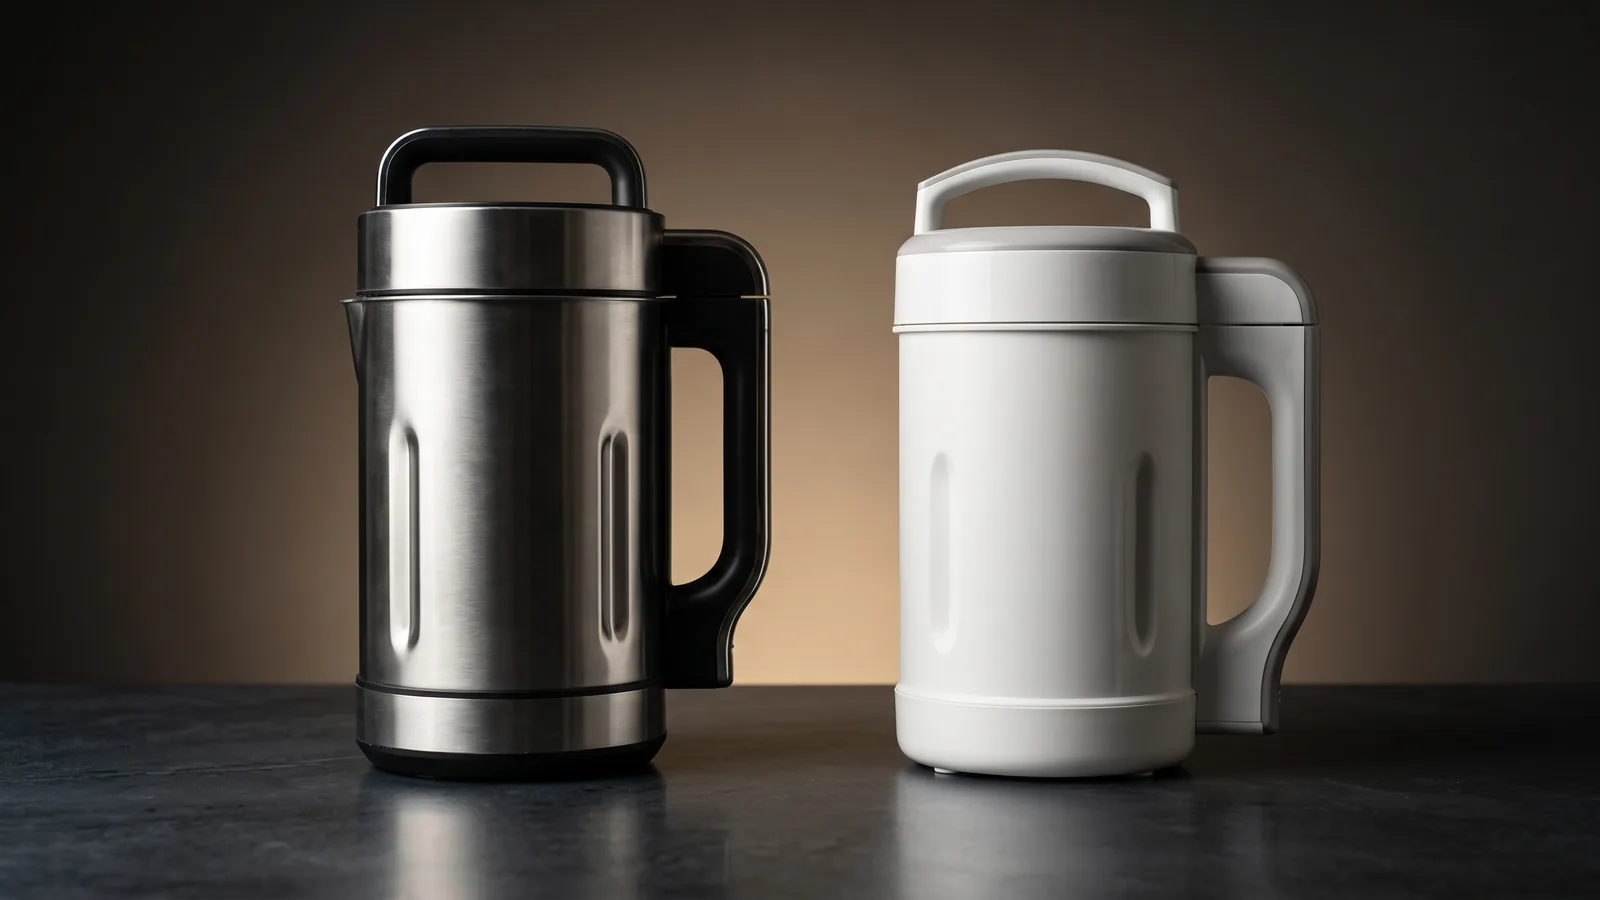
Premium vs Budget Plant-Based Milk Maker: What You Actually Pay More For
A budget nut milk maker makes cold almond and oat milk just fine. What the money buys is heating (for soy and warm grain milks), stainless steel food-contact surfaces instead of plastic, strain-free operation, and easier cleaning. Here is exactly where the price goes — and why the right pick depends on which milks you make.
Read →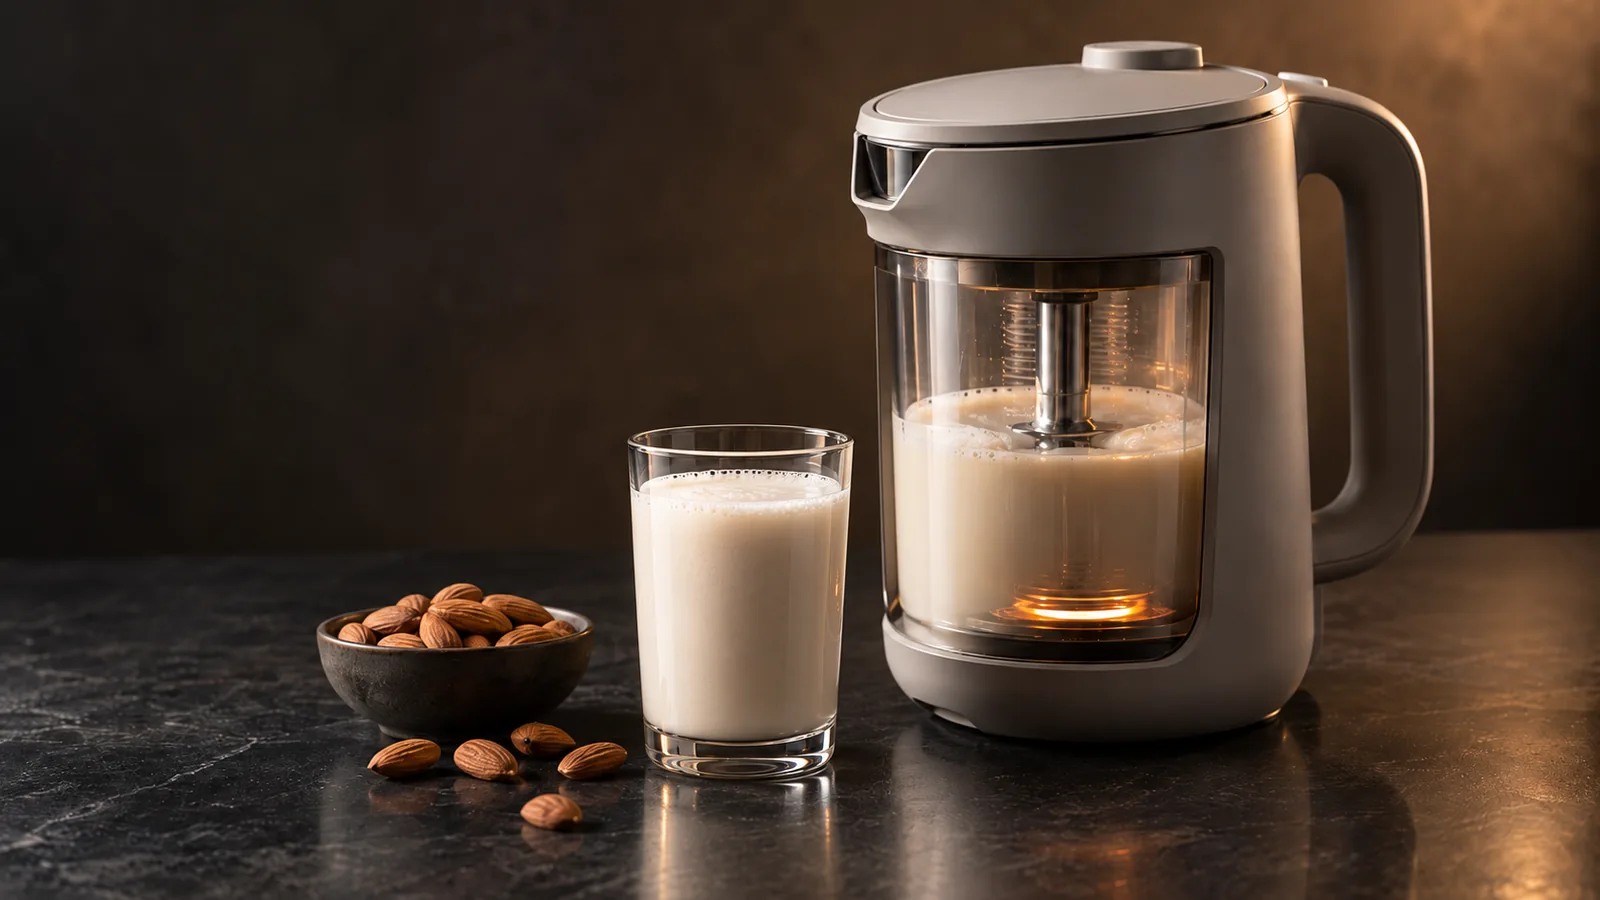
How Plant-Based Milk Makers Work: Heated vs Cold-Extraction
Heated machines extract more solids and suit soy milk. Cold-extraction designs taste fresher and avoid the plastic-smell problem. Understanding which is which determines whether the machine works for your use.
Read →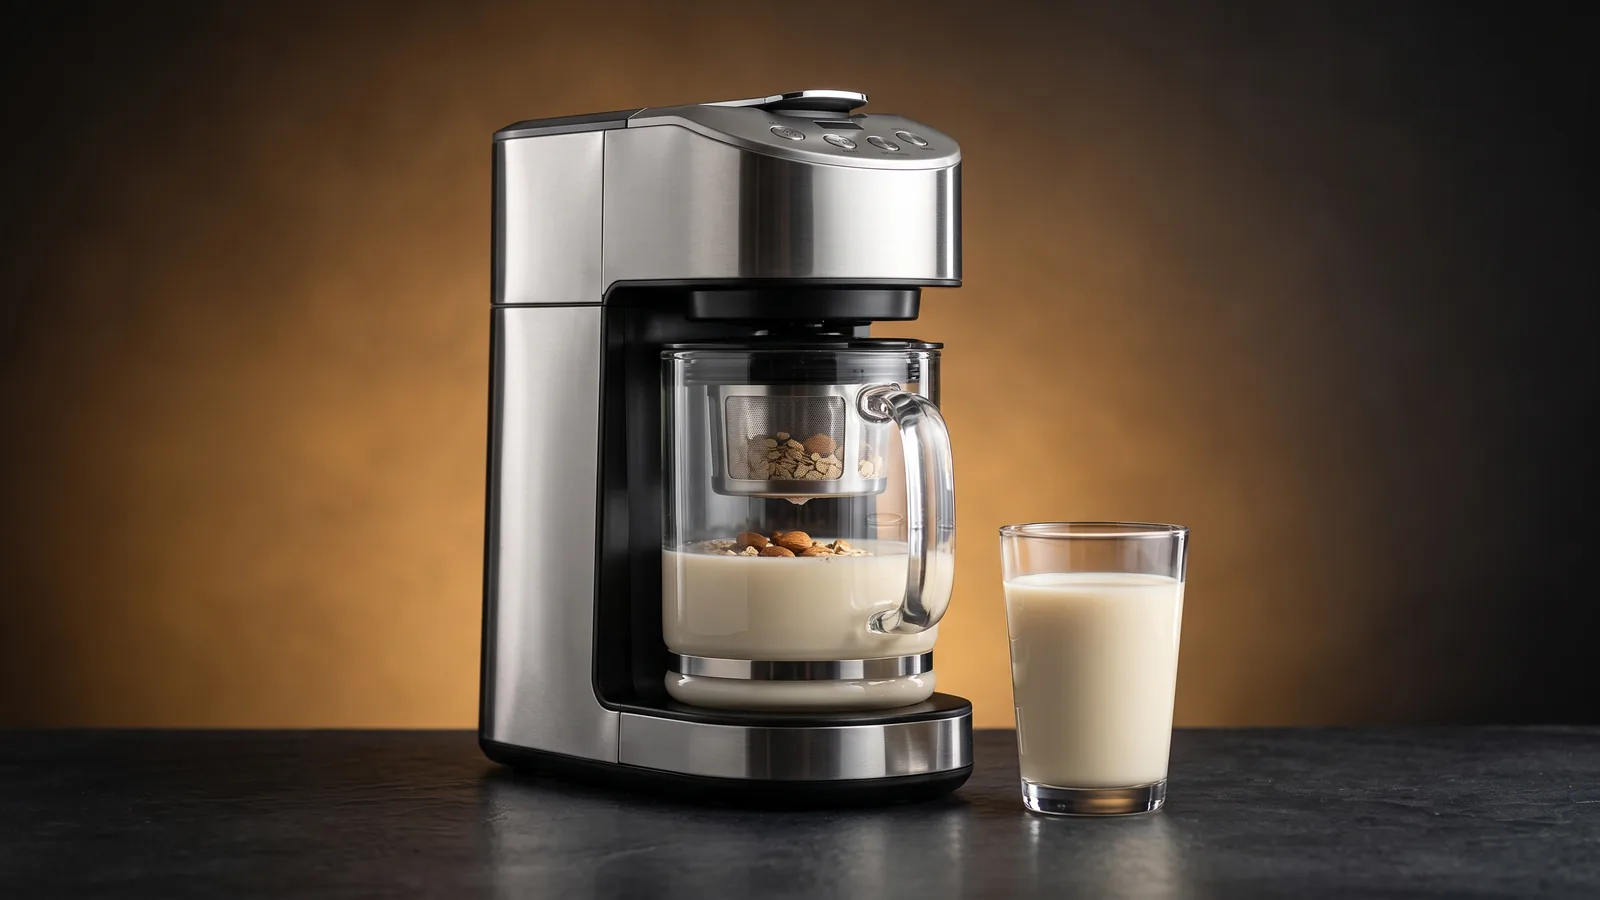
How to Choose a Plant-Based Milk Maker
Most buyers focus on wattage and preset count. Verified-buyer reviews show neither predicts satisfaction — filter quality and interior material do.
Read →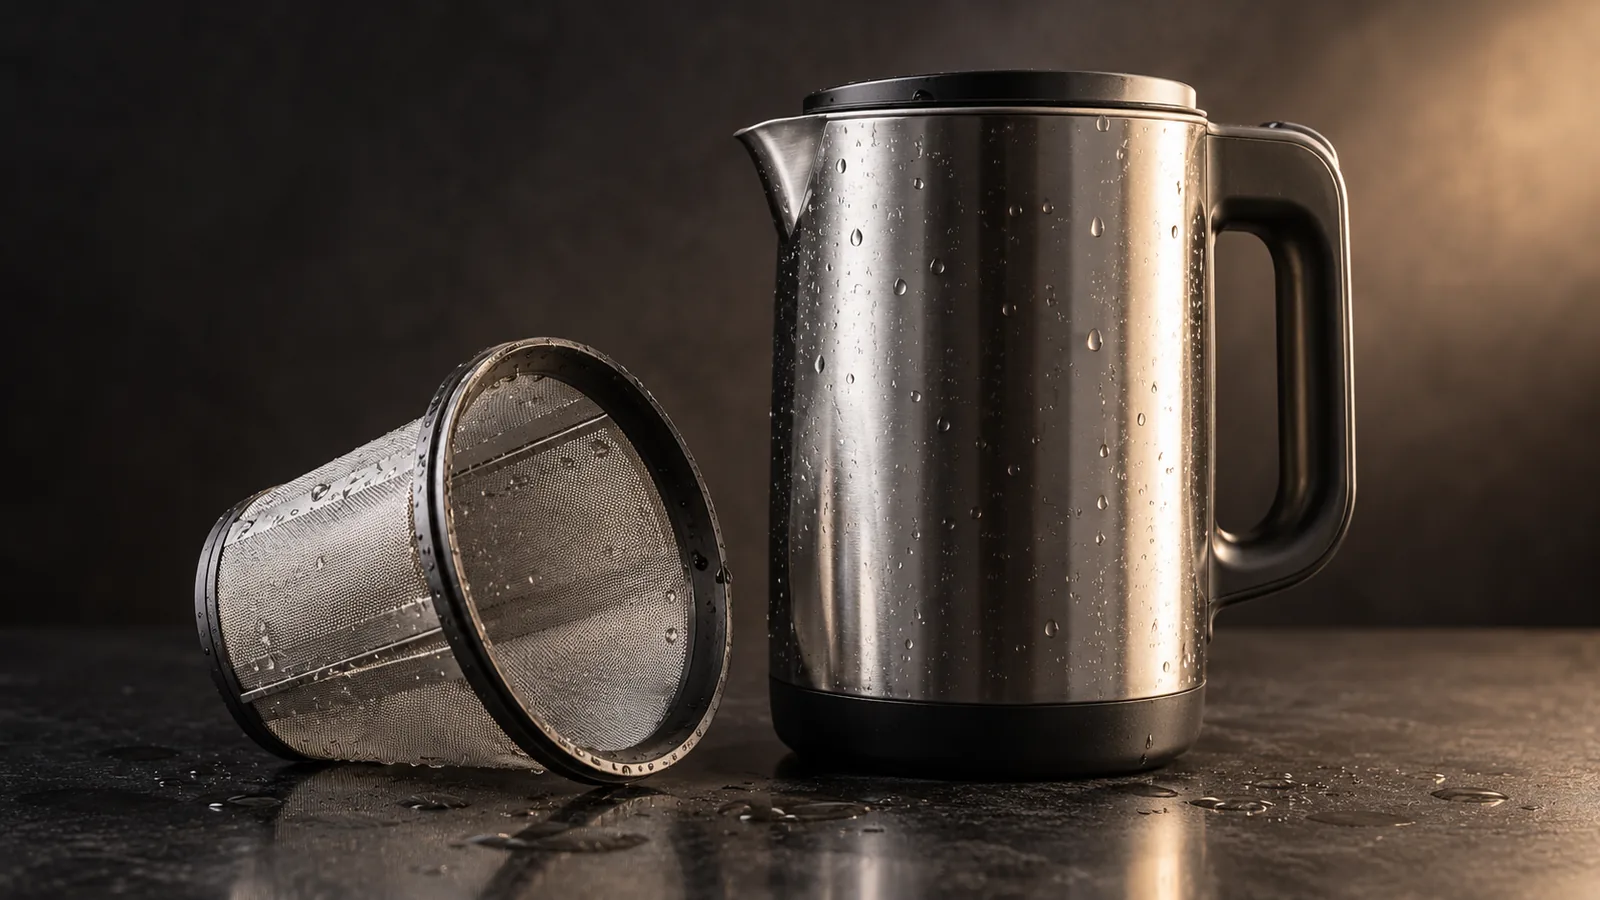
How to Clean a Nut Milk Maker (and What Causes the Plastic Smell)
The self-cleaning cycle handles surface residue. It does not remove embedded nut oil, the primary cause of off-taste after a few weeks of daily use.
Read →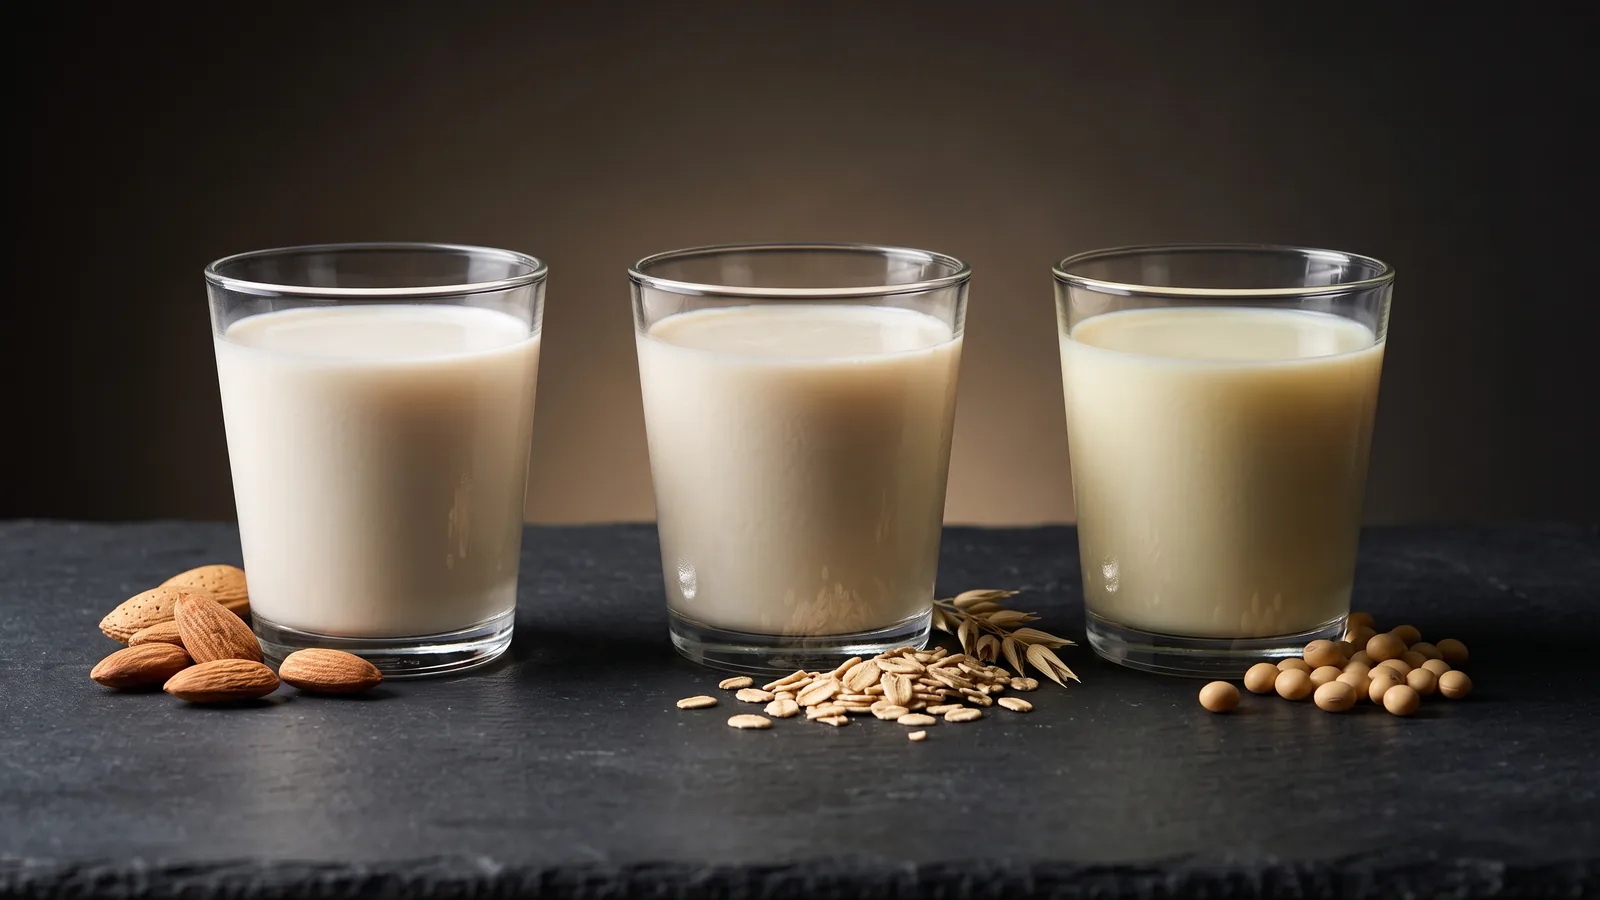
Nut Milk Maker Recipes: Every Milk Type, Ratios, and What Actually Works
Almond, oat, soy, cashew, hemp, and macadamia milk each has a different ratio, soak time, and — critically — temperature requirement. Oat milk must be made cold. Soy milk must use heat.
Read →Yogurt Makers
Buying guides and ranked picks grounded in verified buyer data.
24-Hour SCD Yogurt: Why the Long Ferment Needs the Right Machine
The Specific Carbohydrate Diet calls for yogurt fermented a full 24 hours — roughly two to four times longer than ordinary yogurt — so the cultures have time to consume nearly all of the lactose. That long, low, unbroken hold is exactly where most basic yogurt makers fail: a fixed-wattage warmer with no thermostat tends to drift or creep hot over a full day, and a batch that overshoots or stalls at hour 18 is a wasted 24 hours. Here is what the 24-hour ferment actually requires of a machine, and how to tell whether yours can do it.
Read →Curd Maker vs Yogurt Maker: Are They the Same Machine?
In Indian and South Asian English, a 'curd maker' and a 'yogurt maker' are the same machine — curd here means dahi, the set, cultured yogurt you make with a spoon of existing curd as starter, not the cheese-making curds that come from curdling milk. So any yogurt maker makes curd, and what to look for is identical: a machine that holds a steady warm temperature long enough to set the batch. Here is why the two names mean one appliance, how to set curd in one, and what actually matters when buying.
Read →Is Your Yogurt Maker Too Hot? How to Test for Temperature Drift
Most 'failed' yogurt is a temperature problem, not a technique problem — and owners tend to blame themselves before they check the machine. A yogurt maker only has to hold about 110°F, but many hold it poorly, especially as they age or when the kitchen is cold. Here is how to test your machine's real temperature with a kitchen thermometer, what the two failure patterns look like in the jar, and when drift means it is time to return or replace the unit.
Read →Why Does My Yogurt Maker Smell Like Hot Plastic? What's Normal and What Isn't
A faint warm-plastic smell on a new yogurt maker's first few runs is one of the most common things owners report — it's the ordinary off-gassing of warmed plastic and manufacturing residue on the first heat cycles, and it usually fades. What matters is telling that harmless break-in smell apart from the ones that mean stop and return: a burning, acrid, or electrical smell, smoke, or a plastic taste that transfers into the yogurt itself. Here is how to tell them apart, how to break a new machine in, and when the smell is a reason to send it back.
Read →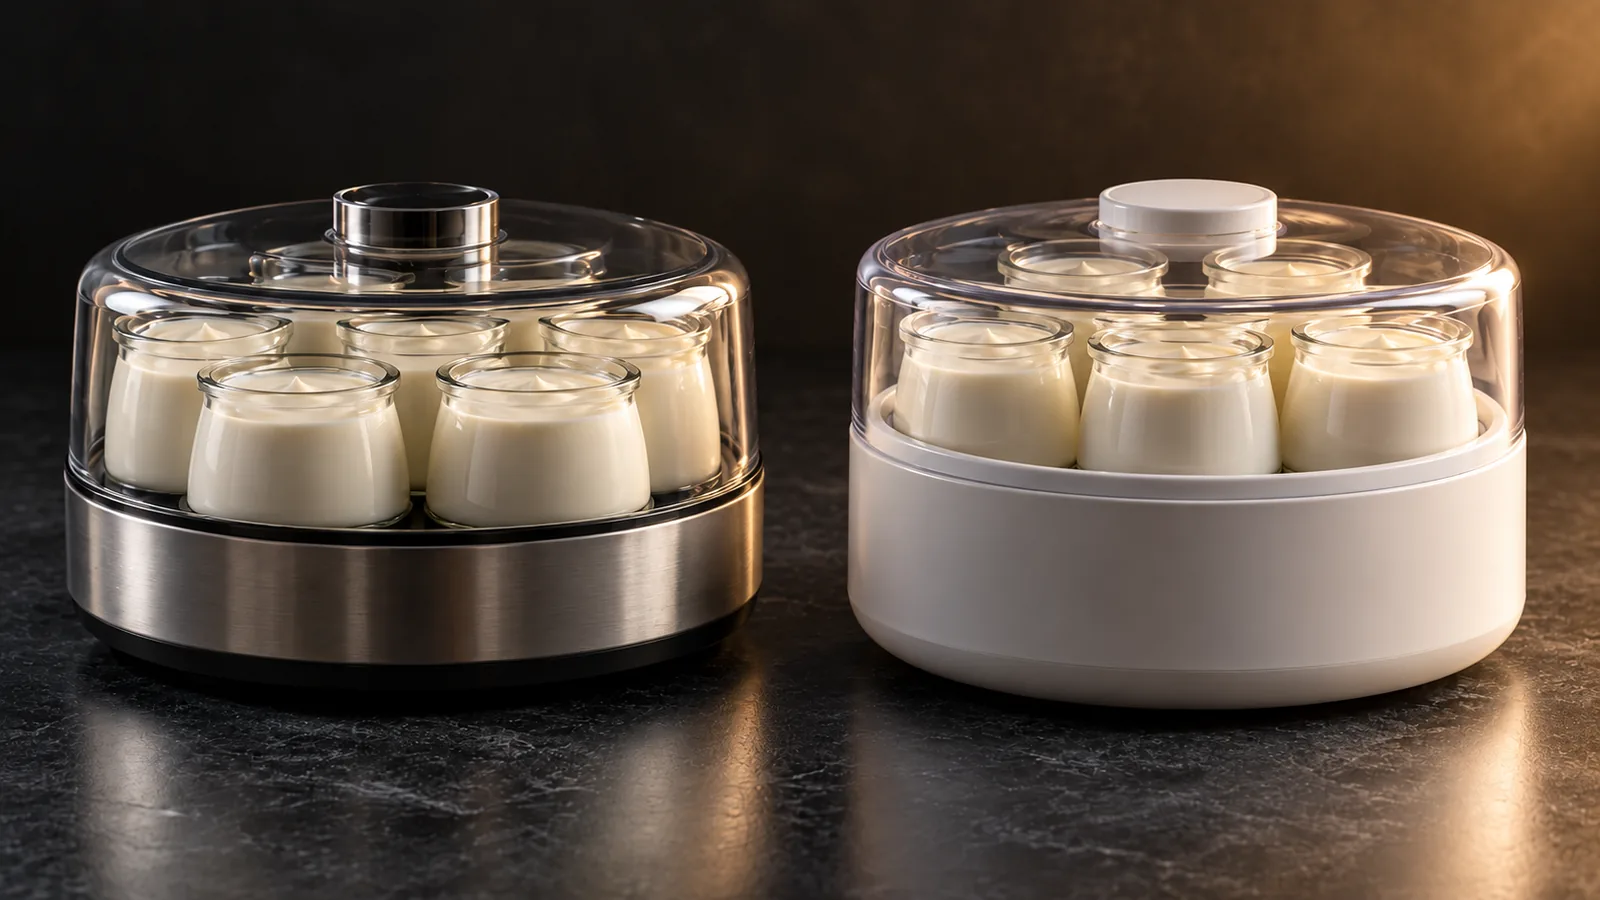
Premium vs Budget Yogurt Maker: What You Actually Pay More For
A yogurt maker has one job — hold ~110°F steadily — and a $30 model does it well enough for everyday dairy yogurt. What the money buys is adjustable, precise temperature control for long or specialty ferments (SCD, plant-based), even heating across the batch, and a single-container format for easy Greek straining. Here is when the budget one is all you need, and when it isn't.
Read →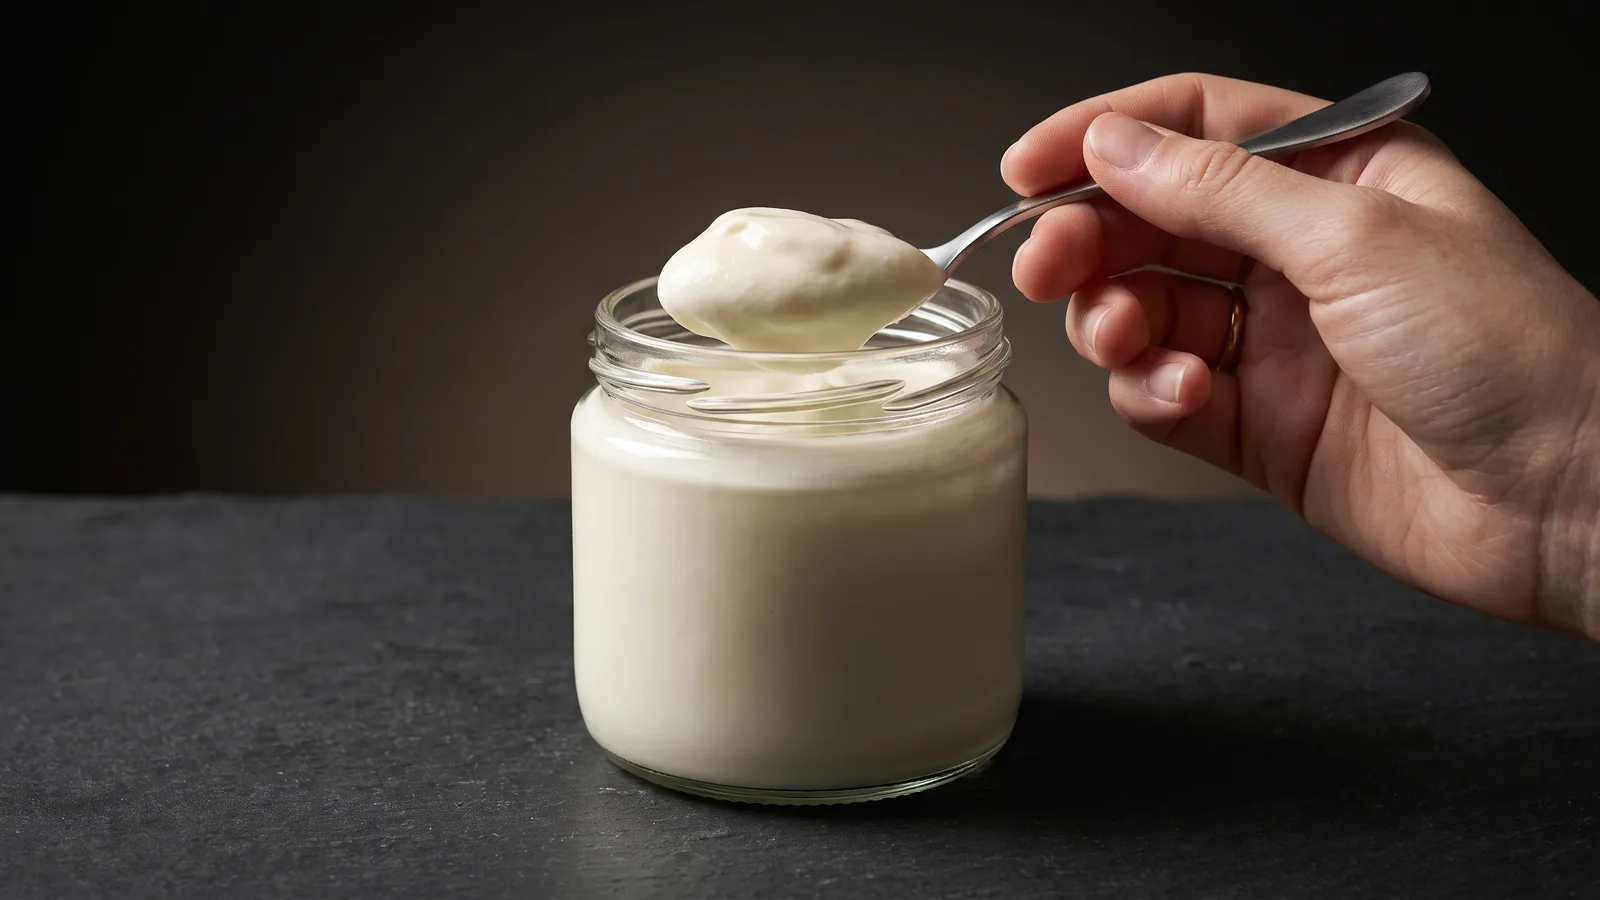
How to Make Yogurt at Home: The Method, the Temperatures, and Why It Fails
Making yogurt at home is four steps: heat the milk to about 180°F, cool it to 110°F, stir in a spoonful of live-culture yogurt, and hold it at 110°F for 6 to 12 hours. Temperature is the whole game — too hot kills the culture, too cool stalls it. A yogurt maker's only real job is holding that 110°F steadily so the set is reliable.
Read →Electric Kettles
Buying guides and ranked picks grounded in verified buyer data.
Premium vs Budget Electric Kettle: What You Actually Pay More For
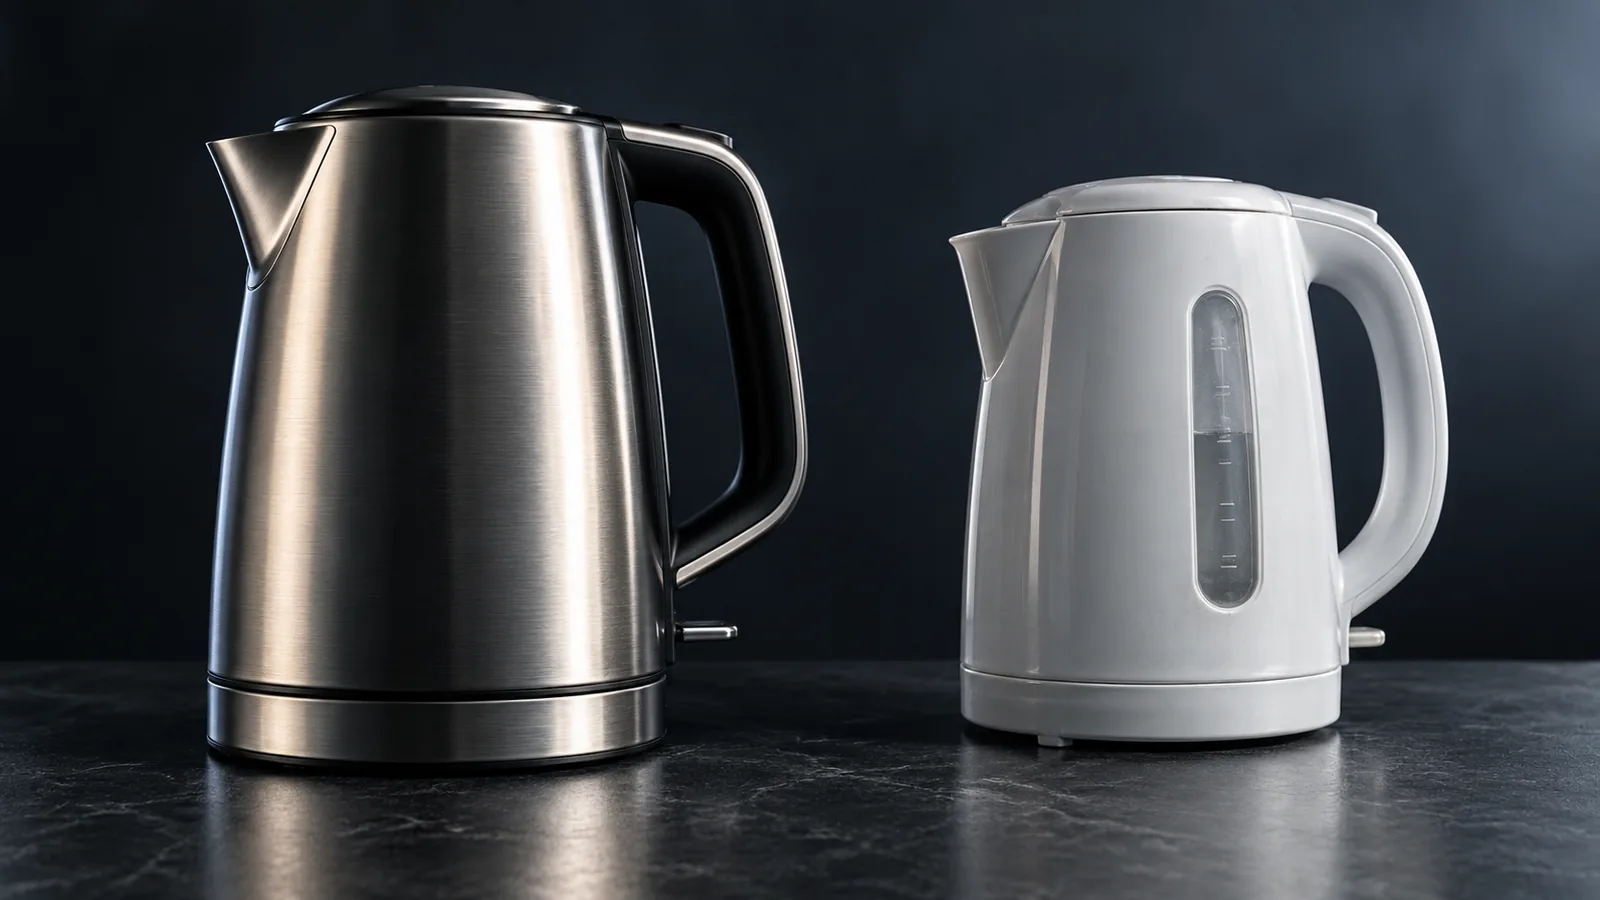
A $20 kettle and a $120 kettle both boil water. What the extra money buys is a stainless interior instead of plastic, real temperature control, a quieter and more durable build, and a gooseneck spout for pour-over — not faster boiling. Here is exactly where the price goes, and when the cheap one is the smarter buy.
Read →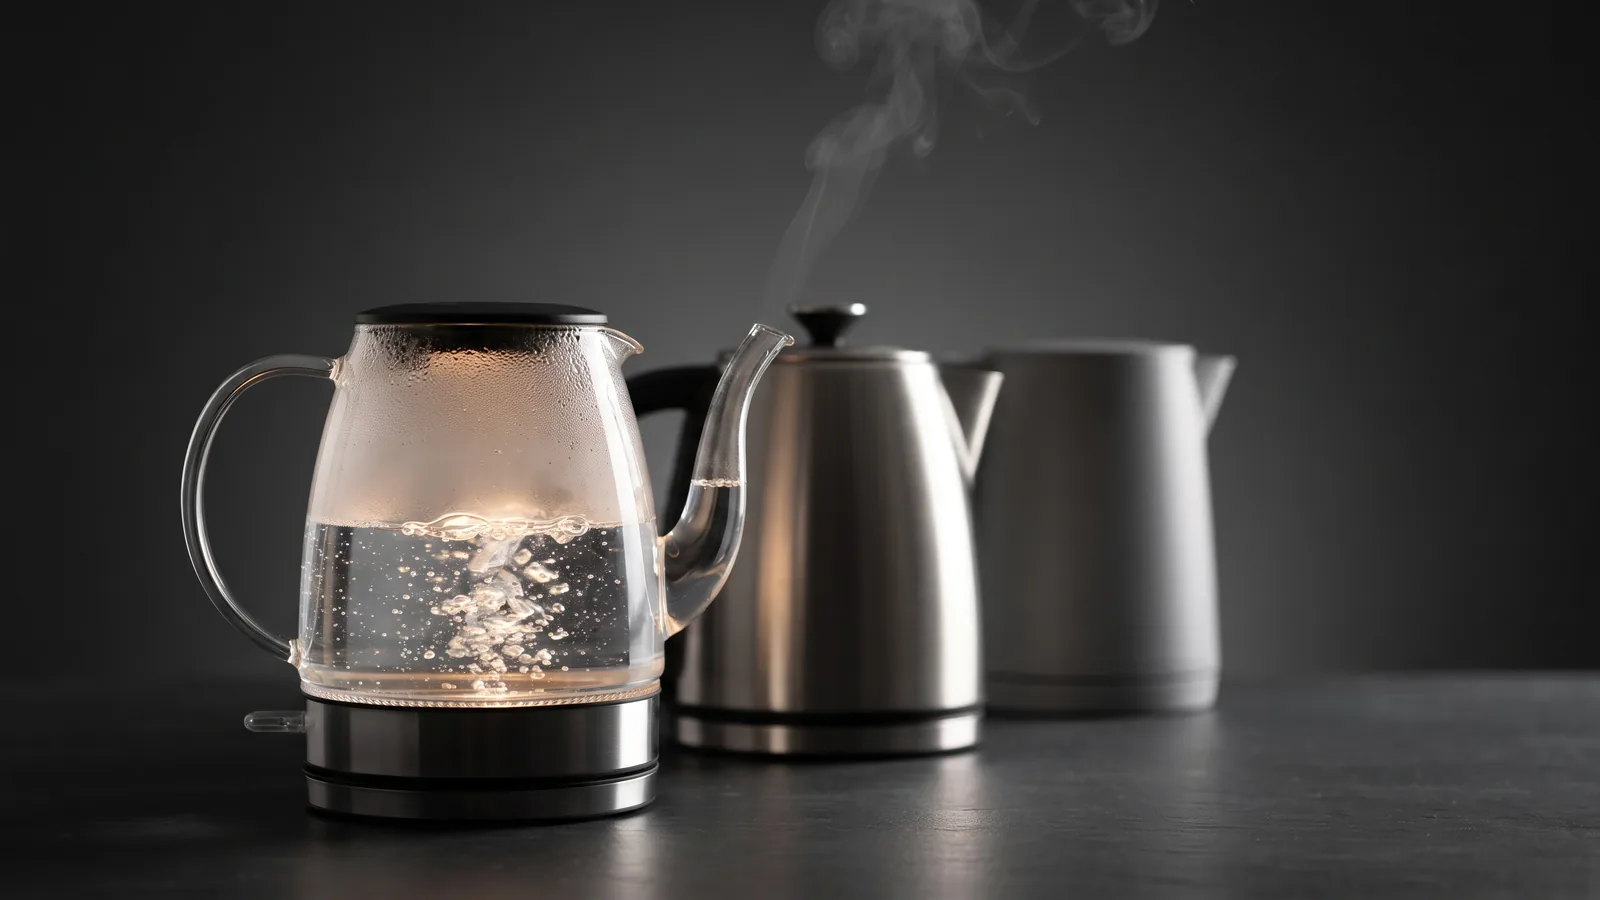
Electric Kettle Materials: Glass, Steel or Plastic? (2026)
Stainless steel is the most durable and taste-neutral material for a kettle. Glass lets you see inside but breaks and is heavier. Plastic is the cheapest and the most common source of off-taste complaints — the interior material matters more than the exterior.
Read →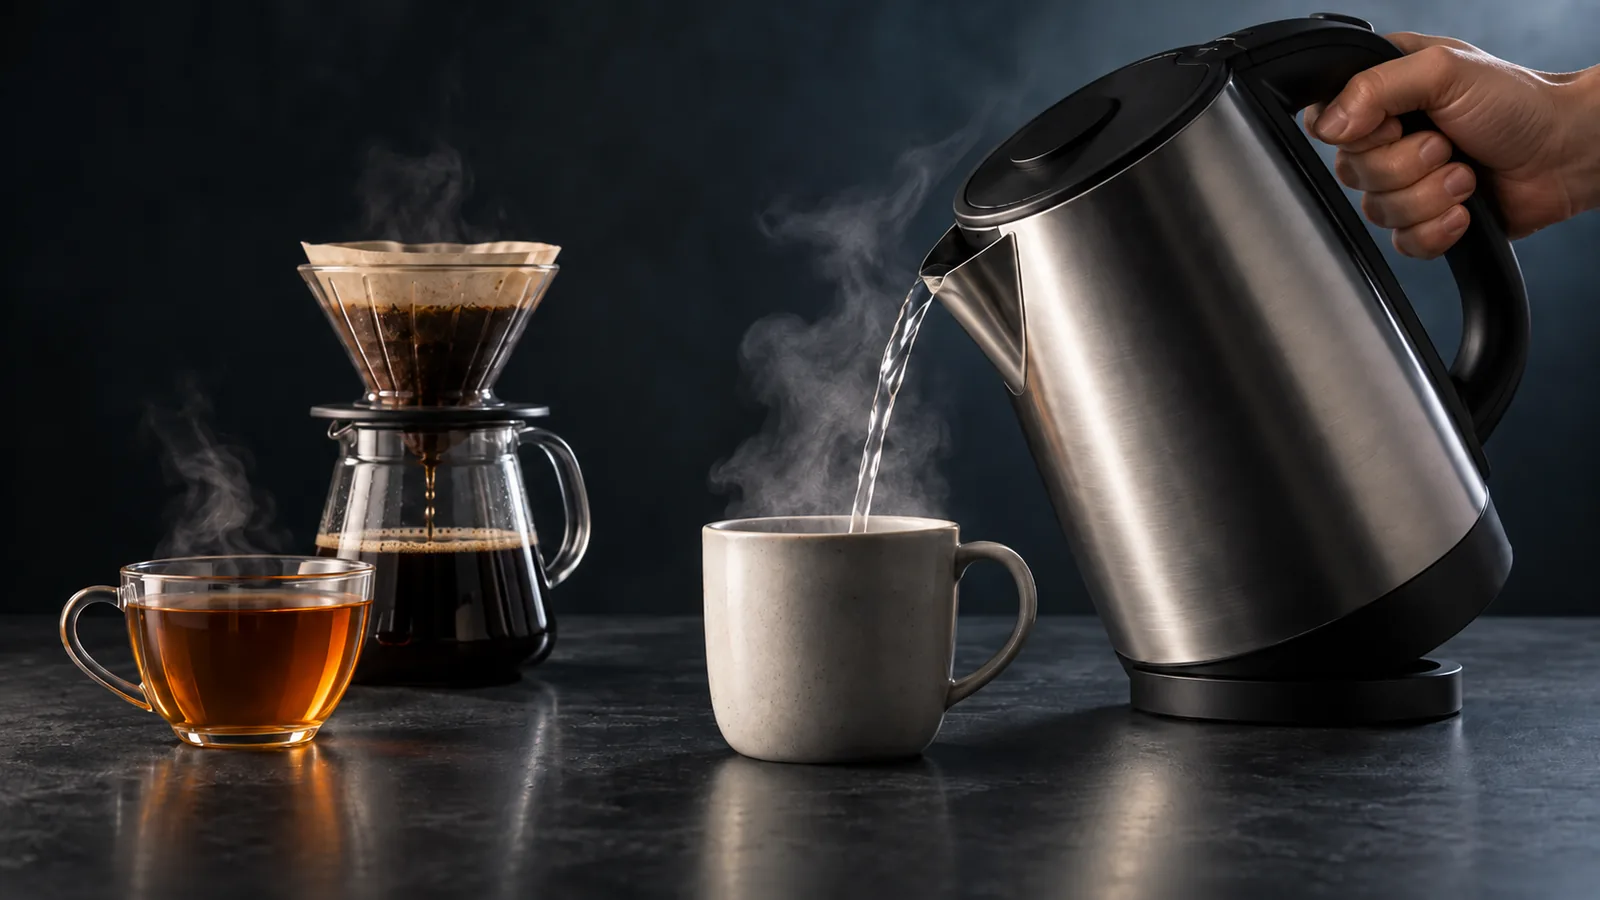
Electric Kettle Temperature Guide: The Right Heat for Tea, Coffee, and Baby Formula
Water temperature is the single most controllable variable in tea and coffee brewing. Boiling water ruins green tea and flattens pour-over coffee. The right temperature for each drink is specific, repeatable, and easy to hit with a variable-temperature kettle.
Read →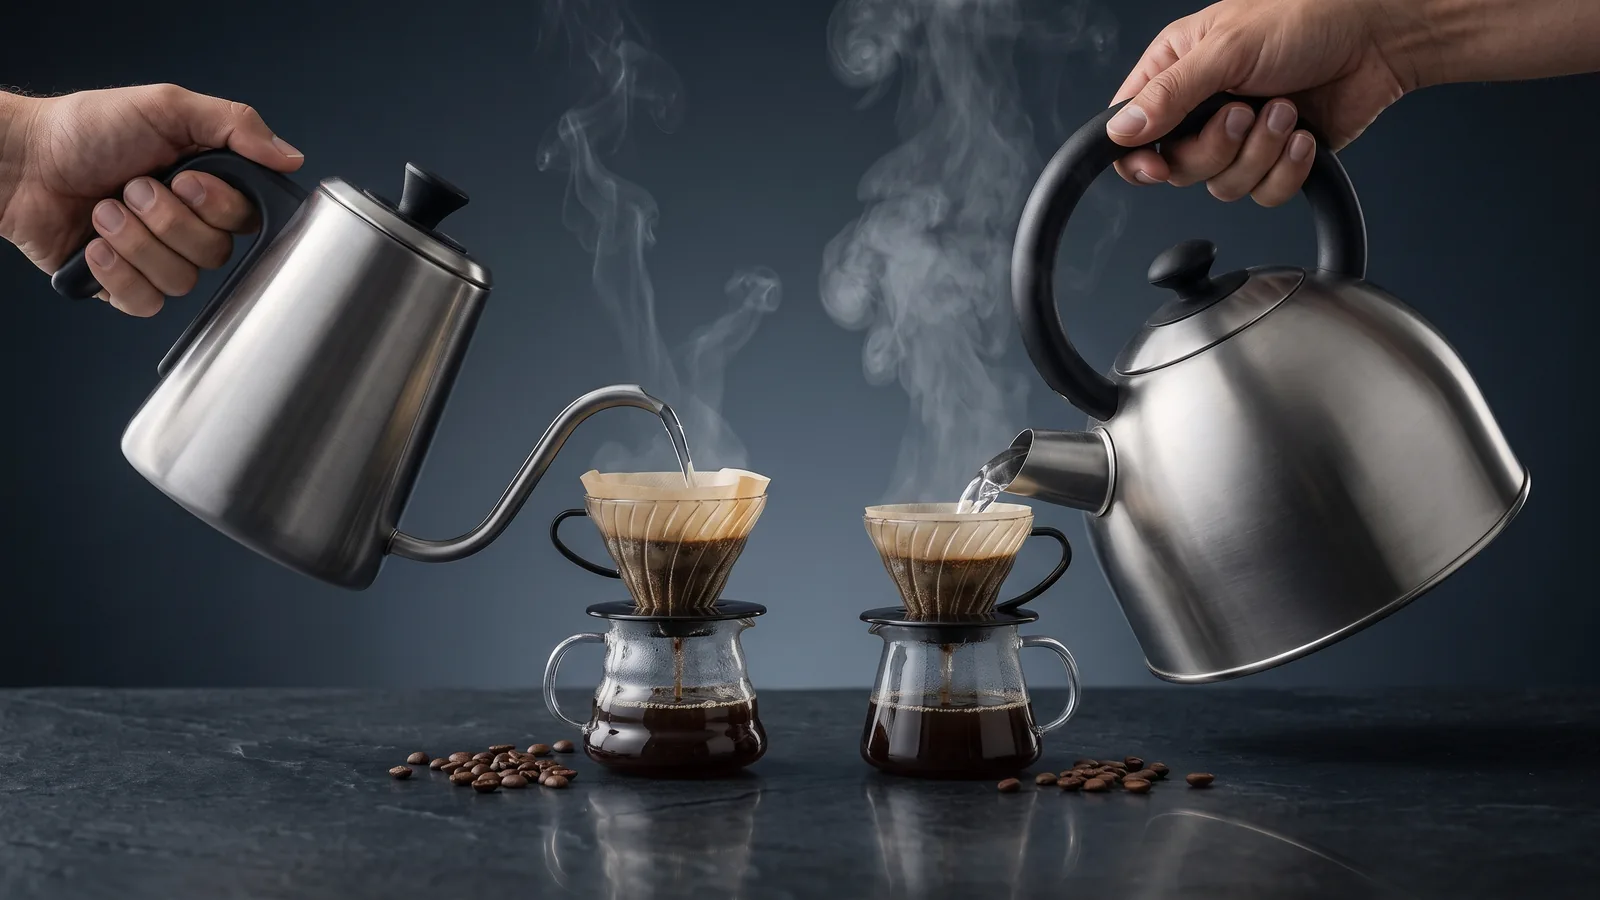
Gooseneck vs Standard Kettle Spout: Which Do You Actually Need
A gooseneck spout controls the pour rate. A standard spout maximizes flow speed. Which one matters depends entirely on whether your use requires a controlled, precise pour — and for most buyers, it doesn't.
Read →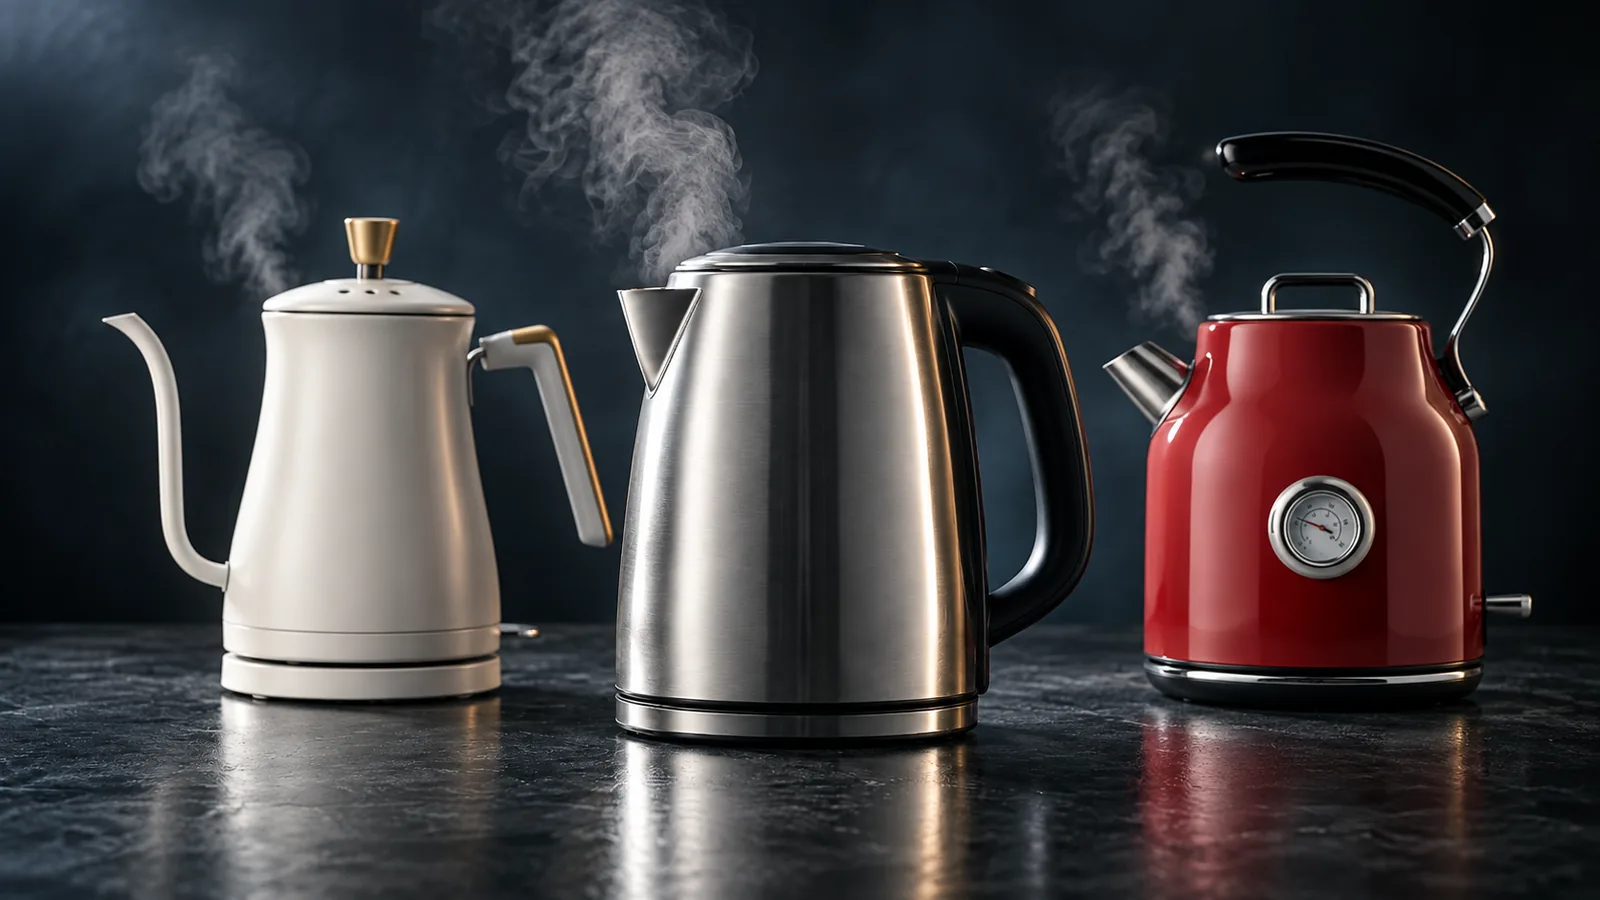
How to Choose an Electric Kettle: Temperature, Spout, and Size
Temperature control and spout type determine whether an electric kettle fits the way you actually use it. Everything else — wattage, display, keep-warm duration — is secondary. Get those two right and the rest of the decision is straightforward.
Read →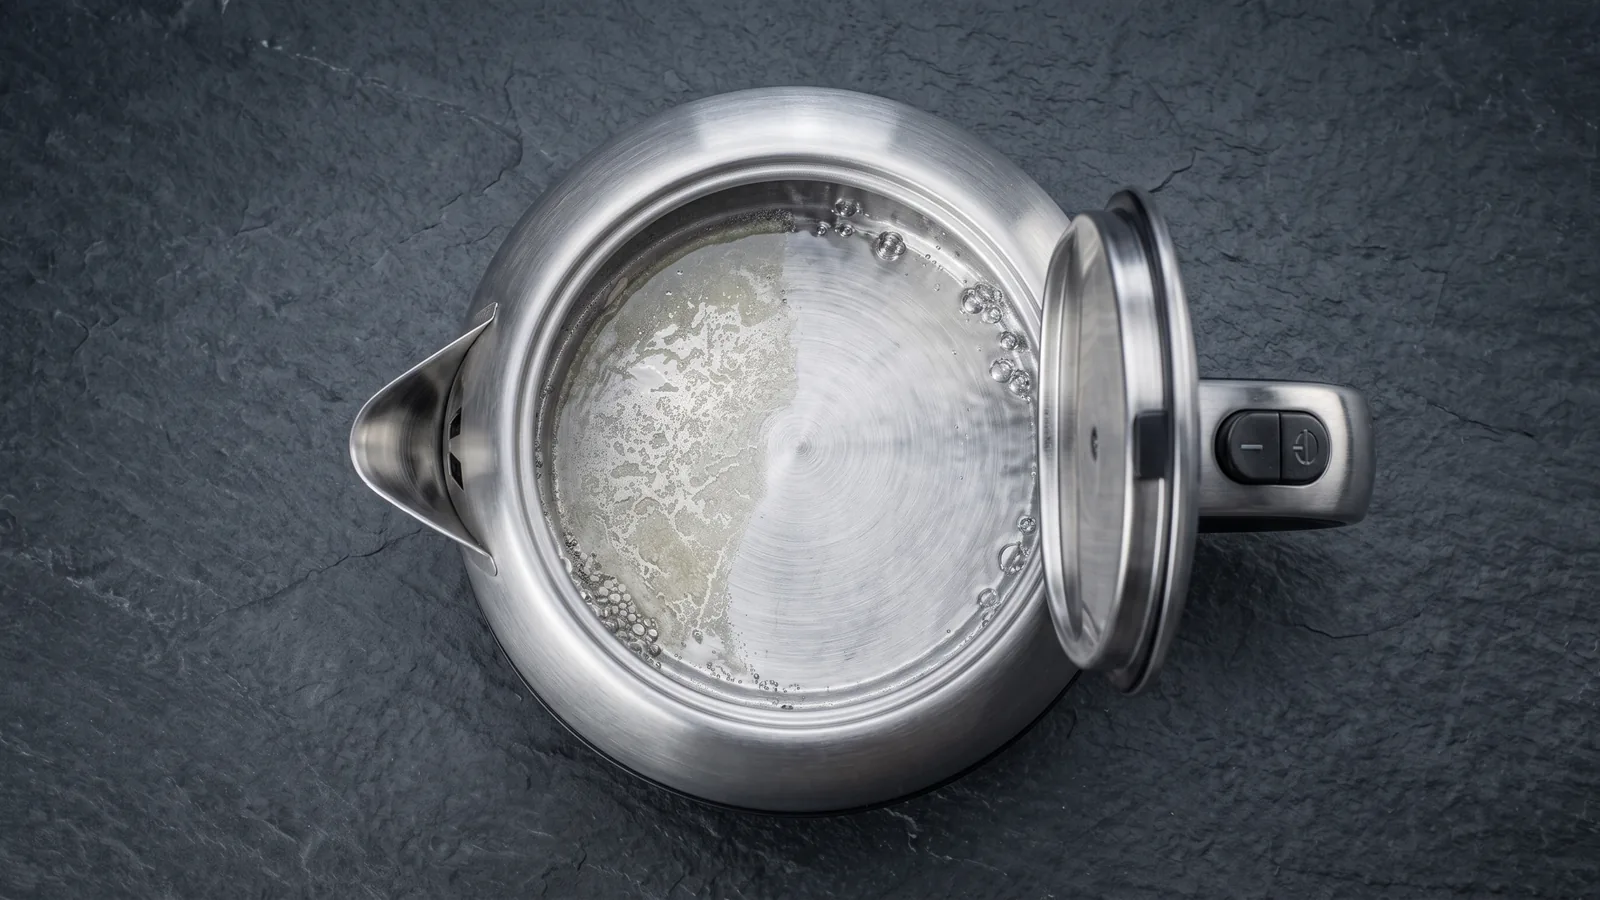
How to Descale an Electric Kettle (and How Often in Hard Water)
Limescale buildup slows boiling, affects water taste, and eventually damages the heating element. Descaling takes under 30 minutes with white vinegar or citric acid and extends kettle life significantly. Hard water households need to do it monthly; soft water households every 2–3 months.
Read →Rice Cookers
Buying guides and ranked picks grounded in verified buyer data.
How Long Do Rice Cookers Last? What Owner Reviews Show
Owner reviews cannot give an average lifespan, but they show when rice cookers fail. Across 24 rice cookers, 52% of the failure complaints that give a timeframe say months and 40% say a few years. And the part that fails is rarely the pot: coating wear is about one complaint in fifty, while the cooker itself failing is about one in seven.
Read →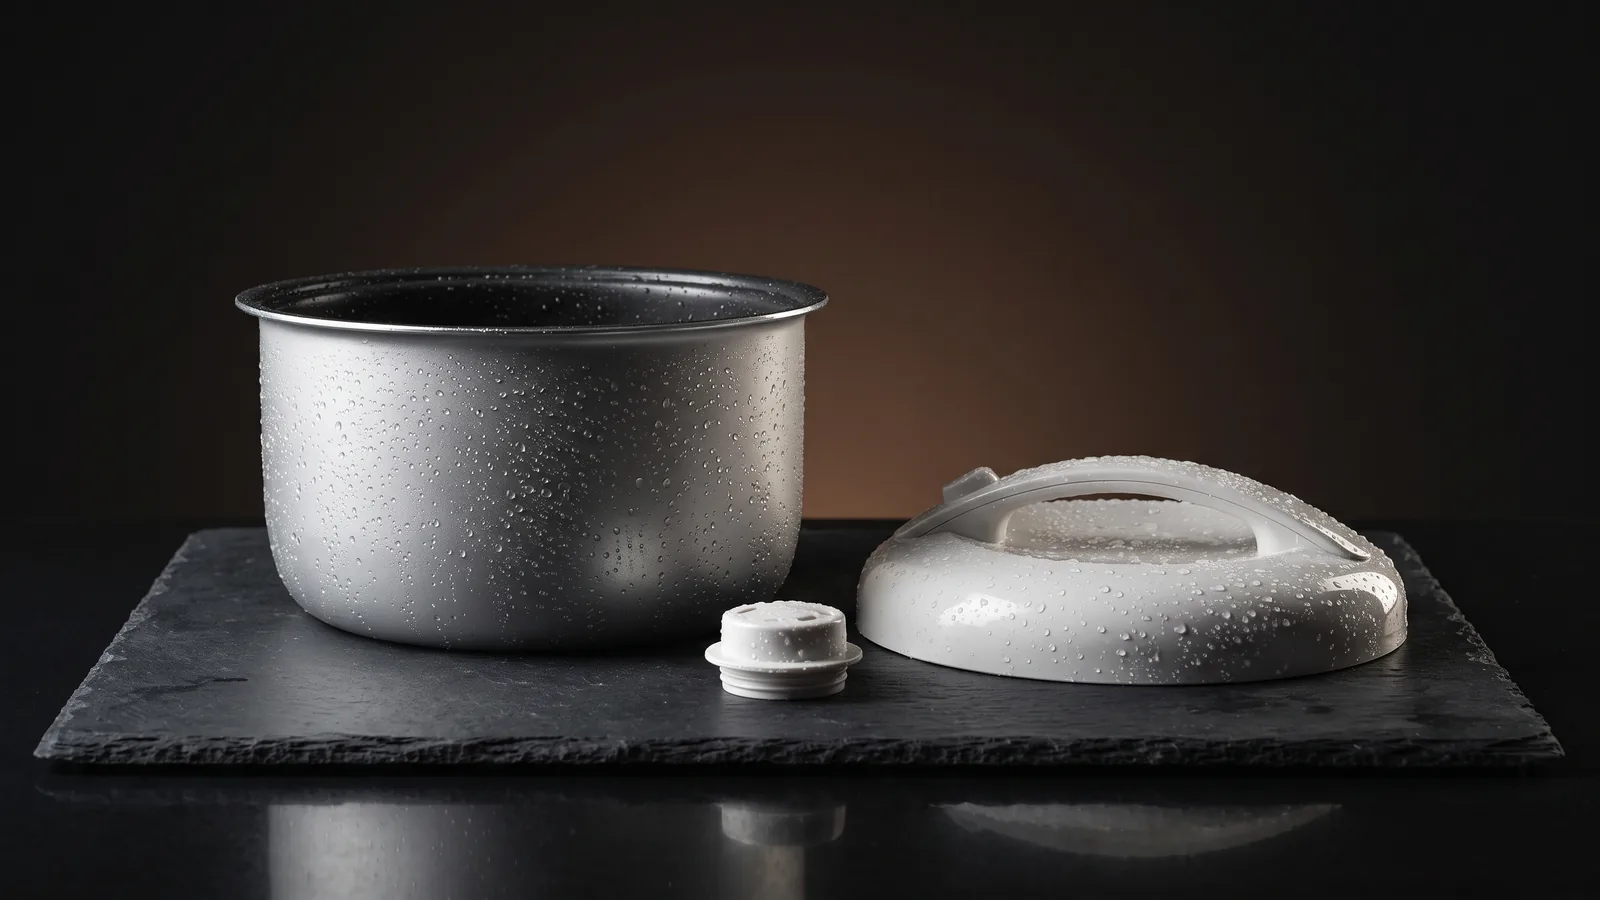
How to Clean a Rice Cooker (Including the Lid & Vent)
Cleaning the inner pot is the easy part — the bits people miss are the inner lid, the steam vent, and the little condensation cup, where starch and odors quietly build up. A full clean takes about five minutes: soak and wipe the pot, clean the parts that touch steam, and wipe the heating plate. Here's the routine, how to lift burnt-on rice without scratching a nonstick or ceramic pot, and how to get rid of that lingering smell.
Read →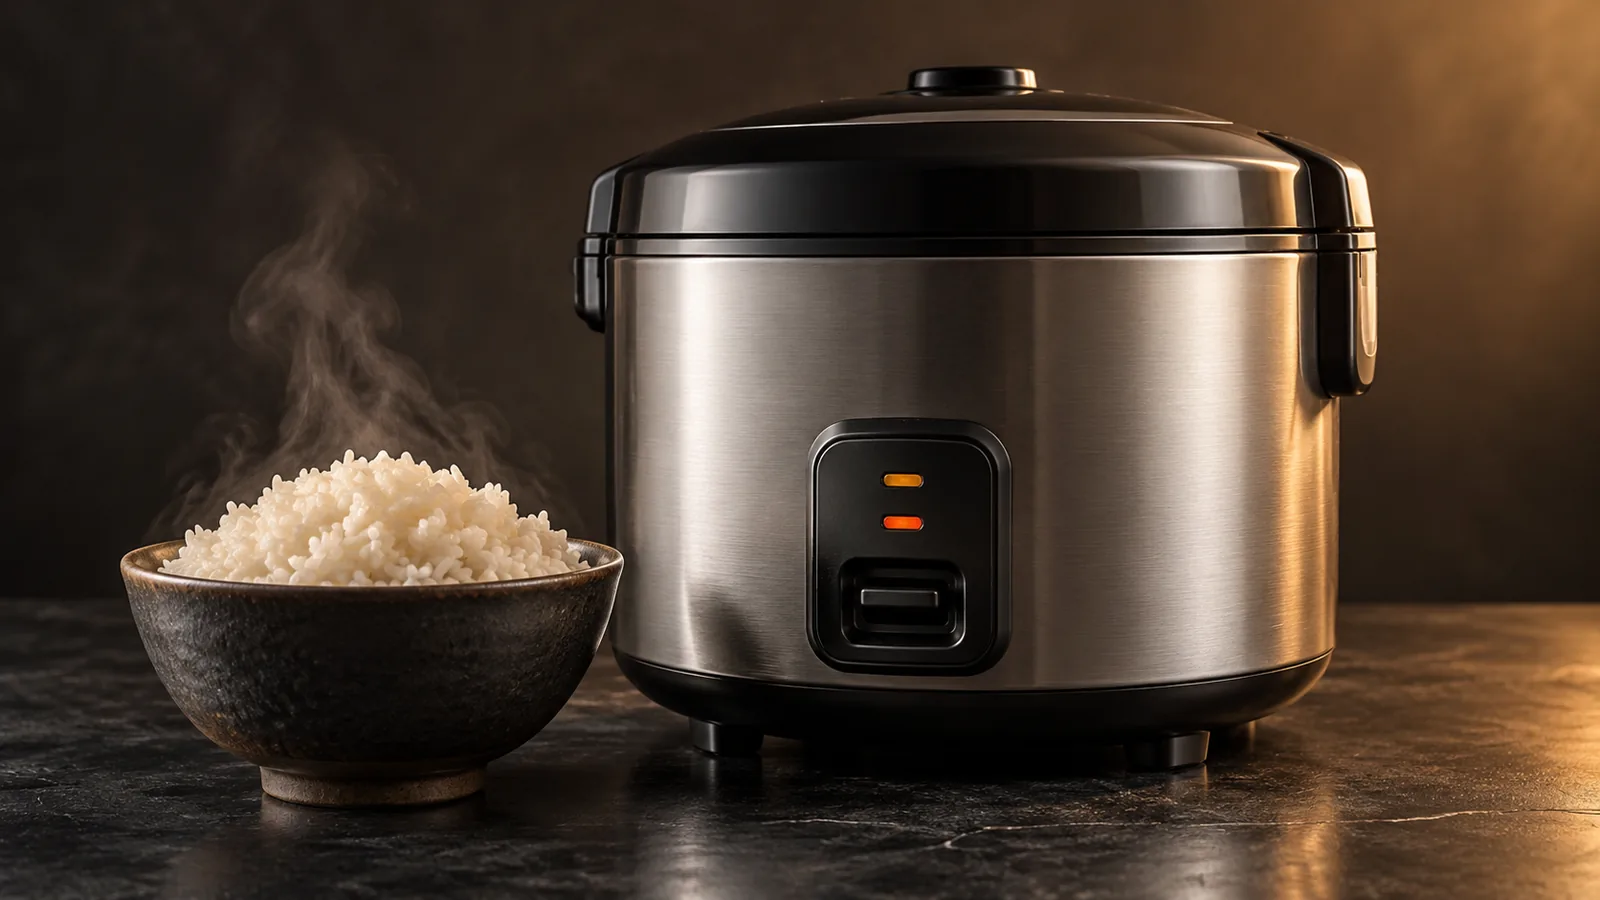
How to Choose a Rice Cooker: Material, Size & Micom
Three decisions settle which rice cooker to buy: the inner-pot material (what your rice touches), the size (in uncooked cups, which roughly double cooked), and whether you want a basic one-touch cooker or a micom cooker that adjusts the cook for better rice. Everything else — presets, delay timer, keep-warm — is secondary. Get those three right and the rest is easy.
Read →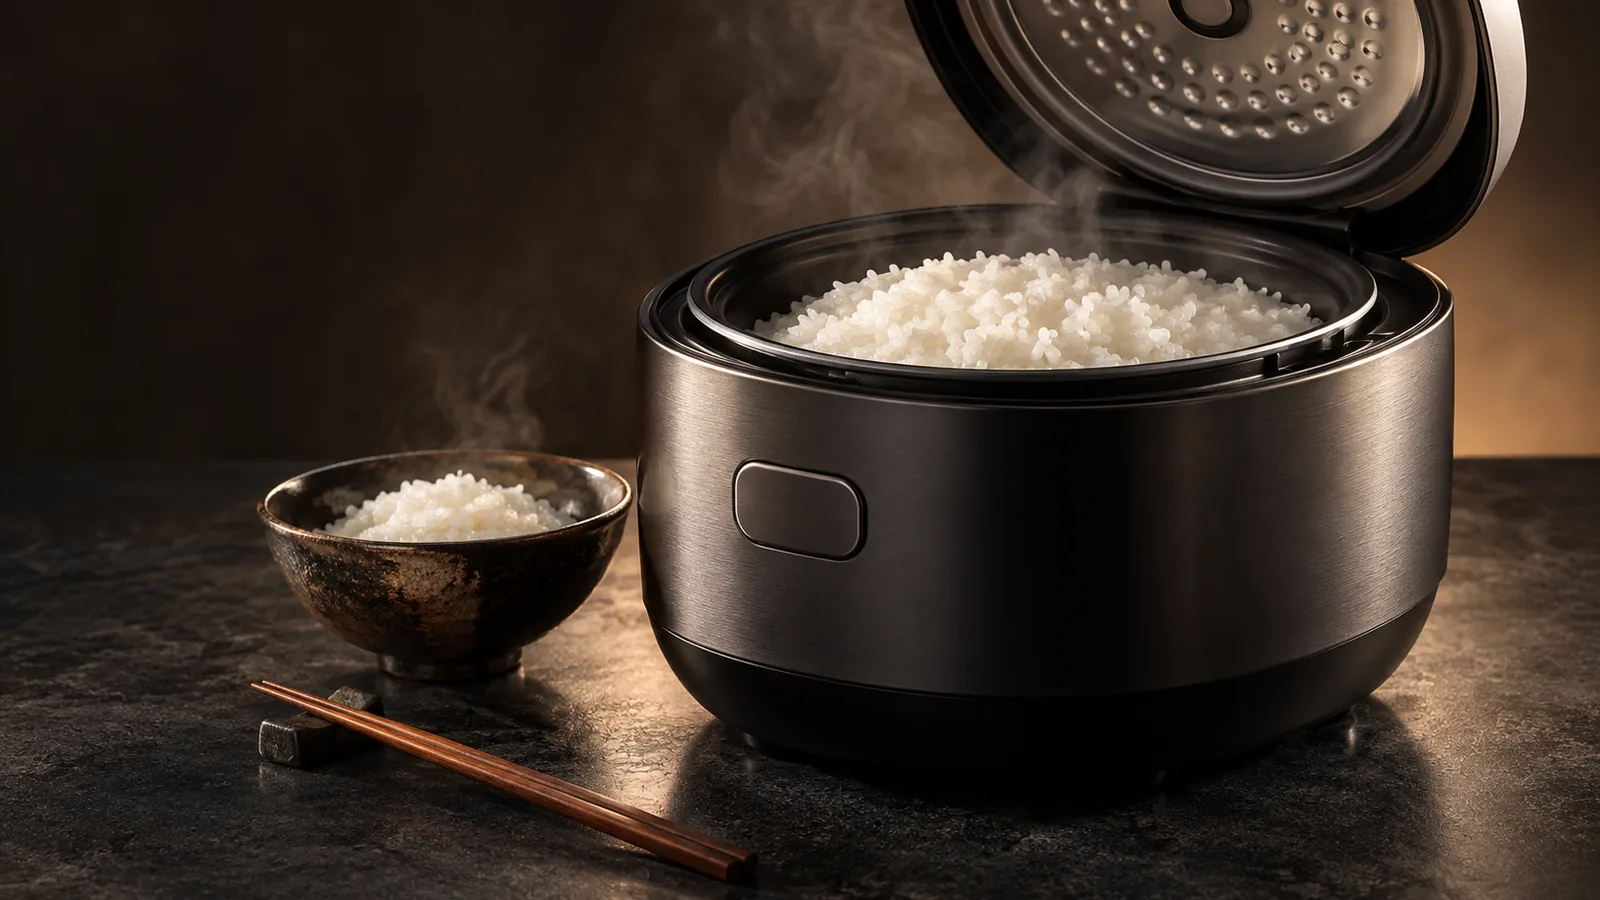
Japanese Rice Cookers: What Makes Them Different
Japanese rice cookers earn their reputation on one thing: they cook rice better, more consistently, across more rice types. The reason is micom (fuzzy-logic) control — a micro-computer that adjusts time and temperature through the cook instead of just switching off — and, on premium models, induction heating that heats the whole pot evenly. Brands like Zojirushi, Tiger, and Panasonic are the benchmark. Worth it if you eat rice often; overkill if you don't.
Read →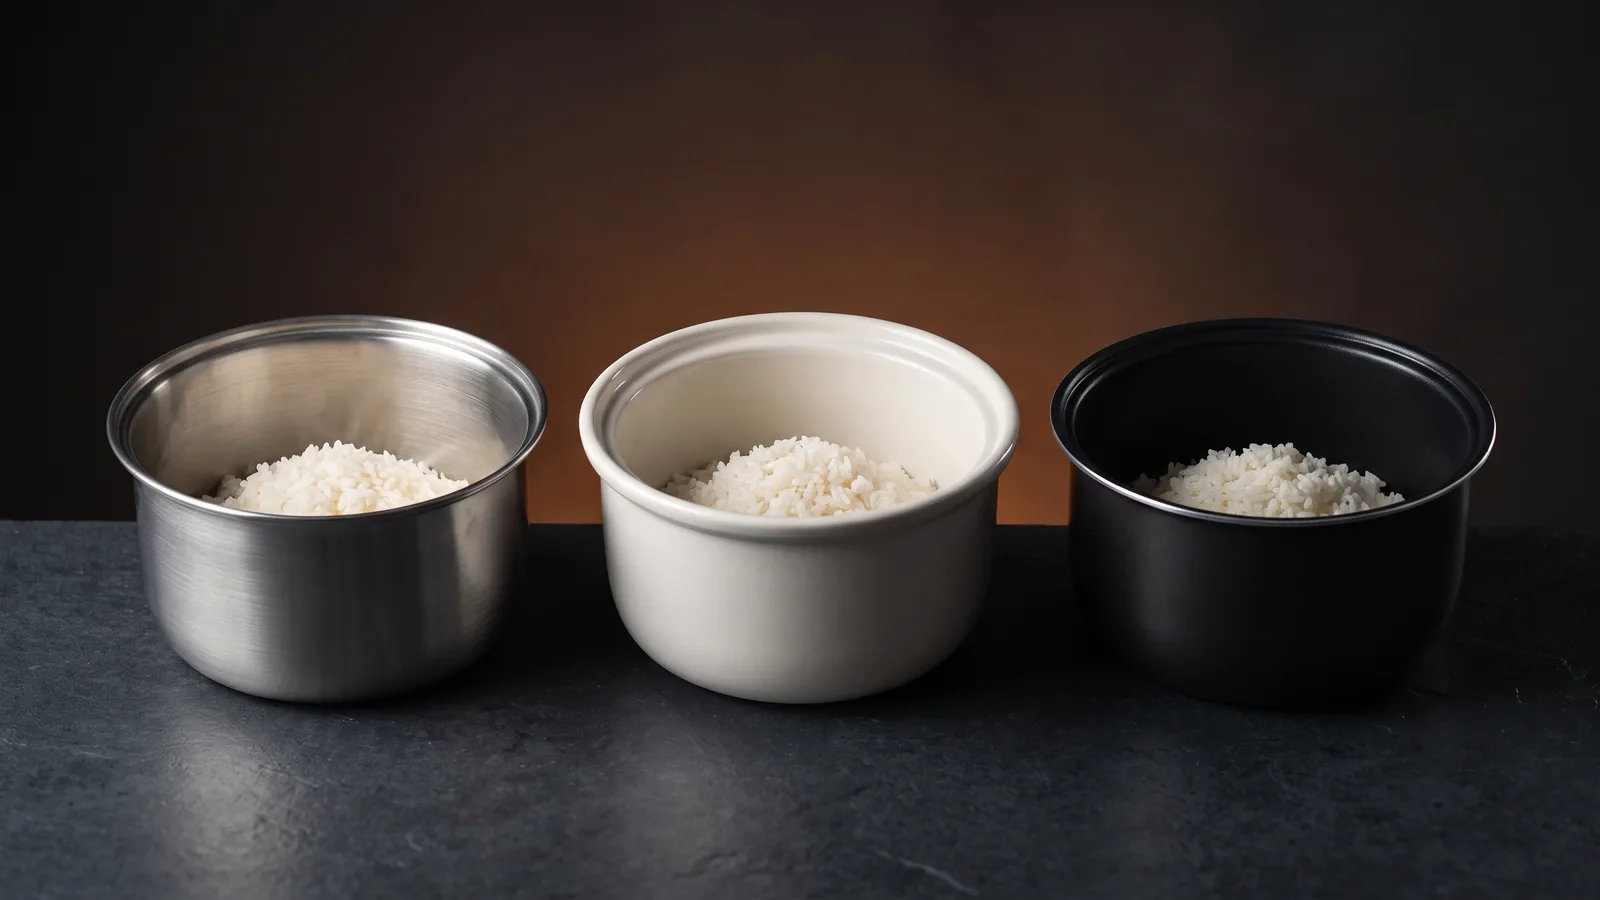
Non-Toxic Rice Cookers: Stainless, Ceramic & Nonstick
The inner pot is what your rice touches, so it is the only material that matters for safety and taste. Most rice cookers use a nonstick (PTFE) coating; the non-toxic alternatives are ceramic-coated or stainless steel. Ceramic resists sticking without the coating; stainless avoids coatings entirely but rice sticks to it. Judge a rice cooker by its interior, not its exterior.
Read →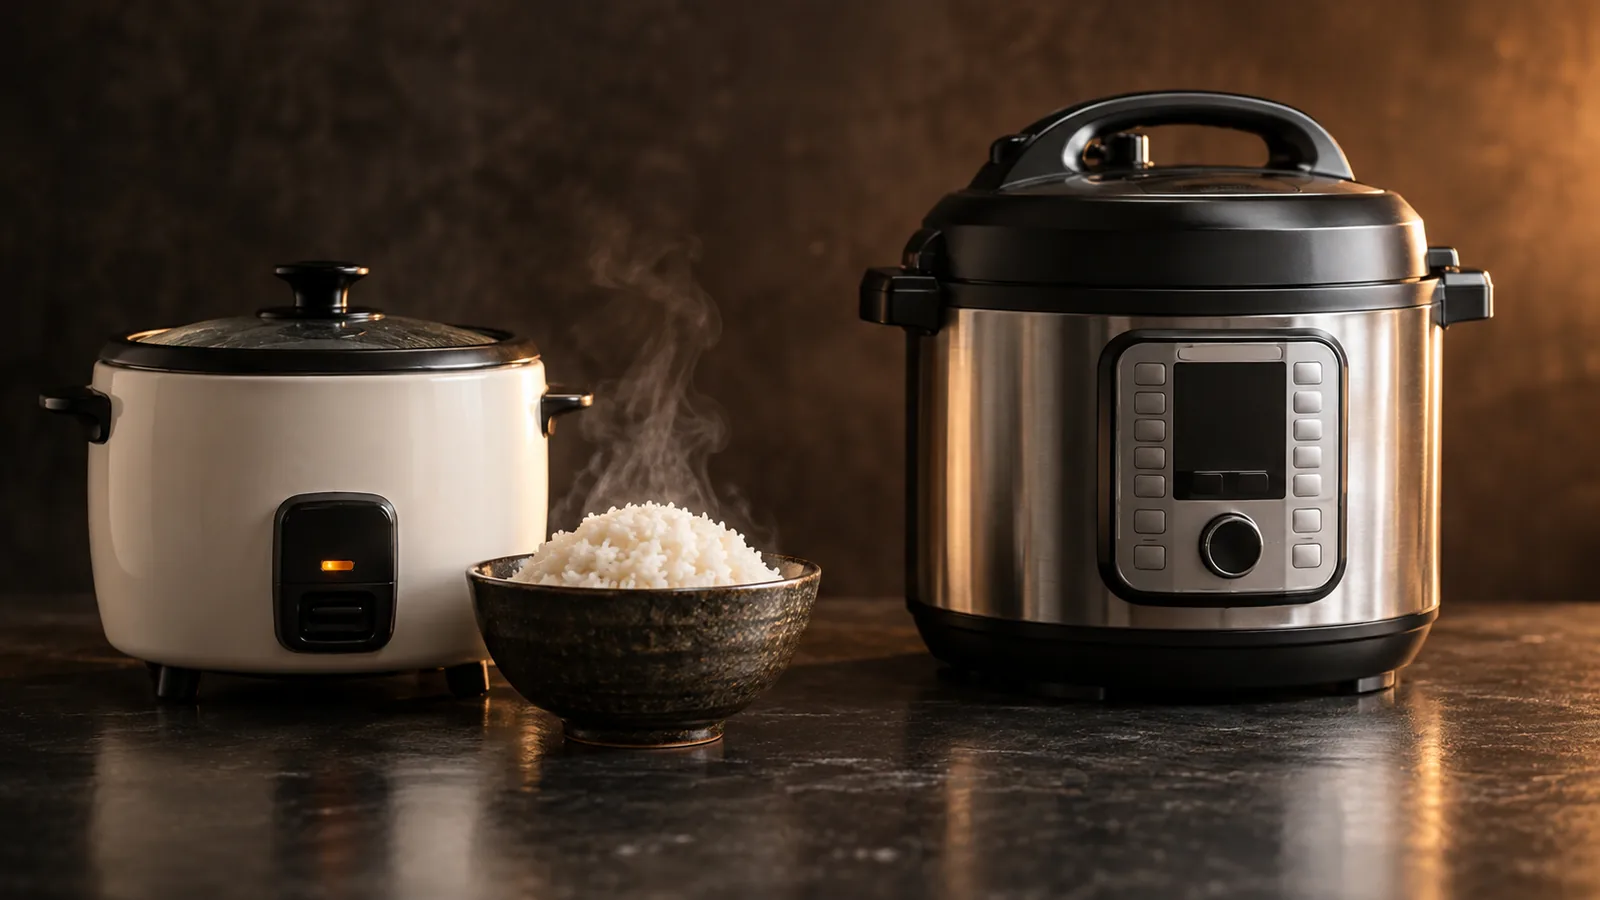
Rice Cooker vs Instant Pot: Which Should You Buy?
A dedicated rice cooker does one thing and does it better: it makes more consistent rice, is simpler to use, and keeps rice warm for hours. An Instant Pot is a multi-cooker that also makes rice, but rice is one of many jobs and the results are good rather than great. Buy a rice cooker if rice is a staple and you value simplicity; buy the Instant Pot if you want one machine for pressure-cooking, stews, yogurt, and rice together.
Read →Slow Cookers
Buying guides and ranked picks grounded in verified buyer data.
What Size Slow Cooker Do I Need? Quarts by Household
Slow cookers are sized in quarts, and the right one follows your household: 2 to 3.5 quarts for one or two people, 4 to 5 for a small family, 6 to 7 for a family of four or more, and 8 to 10 for batch cooking and crowds. A slow cooker works best between half and three-quarters full, so buying too big matters as much as buying too small.
Read →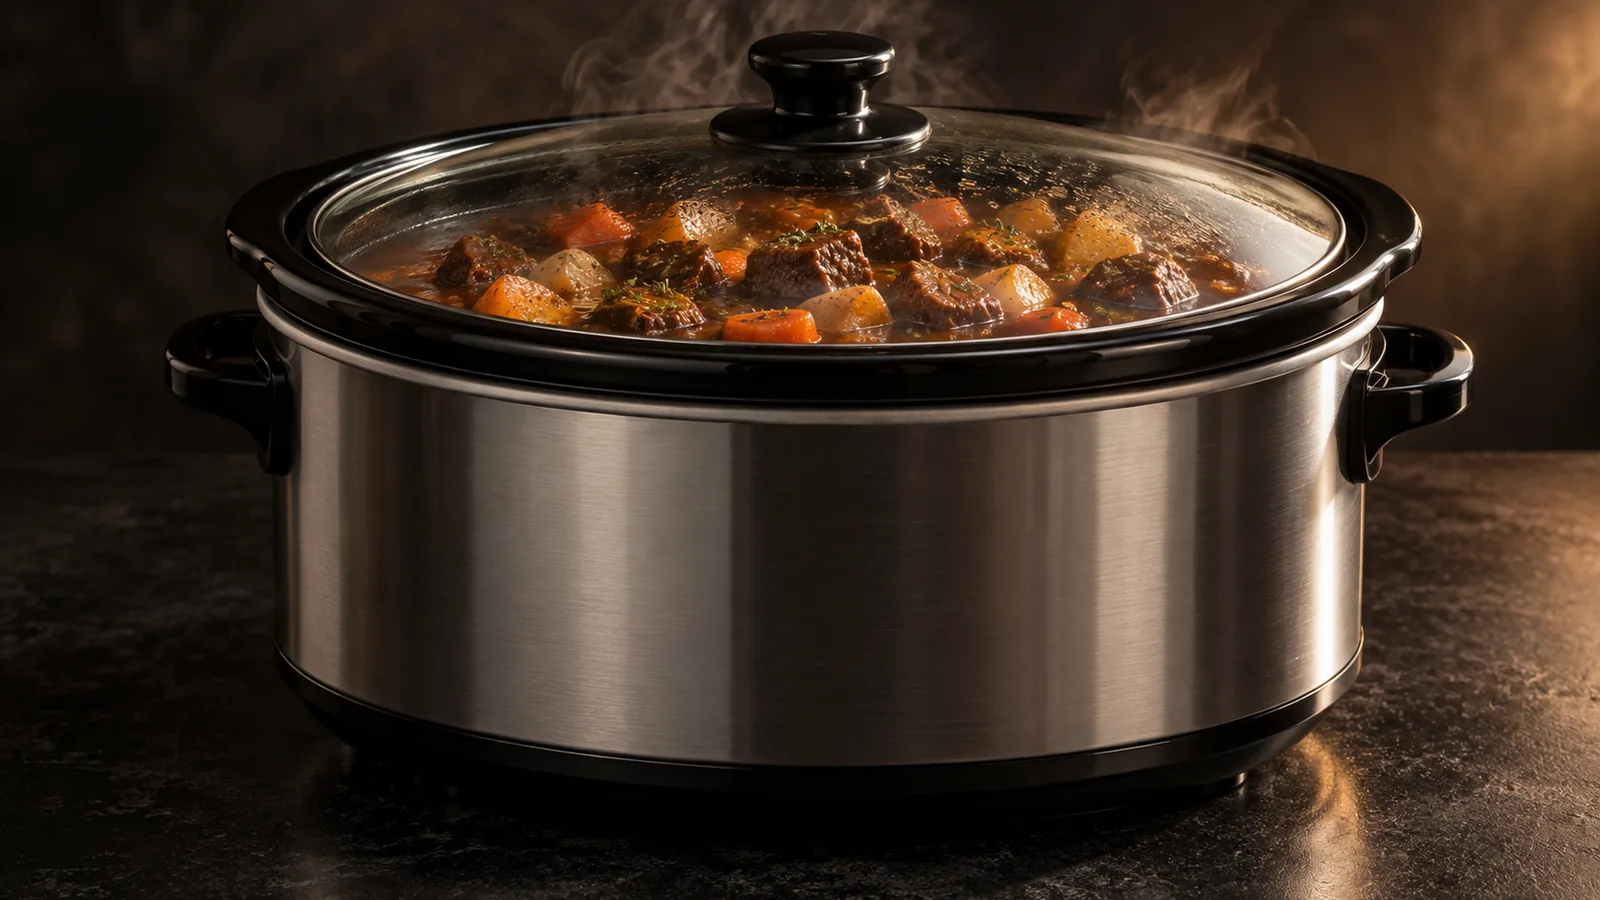
Can You Leave a Slow Cooker On All Day? What's Safe
Yes — slow cookers are designed to run for hours unattended, which is the whole point: start dinner in the morning, come home to it done. The keys to doing it safely are using the appliance as intended (lid on, filled half to two-thirds, on a clear counter), not stretching a cook far past its recipe time, and — the best upgrade — a programmable model that switches itself to keep-warm so an 8-hour workday doesn't overcook your food. Here's what's safe and how to do it right.
Read →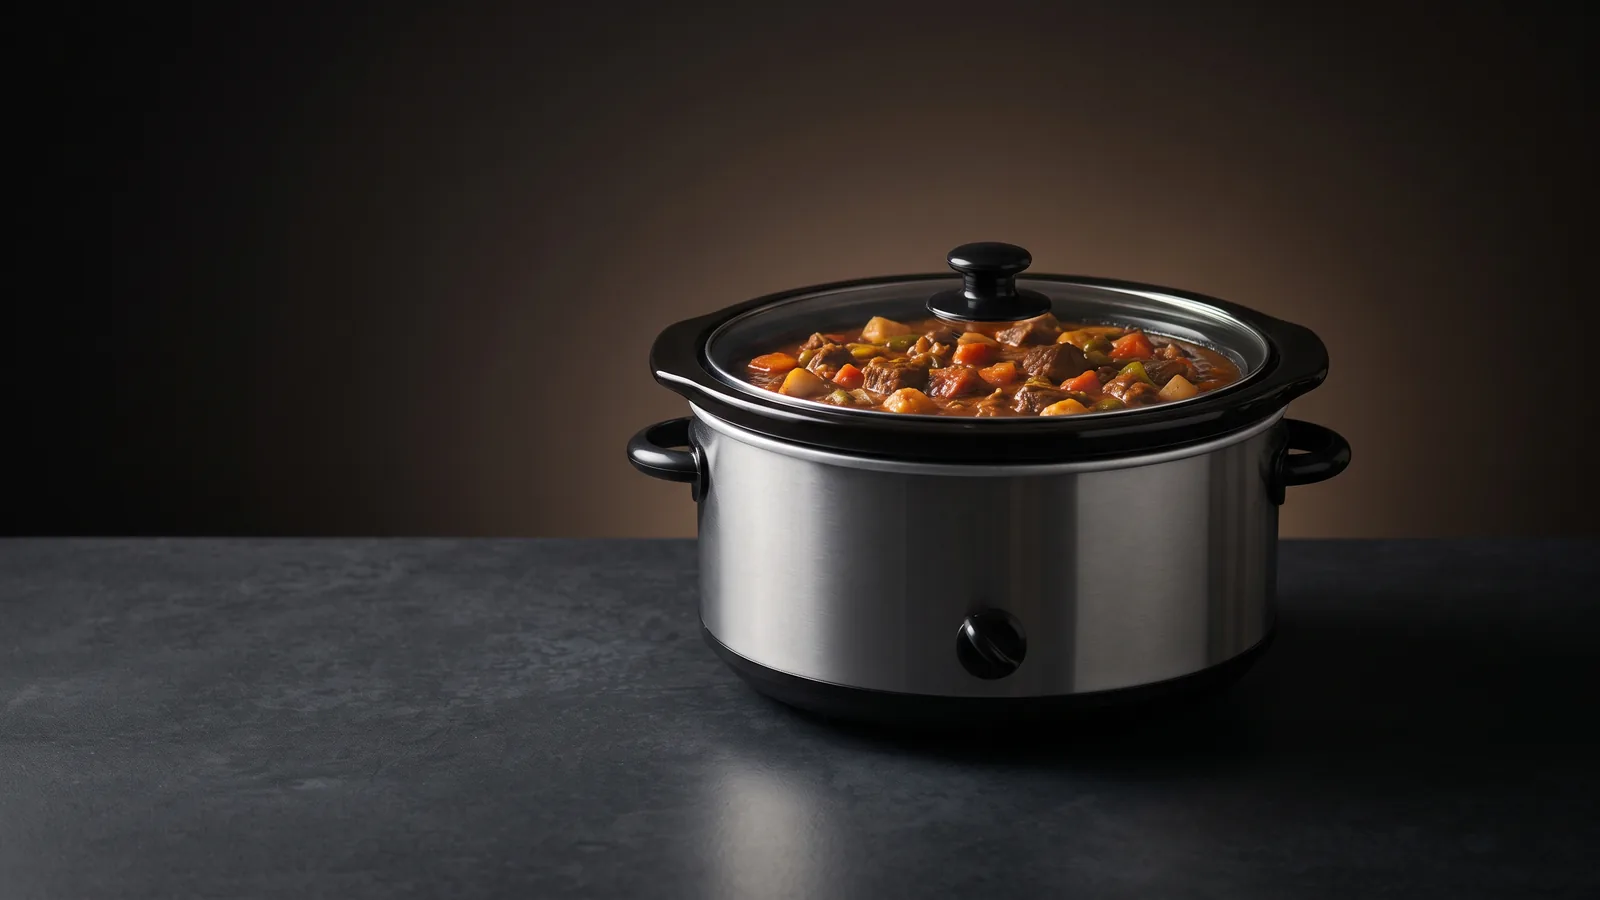
How to Choose a Slow Cooker: Size, Controls & Material
Three decisions settle which slow cooker to buy: the size (measured in quarts, matched to your household — roughly 1.5 quarts per person), whether you want simple manual dials or a programmable timer that switches to warm on its own, and the crock material. A programmable model earns its keep if you're out all day; a big wrap-around crock cooks large batches evenly. Get those three right and the rest is detail.
Read →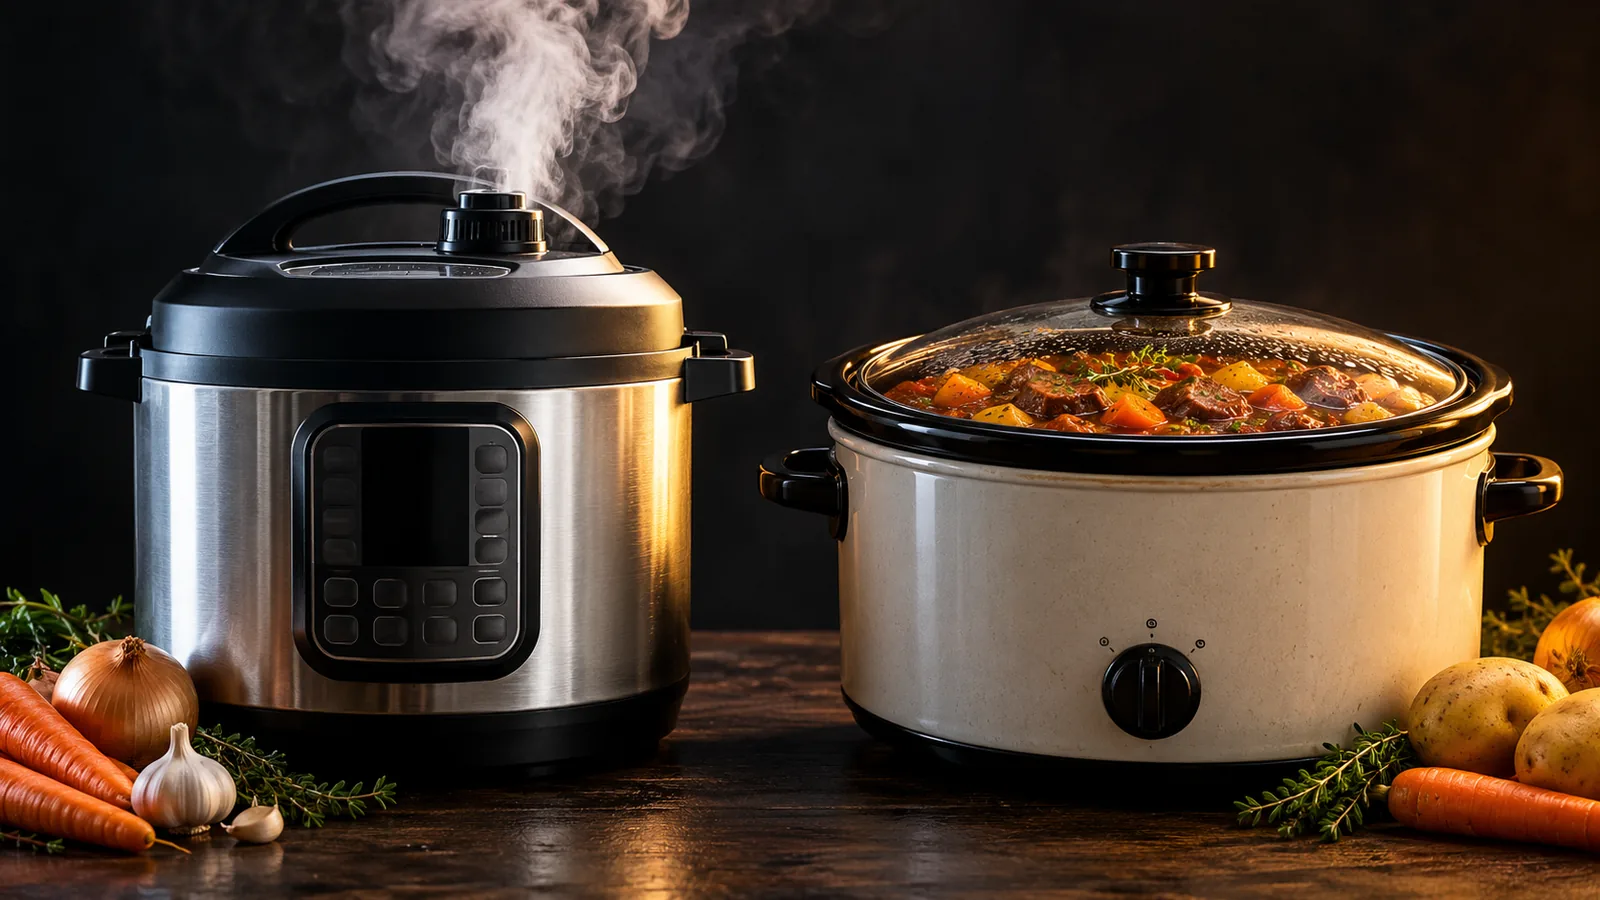
Instant Pot vs. Crock-Pot: Which One Should You Buy?
A Crock-Pot does one thing well: slow-cook, low and slow, all day, in a wrap-around ceramic crock. An Instant Pot is a multi-cooker — it pressure-cooks fast, and also slow-cooks, sautés, and more, in a stainless pot. If you want fast weeknight meals and one appliance that does everything, the Instant Pot wins; if you want true set-and-forget all-day braising and simplicity, the Crock-Pot still does it best. Here's how to decide.
Read →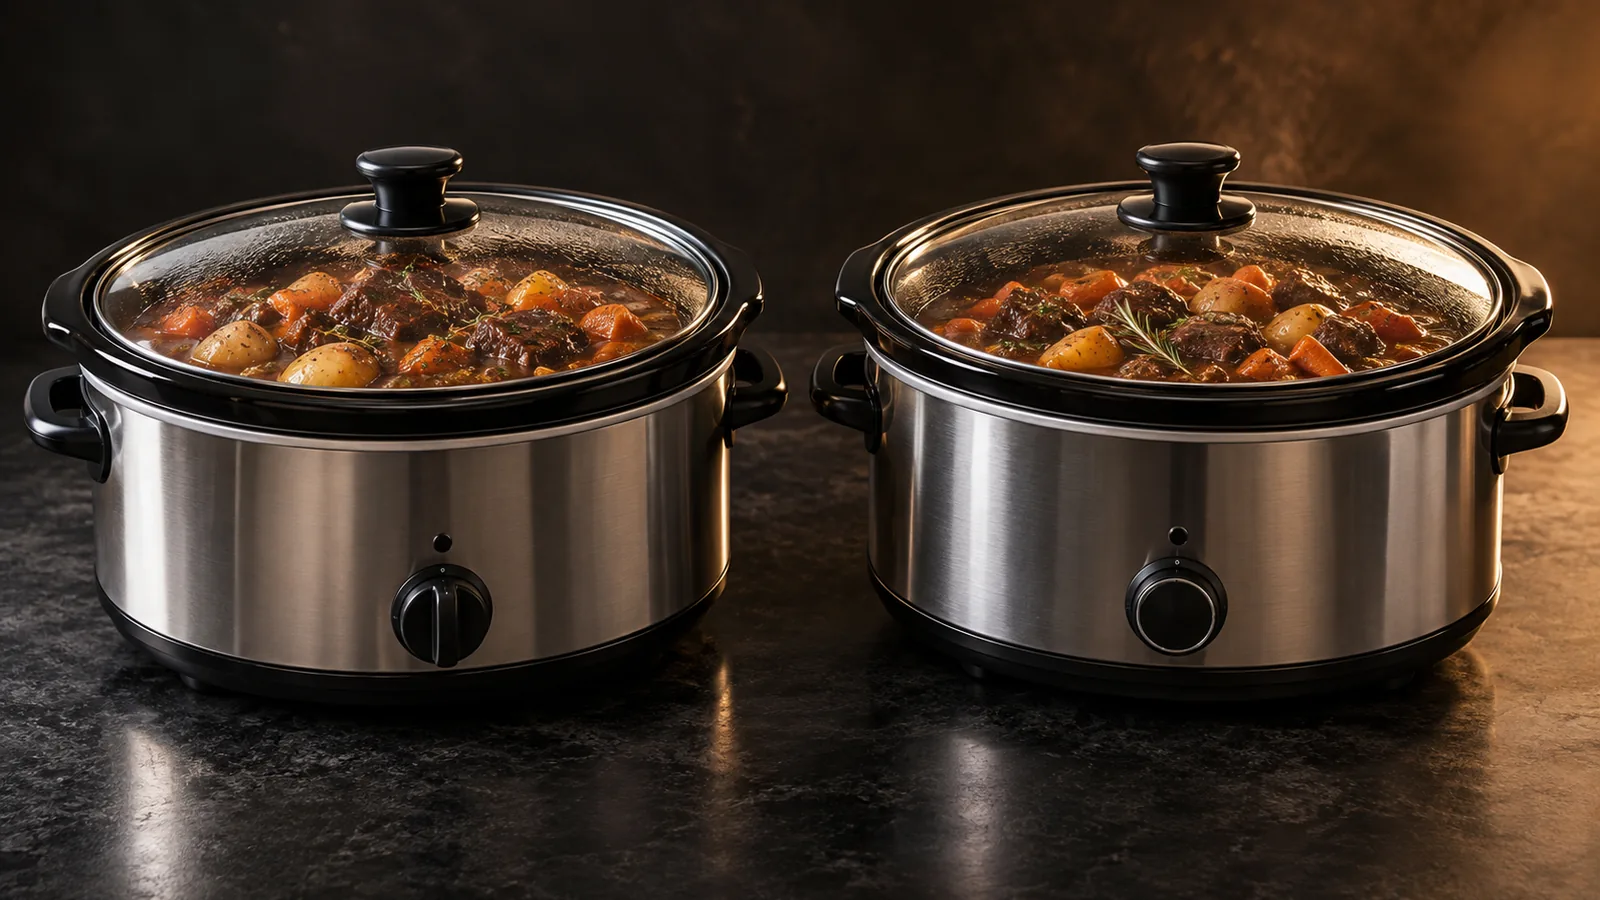
Slow Cooker vs. Crock-Pot: Are They the Same Thing?
'Crock-Pot' is a brand name that became the generic word for a slow cooker — like Kleenex for tissues. Every Crock-Pot is a slow cooker, but not every slow cooker is a Crock-Pot. There is one real design distinction worth knowing (the classic Crock-Pot's heat-the-sides ceramic crock vs. some slow cookers that heat only from the base), and it changes how evenly your food cooks. Here's what actually differs and what to buy.
Read →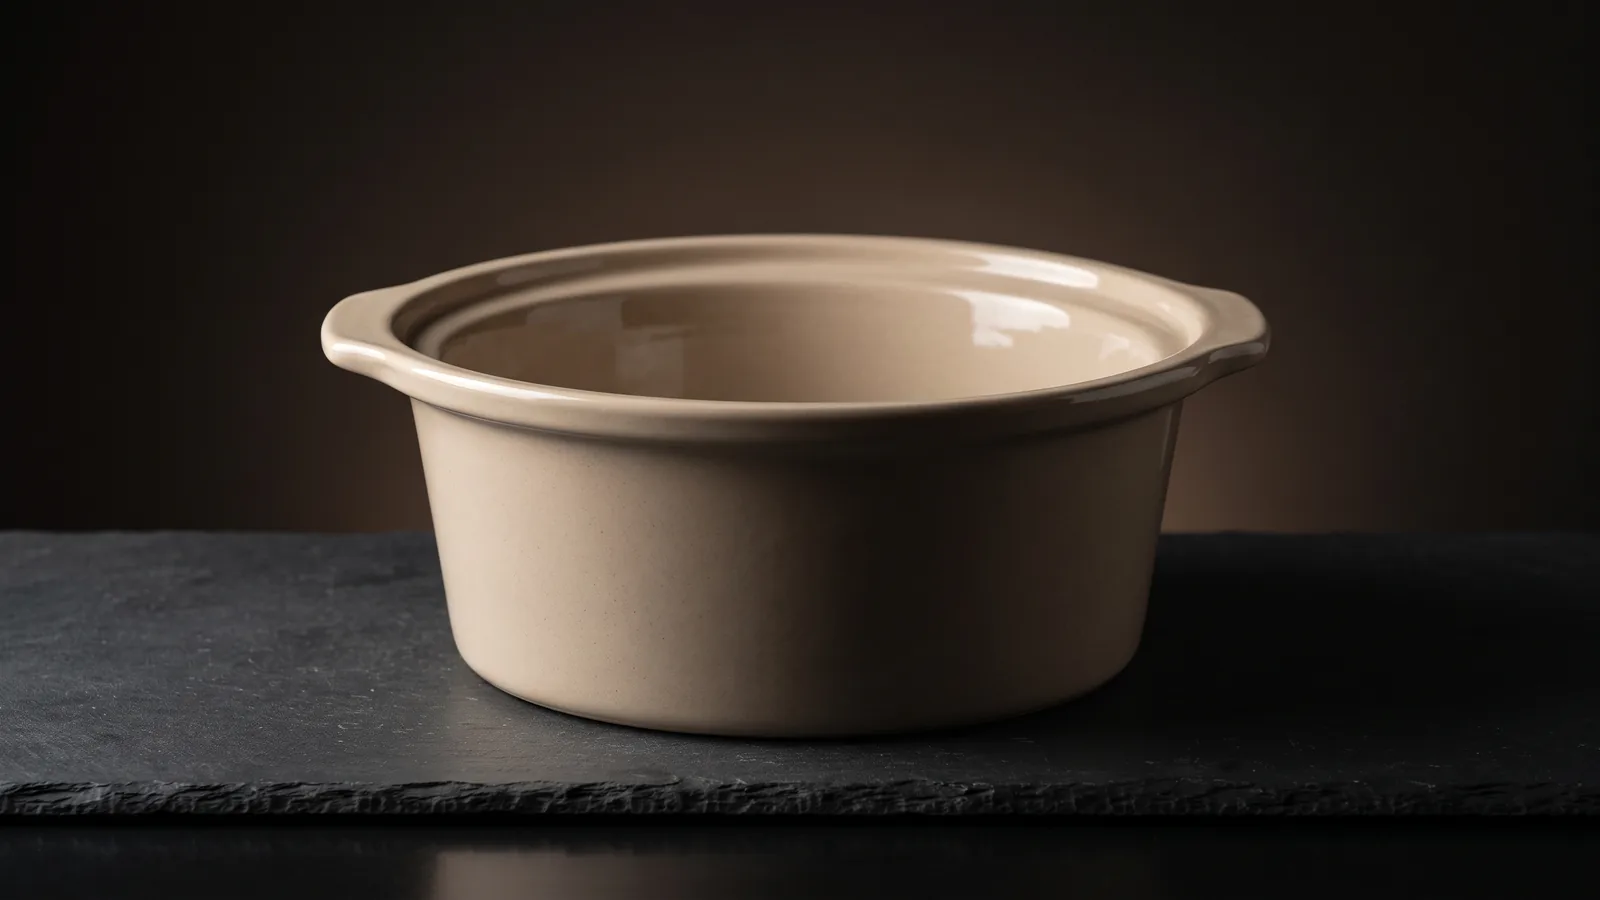
Are Crock-Pots Lead-Free? Non-Toxic Slow Cookers
Slow cookers cook in a glazed ceramic crock, and the worry that drives the searches is lead in the glaze. The honest picture: major-brand crocks sold today must meet FDA limits on leachable lead and are generally considered safe; the real concern is vintage, cheap unbranded, or decorative crocks. If you want to remove the question entirely, choose a stainless-steel insert instead of glazed ceramic.
Read →Ice Cream Machines
Buying guides and ranked picks grounded in verified buyer data.
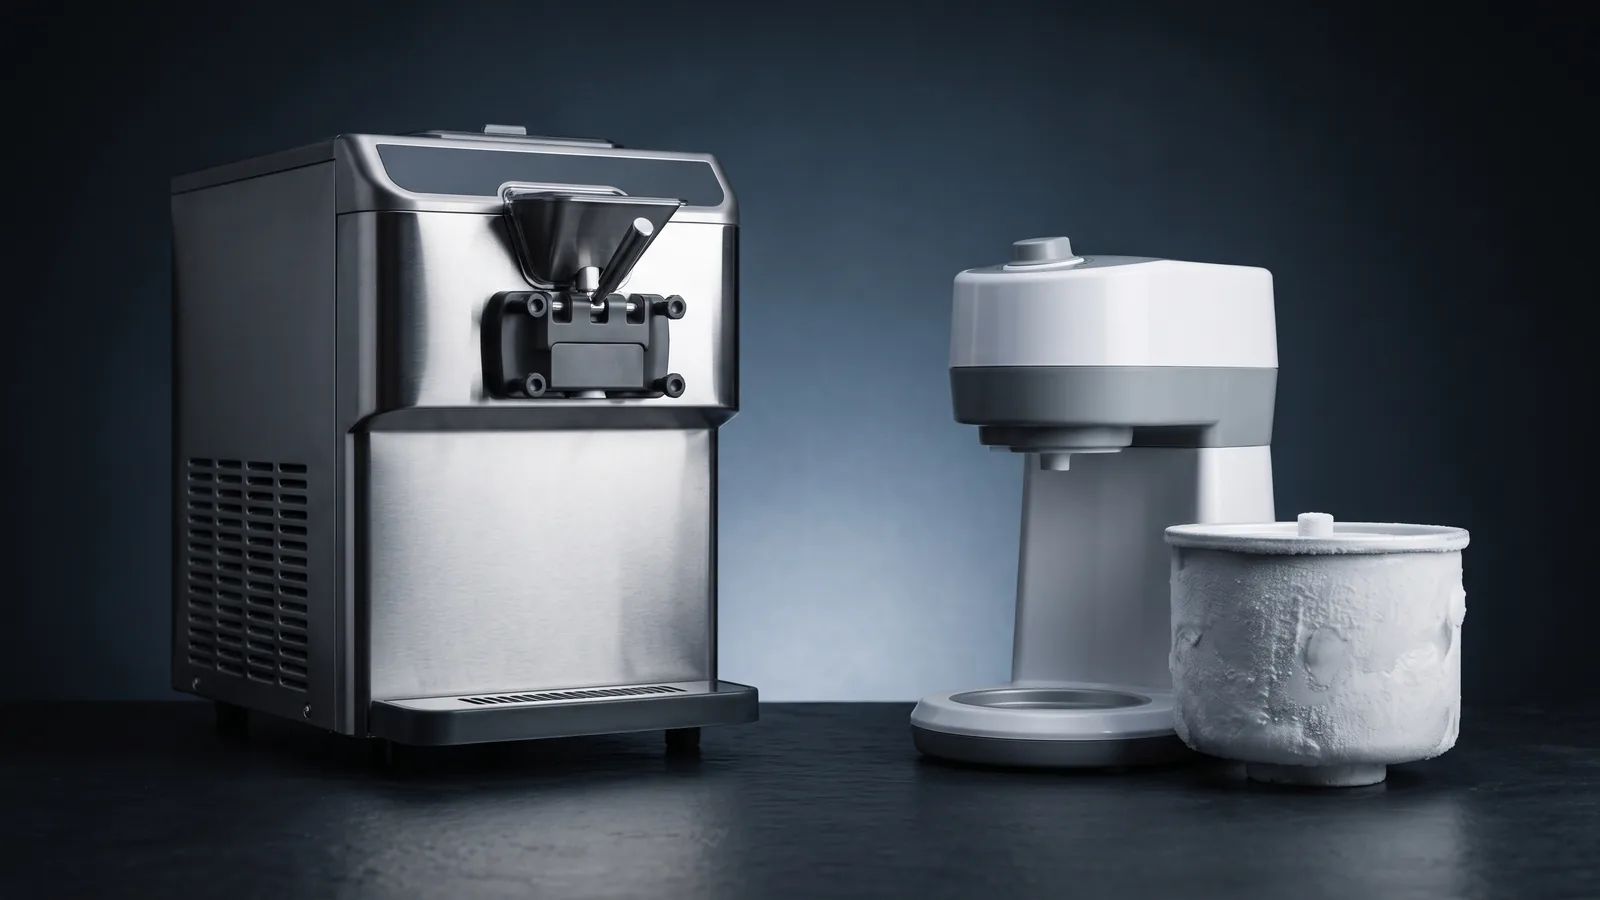
Compressor vs. Frozen-Bowl Ice Cream Makers
A frozen-bowl ice cream maker needs a bowl you pre-freeze for 12–24 hours, so you plan ahead and get one batch per freeze — cheap and simple. A compressor machine has a built-in freezer, so it chills on demand: no pre-freezing, back-to-back batches, on a whim — at several times the price. Here's exactly how the two designs differ and which one is worth it for how often you actually make ice cream.
Read →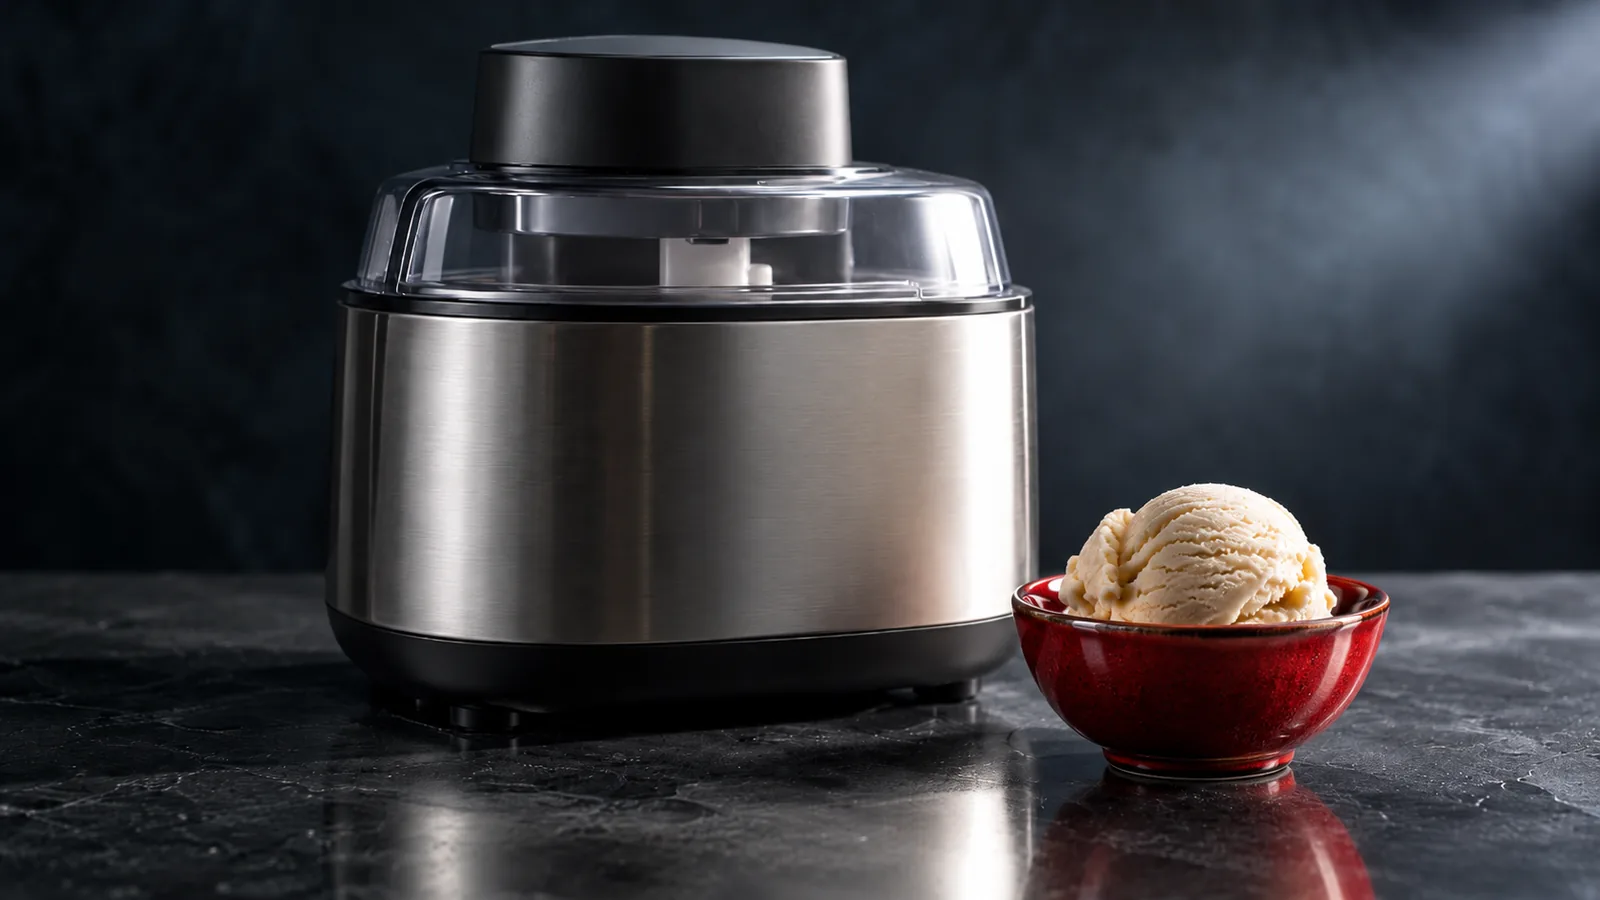
How to Choose an Ice Cream Maker: The 3 Types
One decision settles which ice cream maker to buy: the type. Freeze-a-base machines (the Ninja CREAMi) freeze the base solid then re-churn it — the only type that makes protein and low-calorie ice cream creamy. Frozen-bowl machines are cheapest but need a pre-frozen bowl and do one batch at a time. Compressor machines freeze on demand for back-to-back batches at a premium. Pick the type first; the model follows.
Read →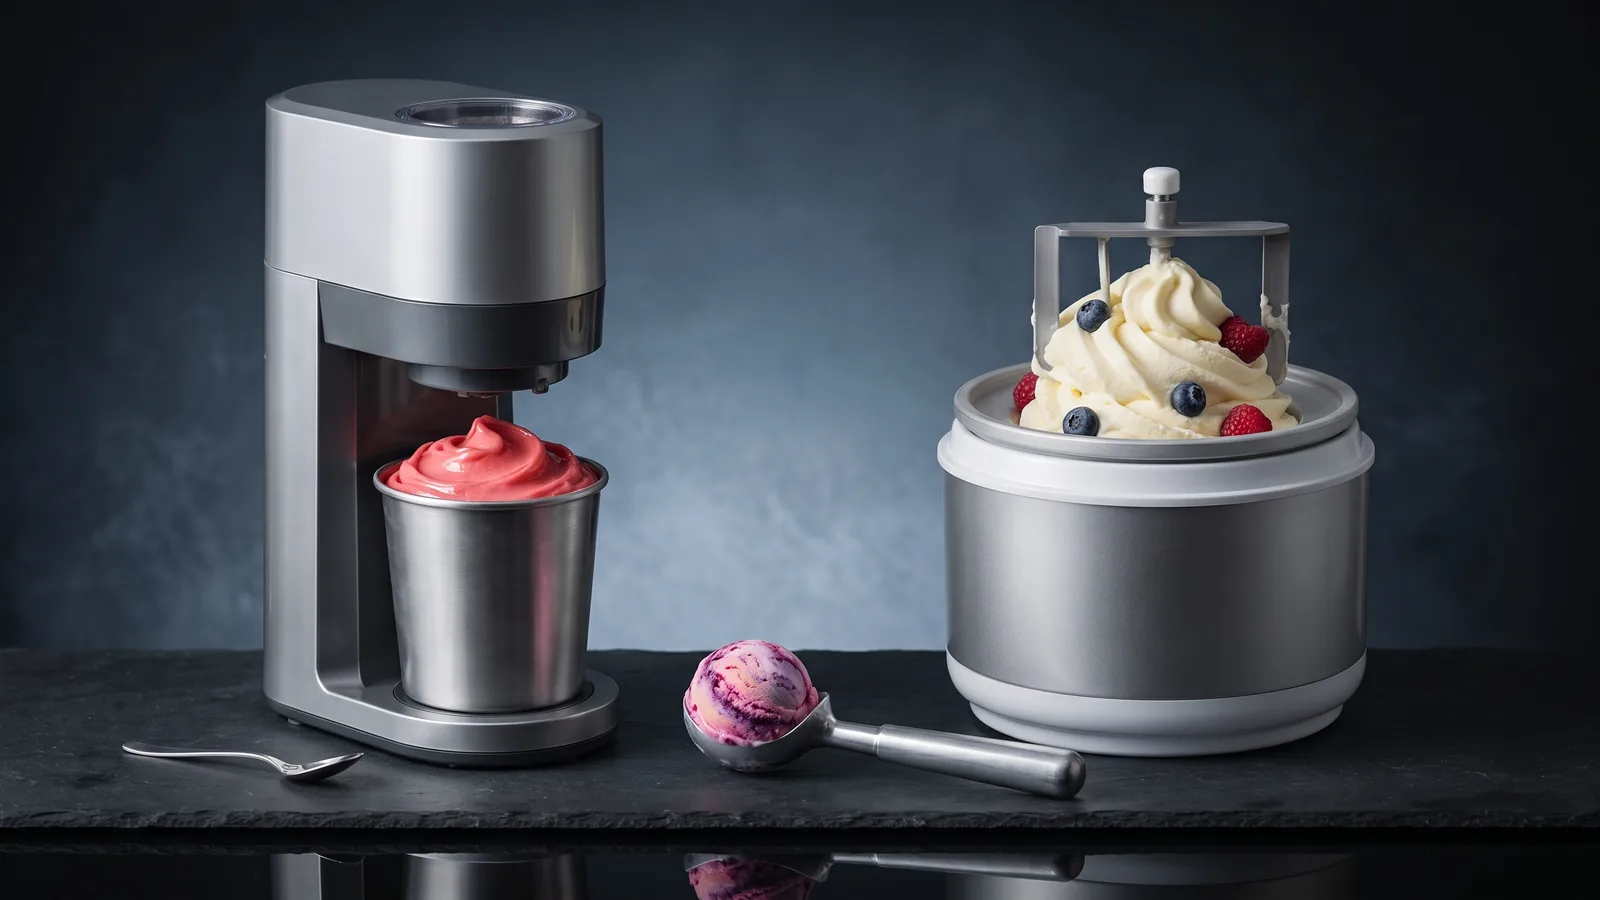
Ninja CREAMi vs. Traditional Ice Cream Makers
A traditional ice cream maker churns a liquid base while it freezes, making classic ice cream in one step. The Ninja CREAMi works backwards — you freeze the base solid first, then it shaves and re-churns the frozen block. That difference is why the CREAMi makes protein and low-calorie ice cream creamy when a churner can't, but also why it costs more and needs a 24-hour freeze. Here's which one actually suits you.
Read →
Soft Serve Ice Cream at Home: How to Make It
Soft serve is just ice cream served softer and airier, straight from the machine before it hardens — the trick is texture and temperature, not a special ingredient. You can make it at home with the right machine and a base built to stay soft. Here's what makes soft serve different, the base that works, and which machine actually produces that smooth swirl without a commercial soft-serve unit.
Read →
Protein & Low-Calorie Ice Cream at Home: How It Works
Lean, low-sugar ice cream bases come out icy in a traditional churner because fat and sugar are what keep ice cream creamy. The machines behind the protein-ice-cream trend get around that by freezing the base solid and then re-churning it, which produces a creamy scoop even from a high-protein, low-calorie mix. Here's why the method works, what kind of base to freeze, and which machine actually does it.
Read →The Best Compressor Ice Cream Makers (No Pre-Freezing)
The best compressor ice cream maker is the Whynter ICM-200LS: a built-in freezer, a 2.1-quart bowl, and the strongest owner feedback of the compressor machines we analyzed. The upright Whynter is the same idea in a taller, narrower body. A compressor machine costs several times what a freezer-bowl model does, so it is worth it only if you make ice cream often or want back-to-back batches.
Read →Juicers
Buying guides and ranked picks grounded in verified buyer data.
How to Clean a Juicer (Fast) — and Keep It Unclogged
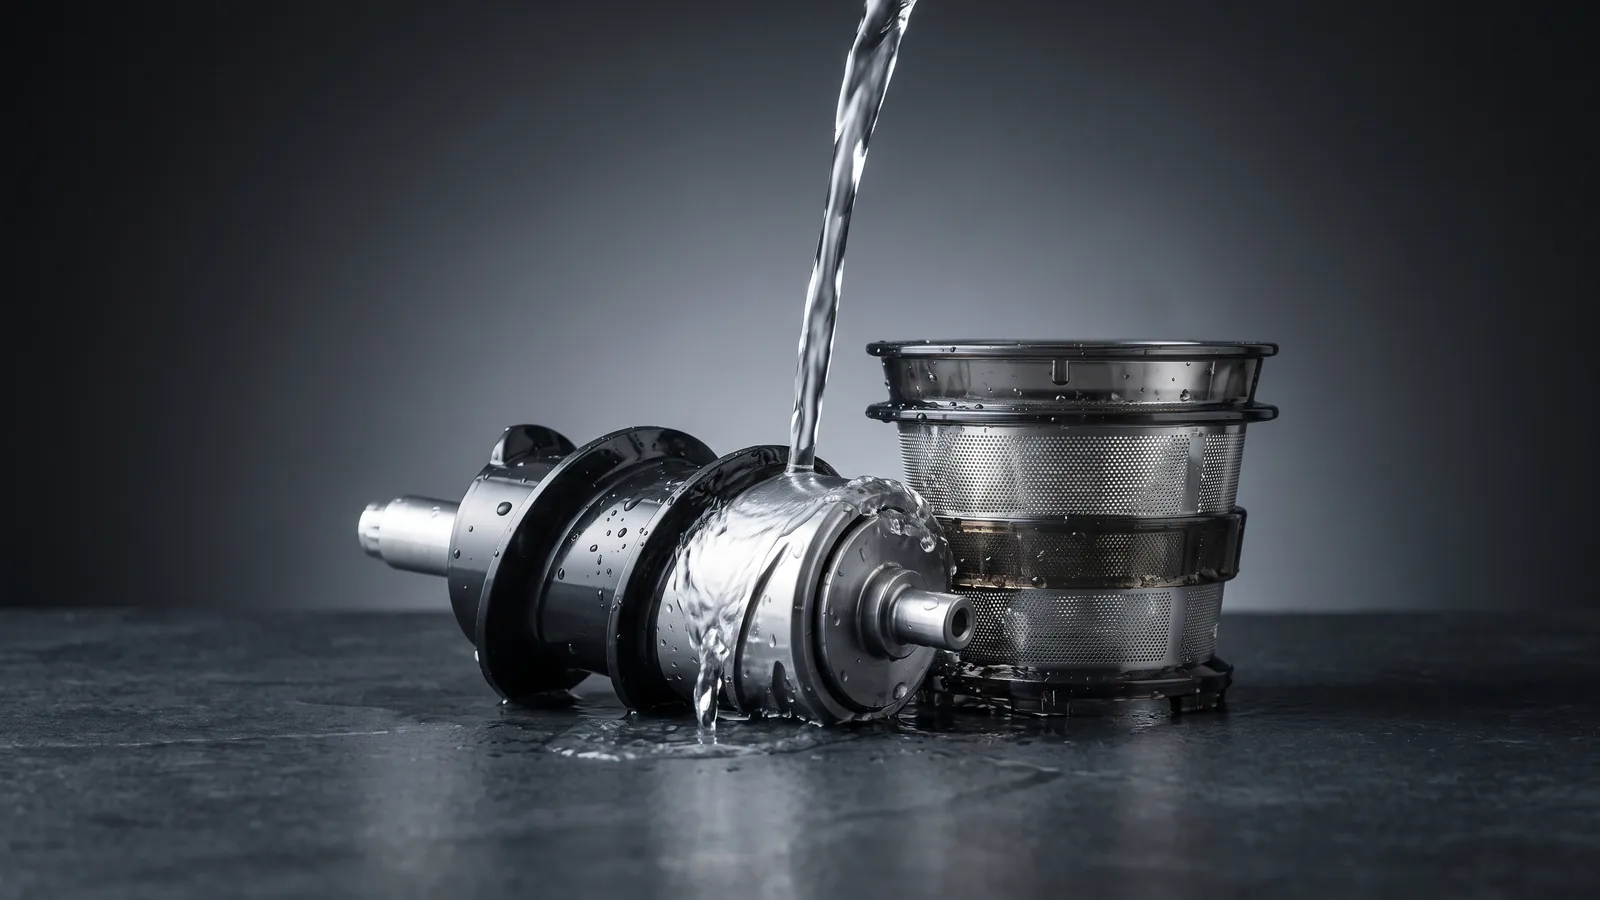
Cleanup is the single biggest reason juicers end up in a cupboard, but it takes about two minutes if you do it right and do it immediately. The trick is to rinse and brush the parts the moment you finish — before pulp dries and cements into the mesh screen — and to know the one part (the screen) that actually needs the brush. Here's the fast routine, how to rescue a clogged screen, and why an easy-clean machine is worth choosing up front.
Read →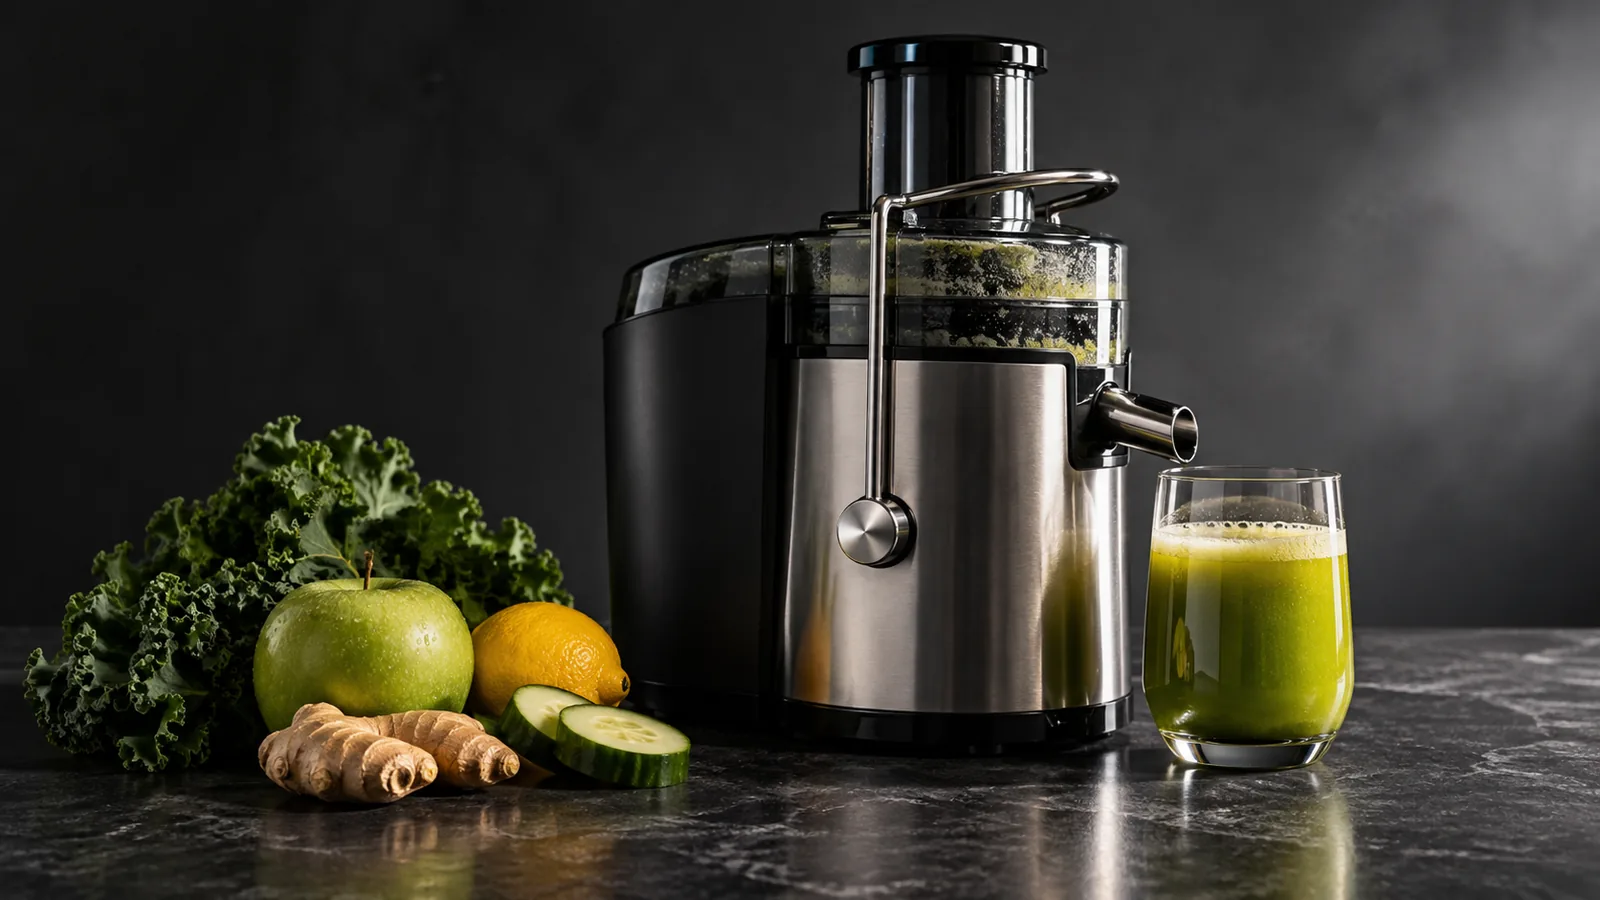
How to Choose a Juicer: Type, Yield & Cleanup
Four decisions settle which juicer to buy: the type (centrifugal for speed and price, cold-press for yield and quality), what you'll actually juice (hard produce and citrus vs leafy greens), how easy it is to clean — the single biggest reason juicers get abandoned — and the materials that touch your juice. Get those right and the specific model almost picks itself.
Read →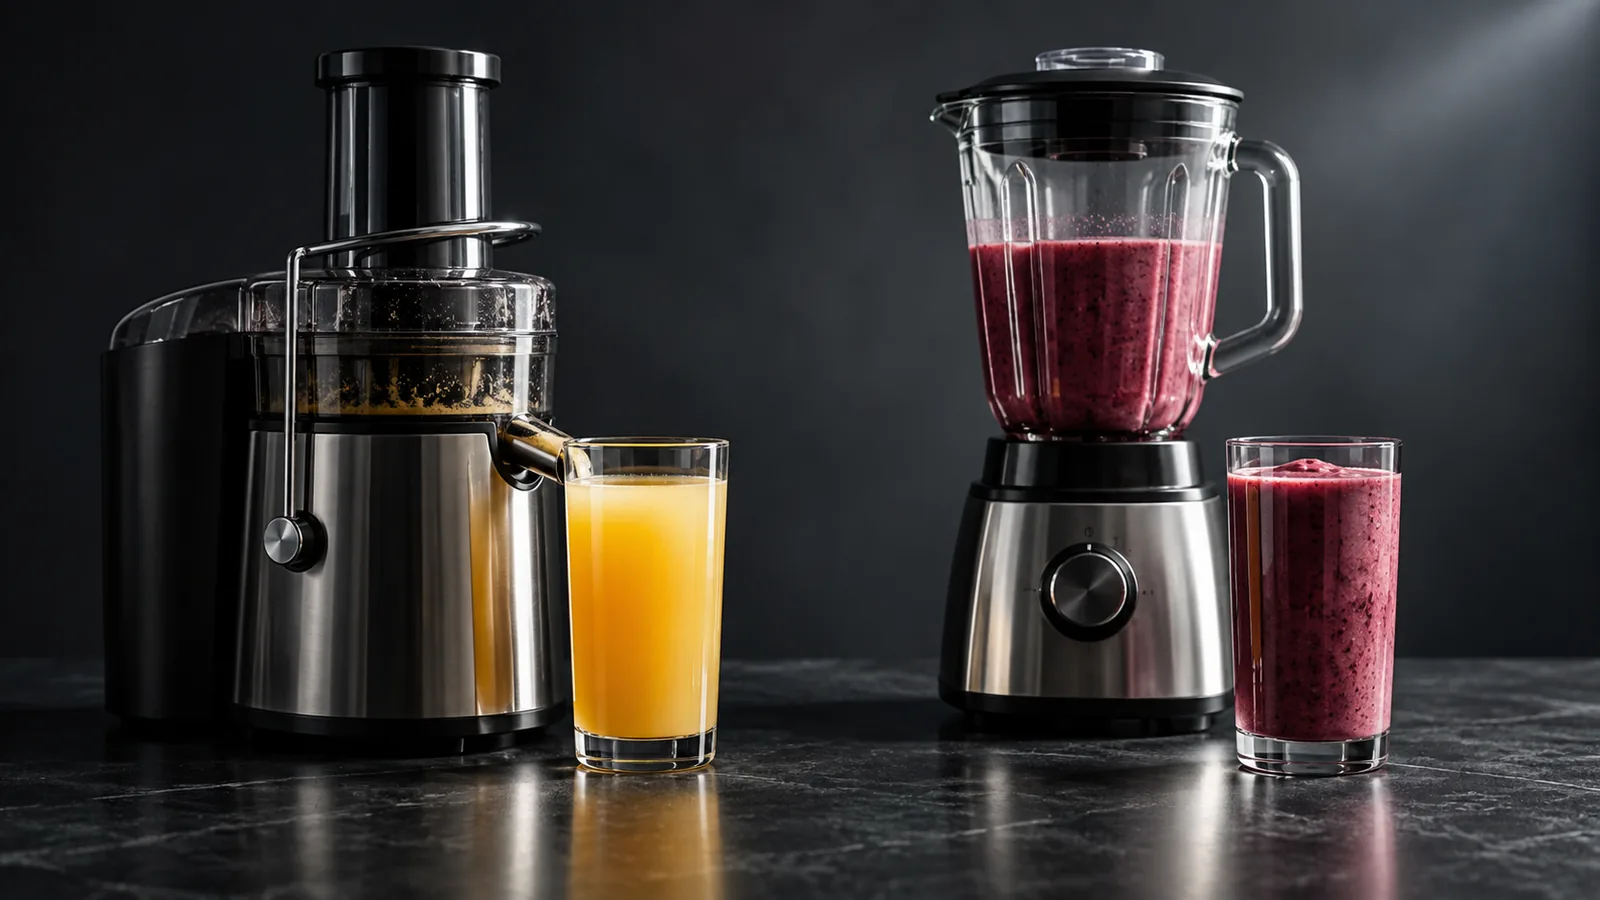
Juicer vs. Blender: Which One Do You Actually Need?
A juicer separates and discards the fiber to give you a concentrated liquid; a blender keeps the whole fruit or vegetable, fiber and all, as a thicker smoothie. Neither is 'healthier' in the abstract — they make different things. Here's what each actually does, who each one suits, whether you can juice in a blender, and how to decide if you can only buy one.
Read →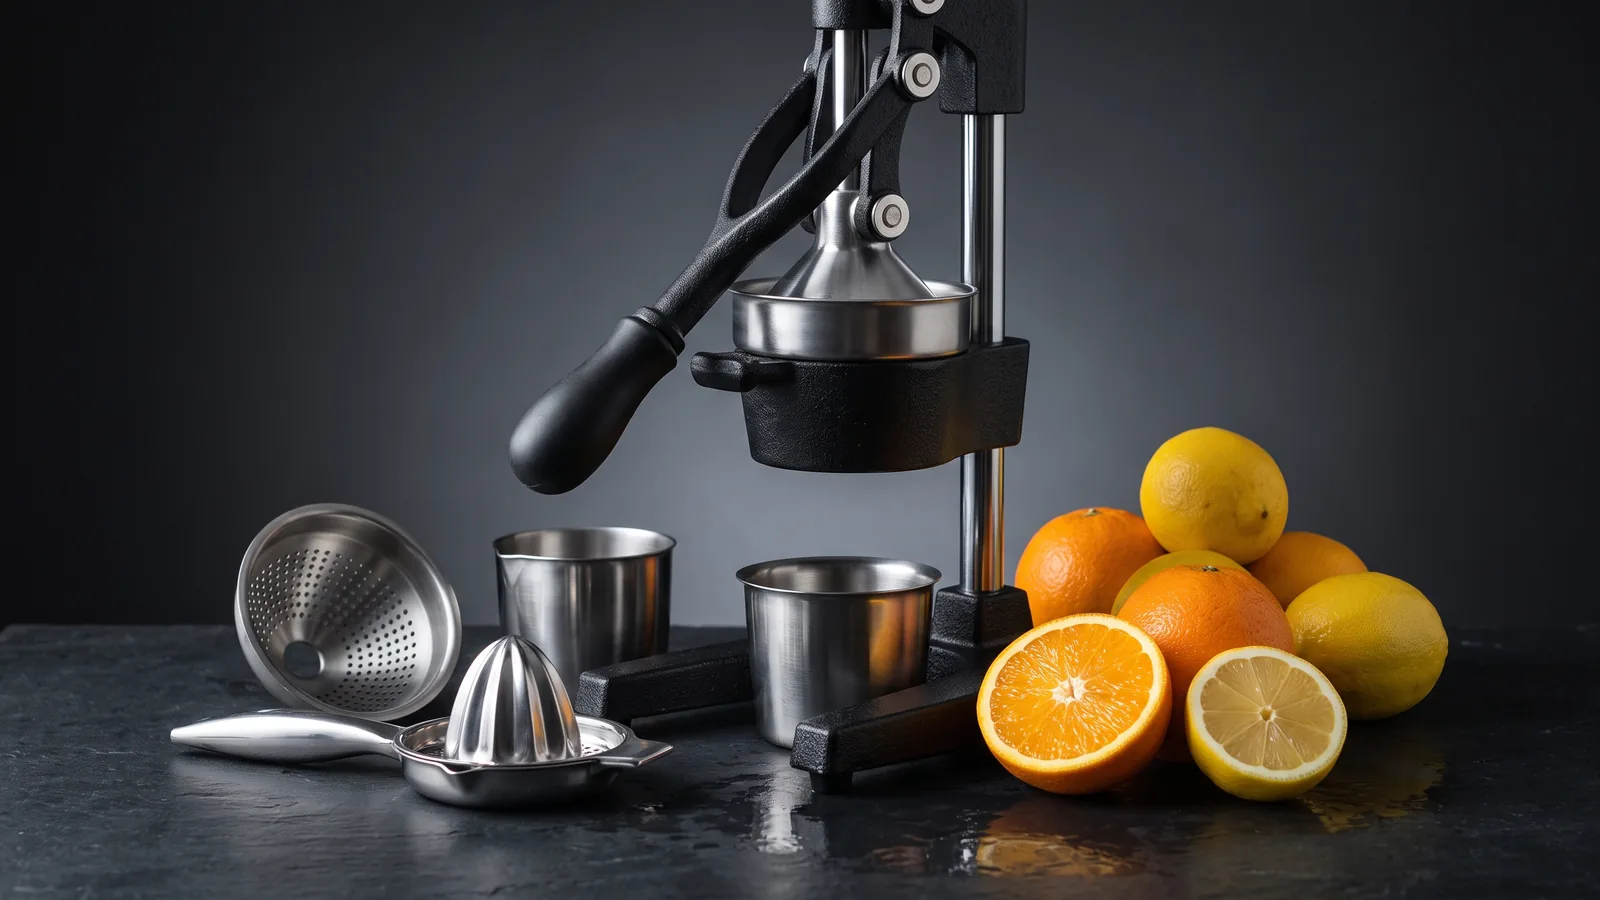
Non-Toxic & Plastic-Free Juicers: What to Look For
Most electric juicers have some plastic in the juice path, and the worry that drives these searches is what that plastic is and whether it's BPA-free. The honest picture: reputable juicers today generally use food-grade, BPA-free plastics, so a new machine from a known brand is designed to be safe — but if you want to minimize plastic contact entirely, the clearest routes are a cast-iron or stainless-steel citrus press and cold-press machines built with stainless augers and screens.
Read →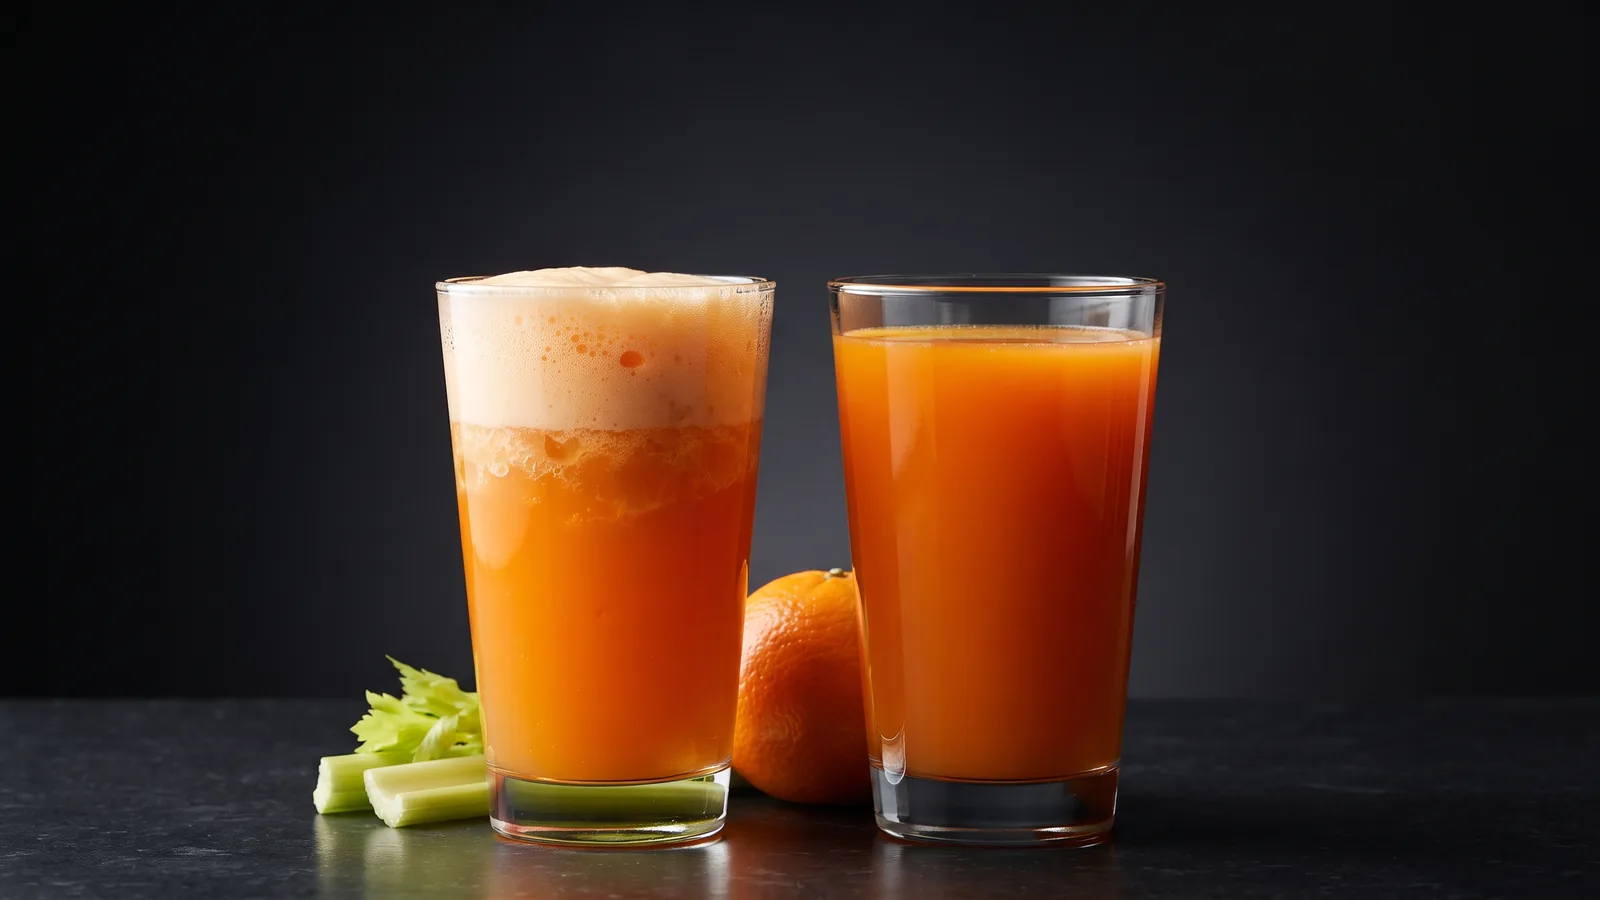
Centrifugal vs. Cold-Press Juicers: How They Differ
Centrifugal juicers shred produce against a fast spinning blade — quick, cheap, and easy to feed, but foamier and lower-yield. Cold-press (slow, masticating) juicers crush and squeeze slowly — more juice, less foam and oxidation, better with greens, but slower to use and clean. Here's exactly how the two designs differ, which one suits how you actually juice, and where a blender fits in.
Read →The Best Cold Press Juicers (Masticating) by Owner Reviews
The best cold press juicer for most kitchens is the Ninja NeverClog: a sensible price, a known brand, and owners who praise how easy it is to clean. The Nama J2 is the upgrade, with hands-free loading and equally strong feedback — and value is its one common complaint. Cleaning is the trait that separates cold press juicers owners keep using from the ones they abandon.
Read →Electric Pressure Cookers
Buying guides and ranked picks grounded in verified buyer data.
What Size Instant Pot Do I Need? 3, 4, 6 or 8 Quarts
Most households should buy a 6-quart Instant Pot: it suits three to five people and is the size most recipes and accessories are made for. Choose 3 or 4 quarts for one or two people, and 8 quarts for five or more or for batch cooking. Remember the usable capacity is smaller than the label: a pressure cooker should be no more than two-thirds full, and half full for foods that expand.
Read →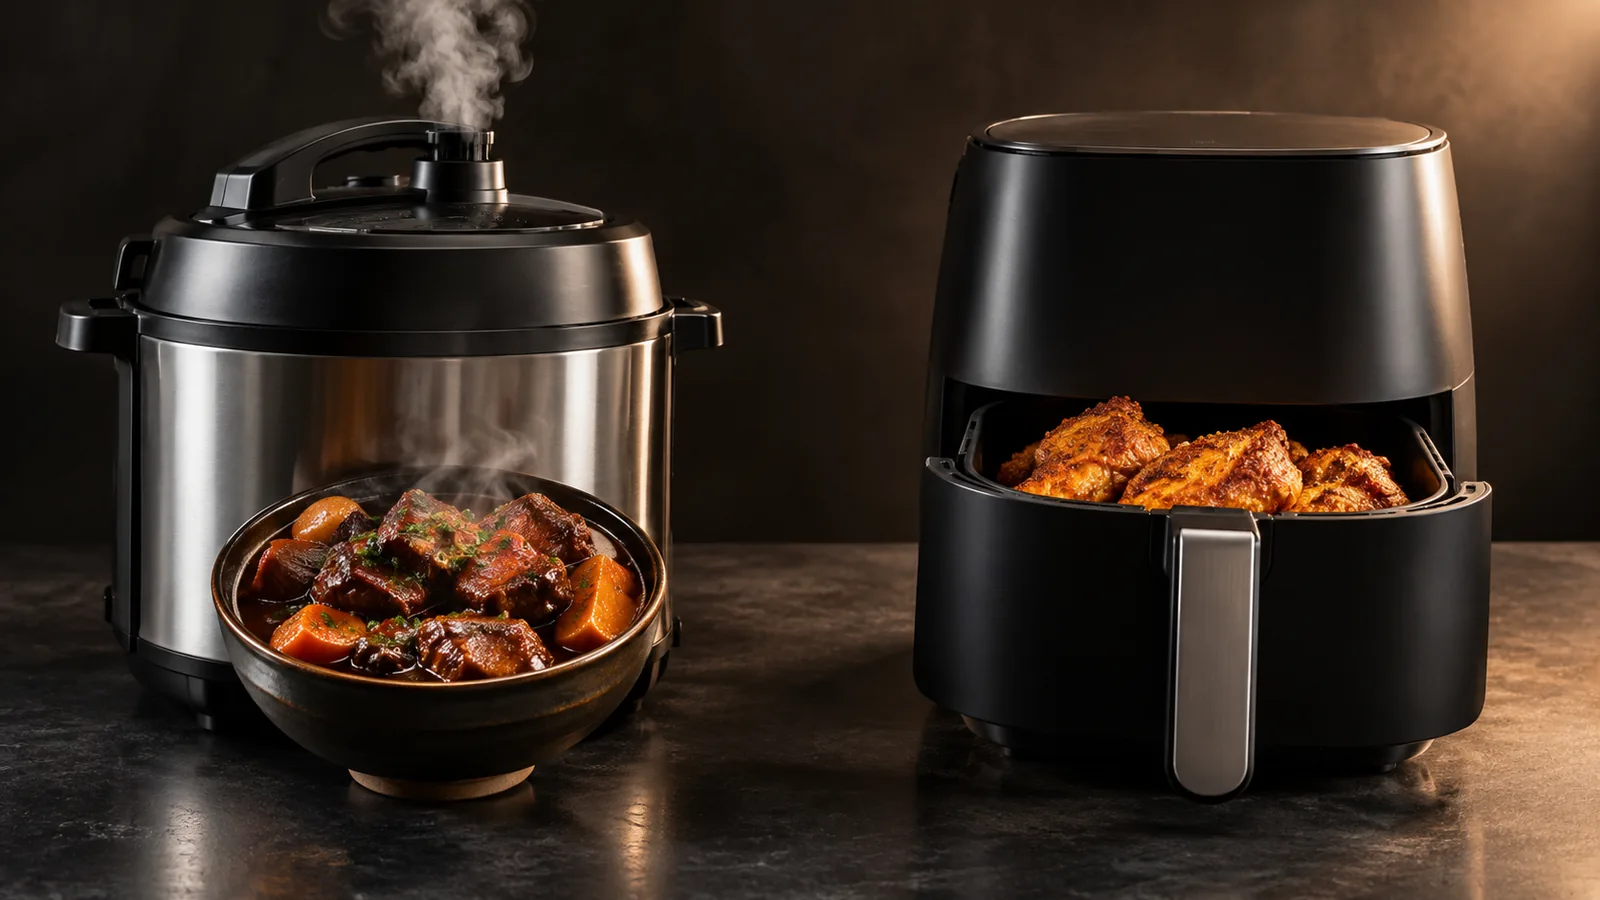
Pressure Cooker vs. Air Fryer: Which Do You Need?
They do opposite things: a pressure cooker adds moisture and cooks fast under steam pressure — great for stews, beans, rice, and tough cuts — while an air fryer removes moisture with hot circulating air to crisp and brown — great for fries, wings, and roasted vegetables. Neither replaces the other, which is exactly why combo machines that do both in one pot exist. Here's how to decide, and when one appliance can cover both jobs.
Read →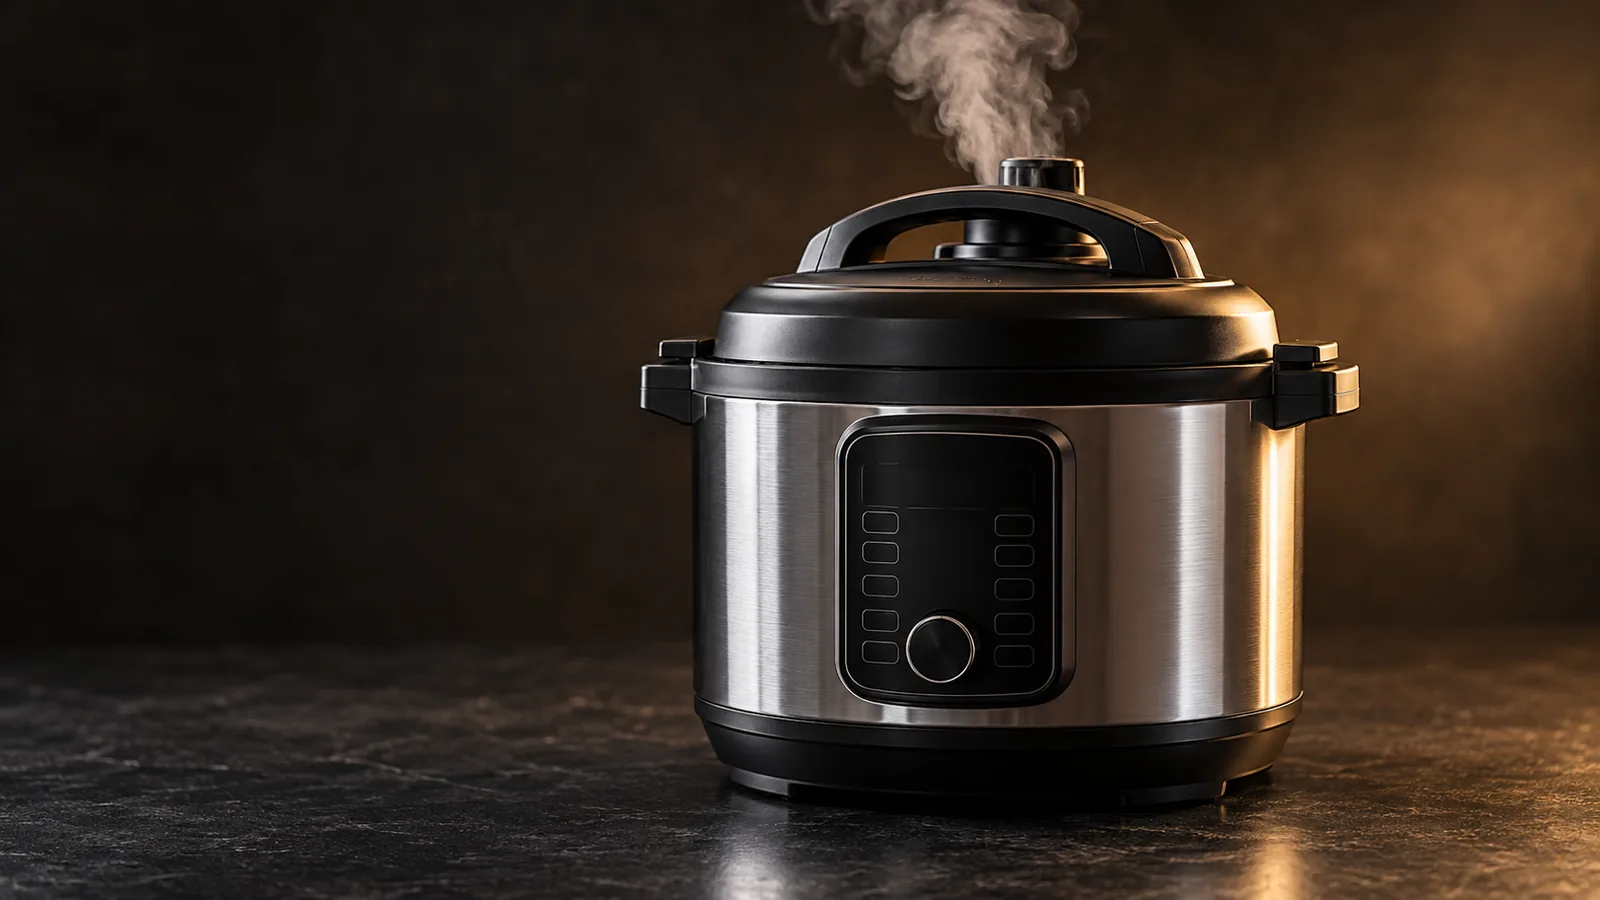
Electric Pressure Cookers & Canning: What's Actually Safe
Here's the honest answer most people are looking for: a standard electric pressure cooker like an Instant Pot is not recommended for pressure canning low-acid foods, because safe canning requires an exact, held temperature that a general multi-cooker isn't verified to reach. This isn't a small caveat — with low-acid foods it's a botulism-safety issue. This guide explains the two kinds of canning, why your multi-cooker usually can't do the risky one, and what to buy if you want to can safely.
Read →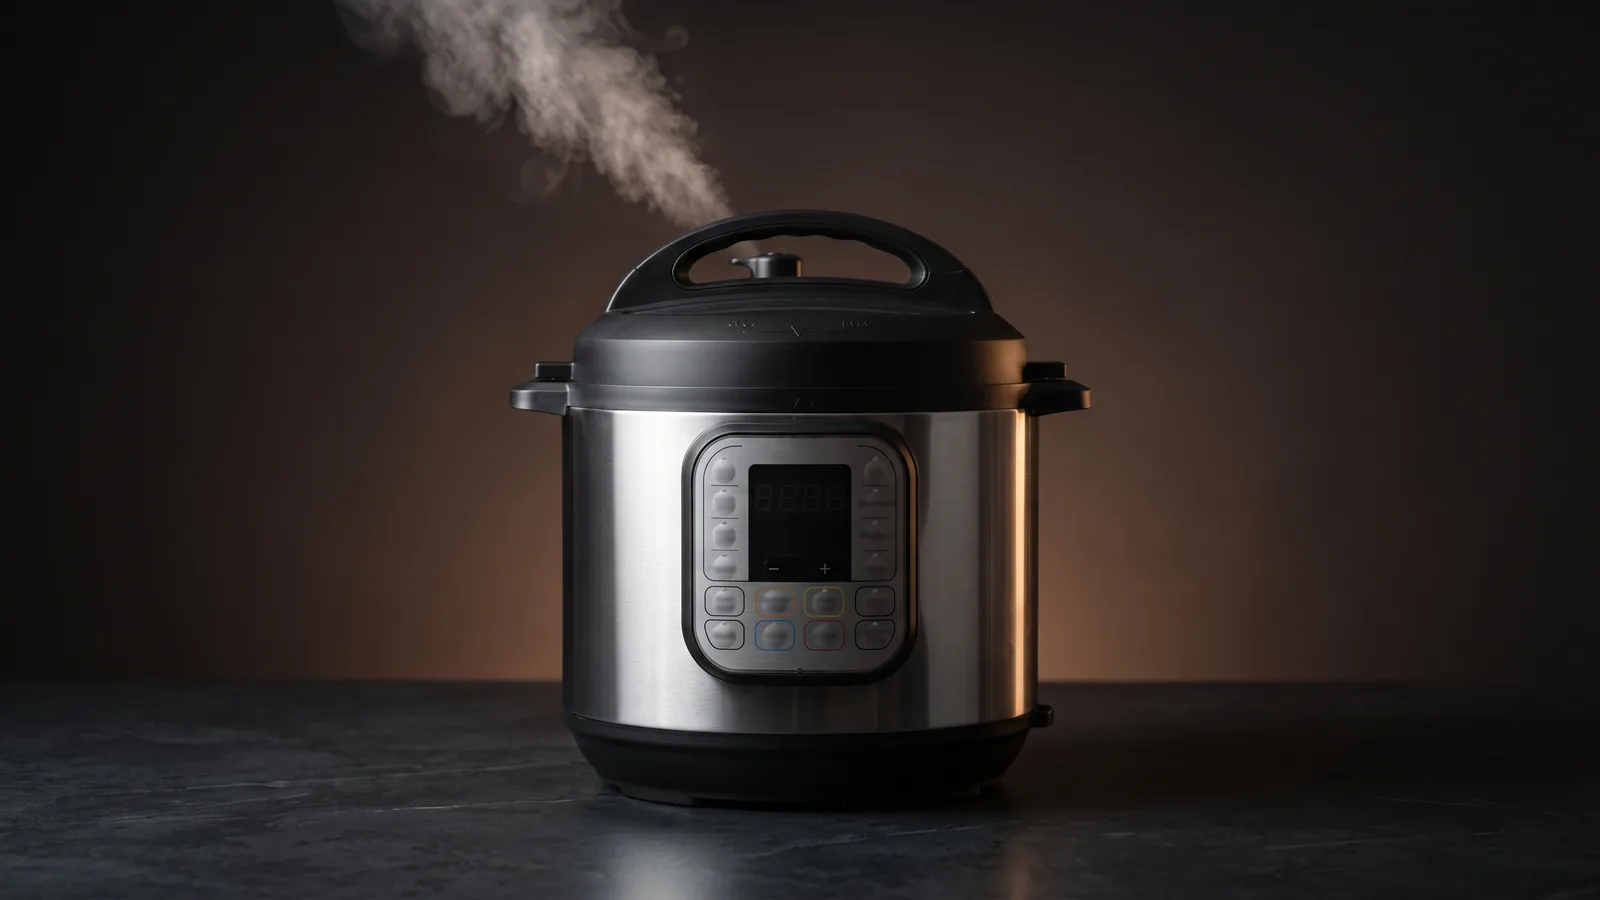
How to Choose an Electric Pressure Cooker: Size & Features
Four things settle which electric pressure cooker to buy: the size (3, 6, or 8 quarts, matched to your household — 6 is the safe default), how many functions you actually need (a plain pressure cooker vs a do-everything multi-cooker), the inner-pot material, and whether you need to can (you'll need a different machine for that). Get those right and the model nearly picks itself.
Read →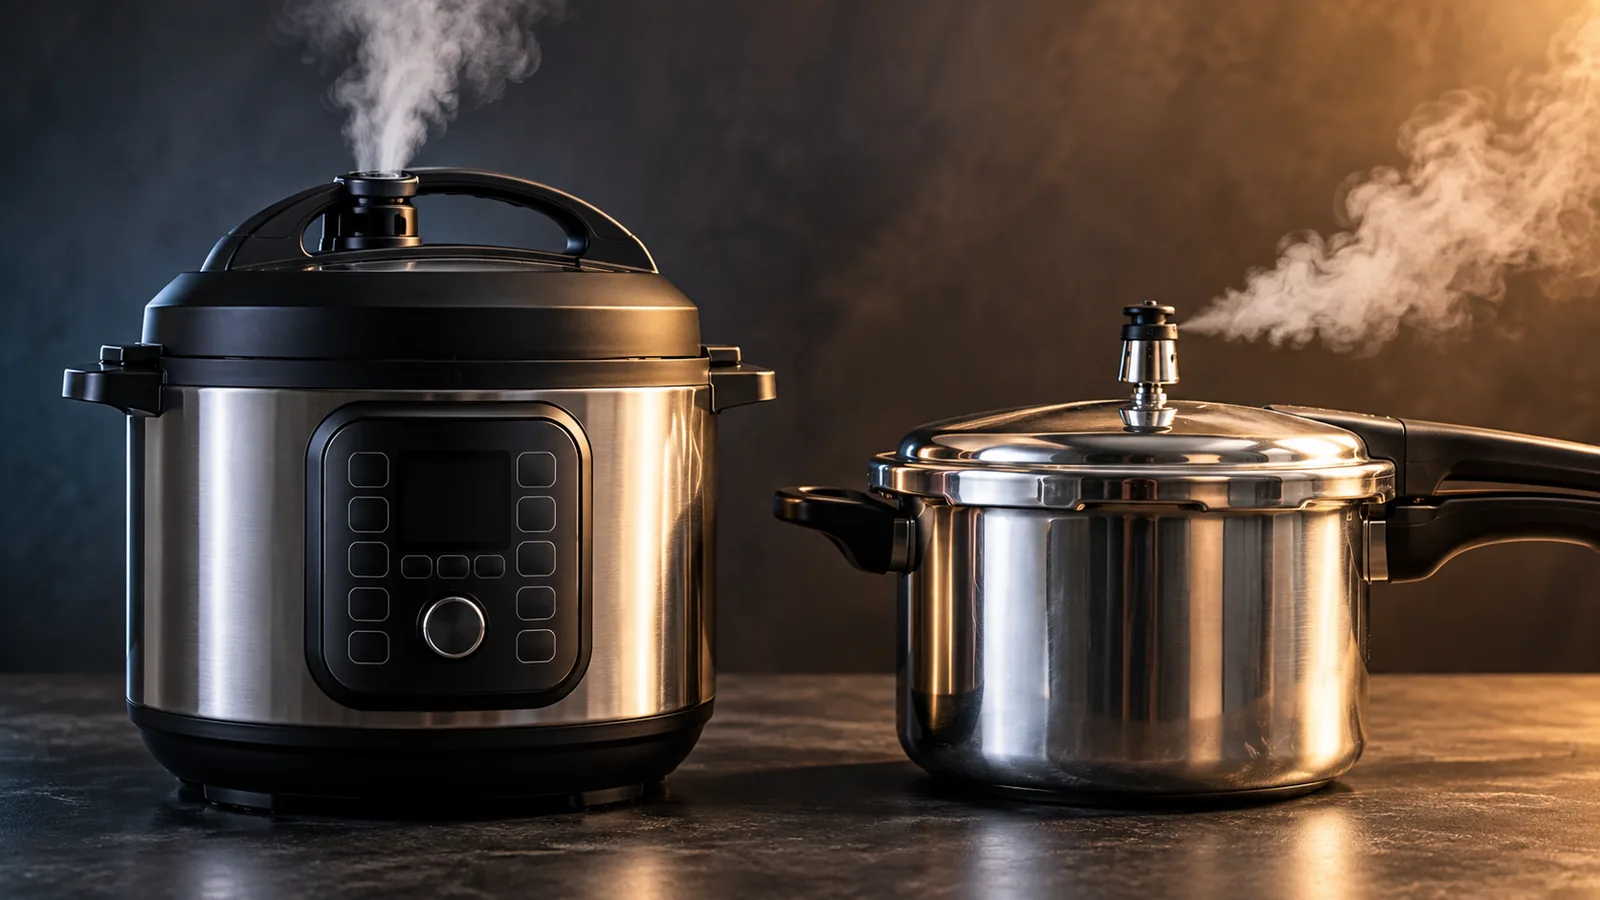
Instant Pot vs. Pressure Cooker: What's the Difference?
An Instant Pot is a pressure cooker — specifically an electric, multi-function one, from the brand so popular its name became shorthand for the whole category. The real distinctions worth knowing are electric vs stovetop pressure cookers (convenience vs speed and higher pressure), and multi-cooker vs single-purpose (does it also slow-cook and saute, or just pressure cook). Here's what actually separates them and which suits you.
Read →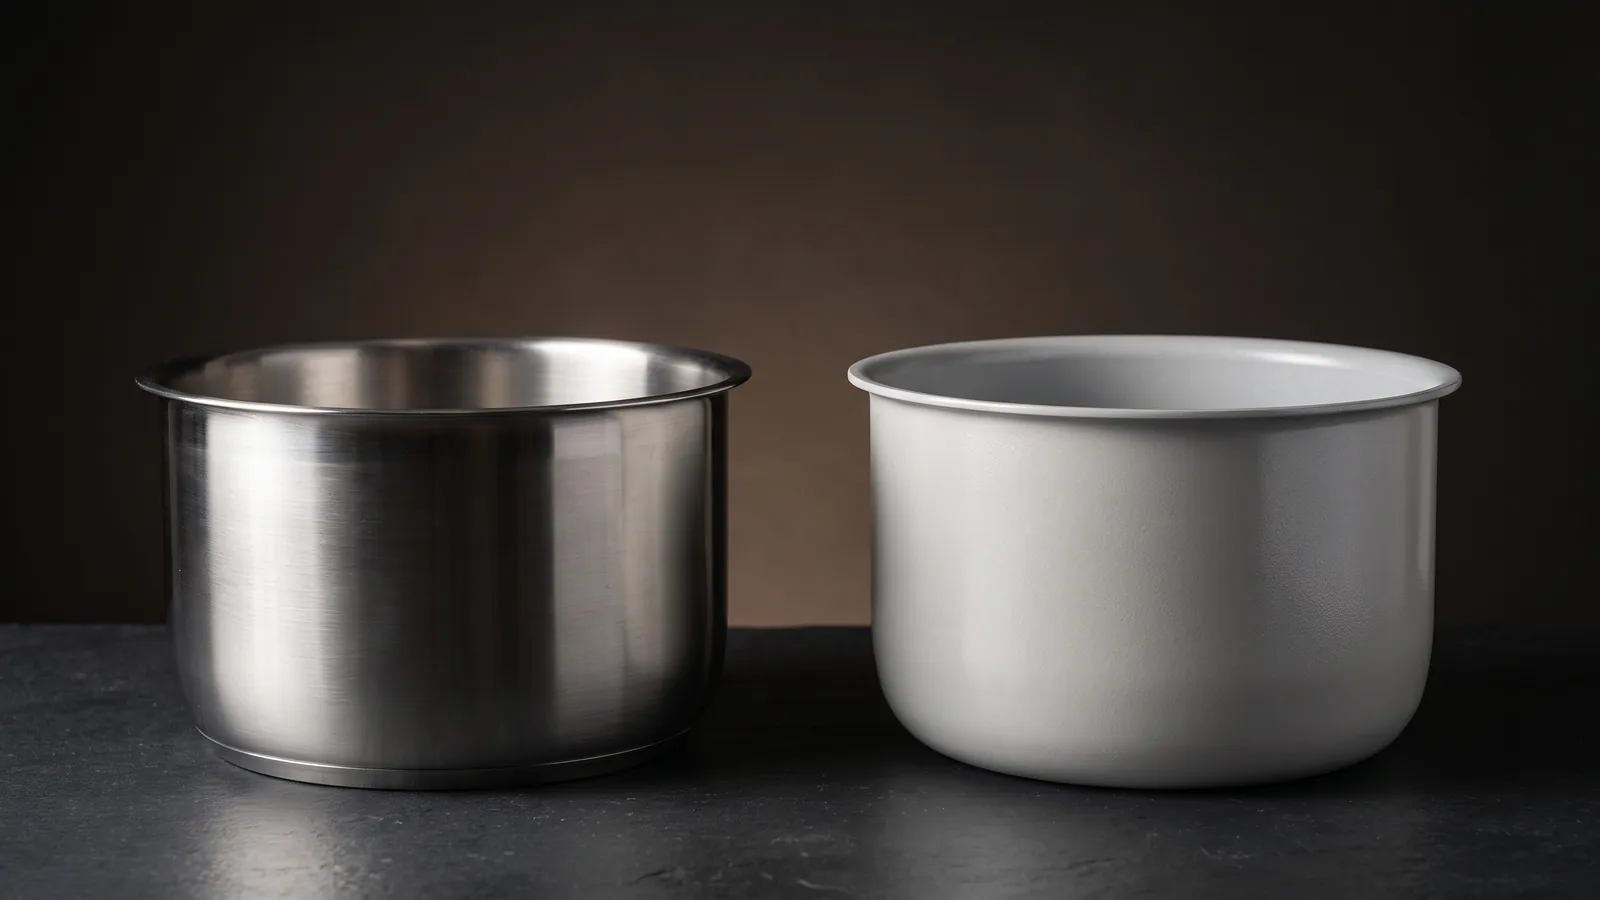
Non-Toxic Electric Pressure Cookers: Stainless vs Ceramic
The inner pot is the only part your food touches, so that's where 'non-toxic' is decided. Most Instant Pots already use a bare 18/8 stainless-steel pot with no coating at all — many people's first choice. If you want easy nonstick release without a traditional PTFE coating, a ceramic-coated pot is the middle ground. Here's what each inner-pot material actually is, which is safest for you, and which cookers use them.
Read →Drip Coffee Makers
Buying guides and ranked picks grounded in verified buyer data.
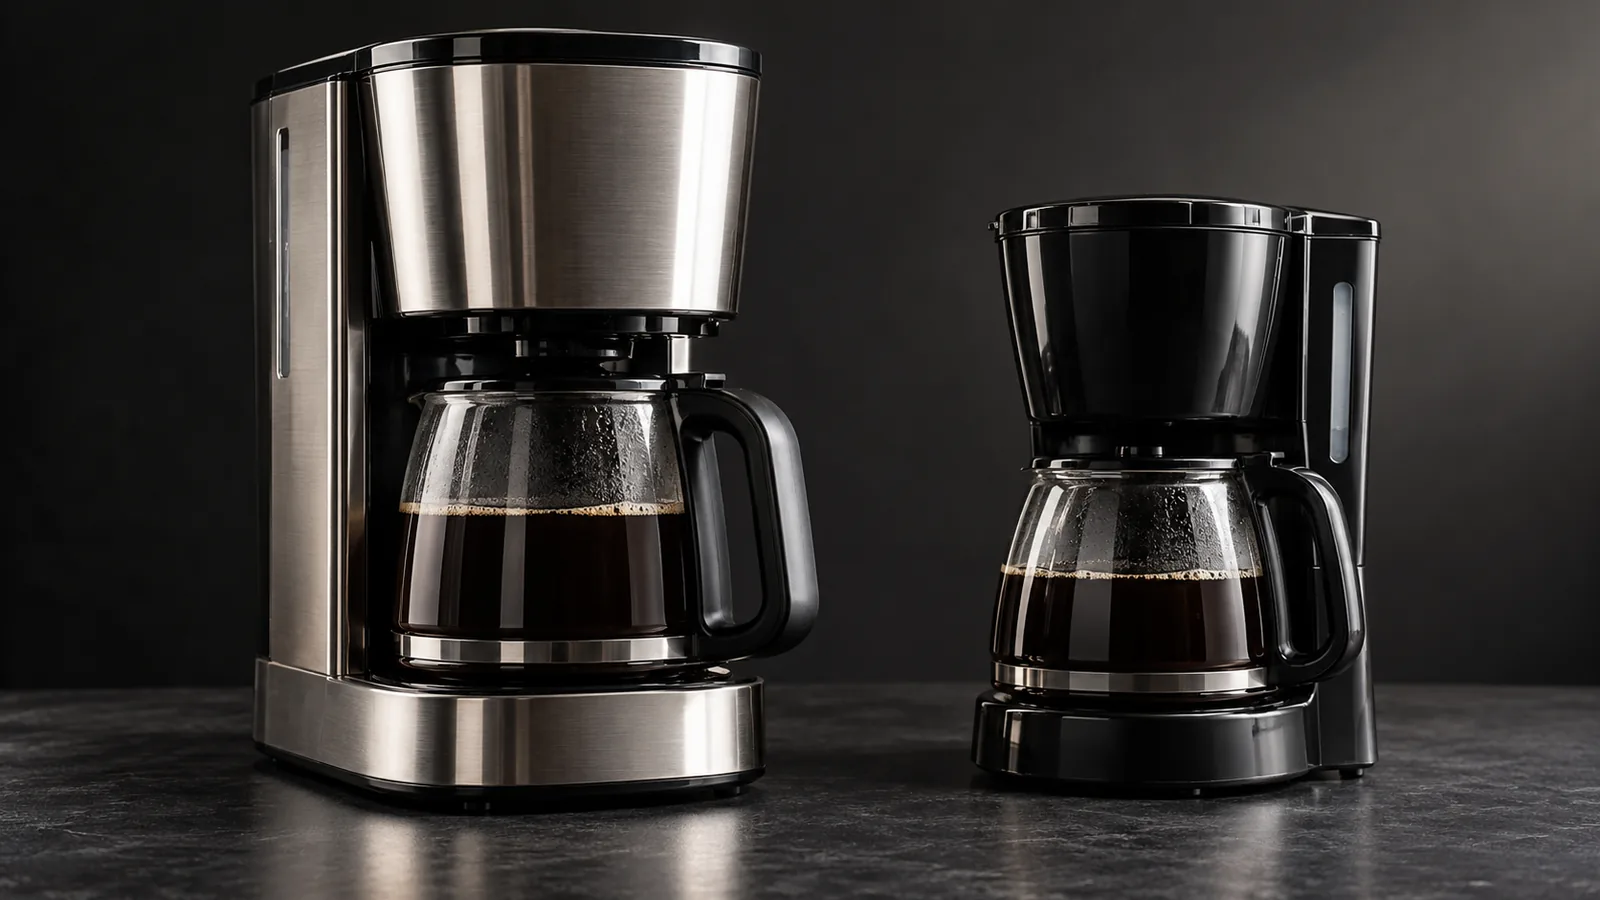
Premium vs Budget Drip Coffee Maker: What You Actually Pay More For
A $25 drip machine and a $200 one both make a pot of coffee — but not at the same temperature. The big thing you pay more for is brew heat: budget machines run 165–185°F and taste flat, while SCA-certified machines hit 195–205°F, where coffee actually extracts. Add even saturation, thermal carafes, and durability. Here is where the money goes.
Read →
Coffee Maker Buyer Report 2026: What 2,399 Owner Reviews Reveal
We analyzed 2,399 verified owner-review mentions across 13 of the most-reviewed coffee makers to find what buyers consistently praise and criticize. The headline finding is counterintuitive: the category's most common weak point is design, not brewing performance. Machines mostly brew and hold heat well — where they lose owners is aesthetics, controls, and build.
Read →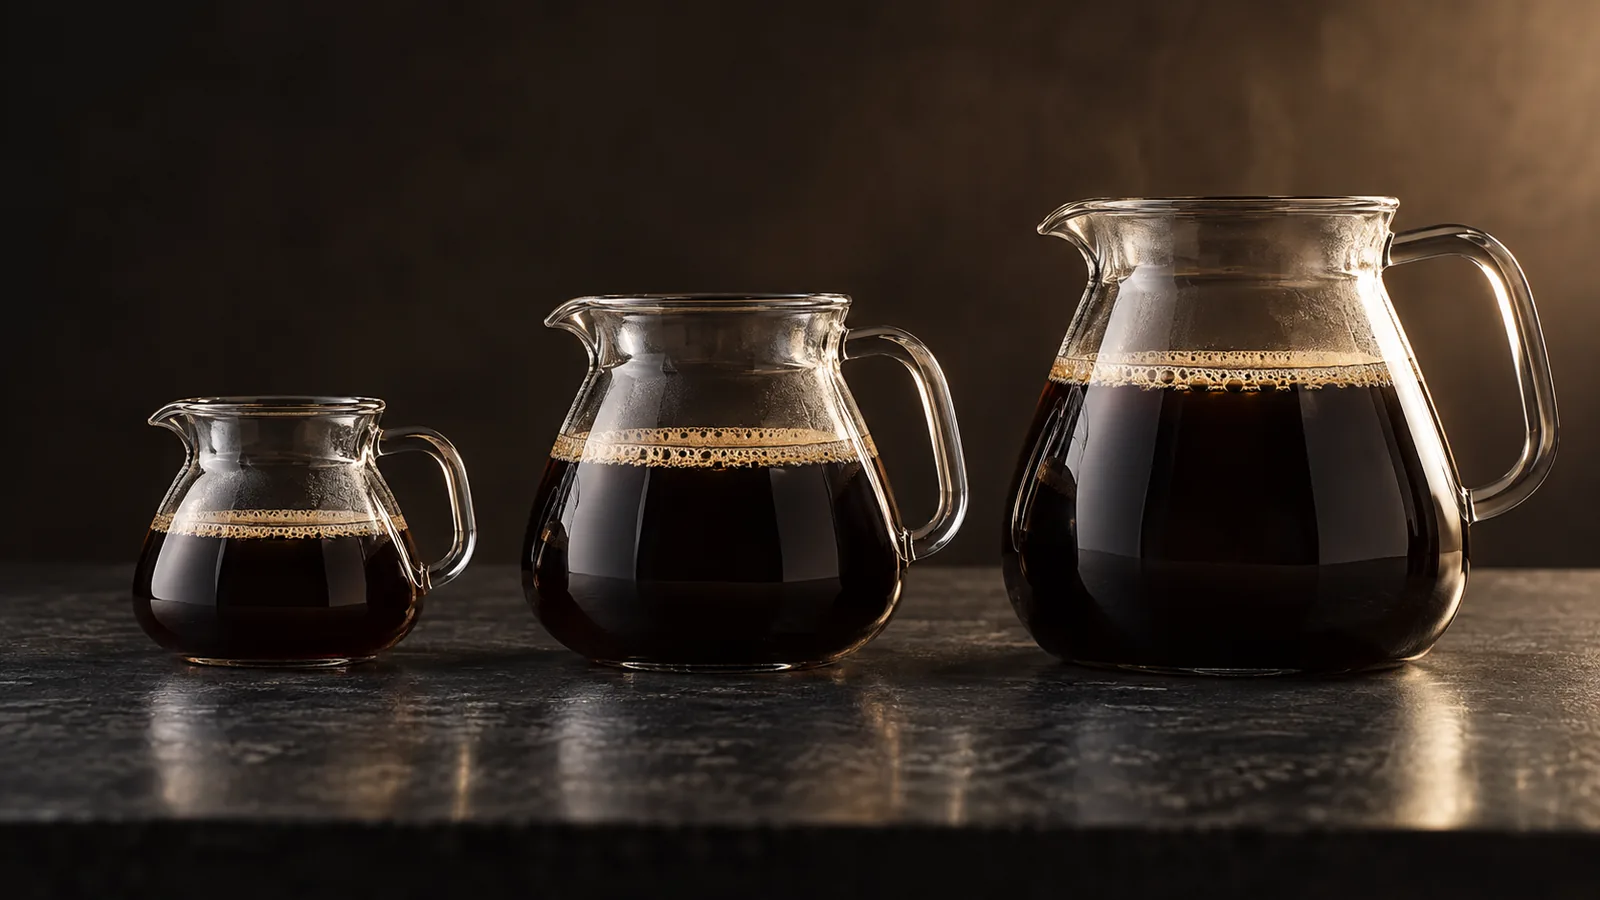
Coffee Maker Sizes: How Many Ounces Per Cup? (2026)
Coffee makers come in three broad sizes — 4-cup, 8–10-cup, and 12–14-cup — but a drip 'cup' is 5 ounces, not 8, so a 12-cup machine makes 60 oz. Capacity regret runs almost entirely toward buying too large: estimate your actual daily intake and buy one step above it, not two.
Read →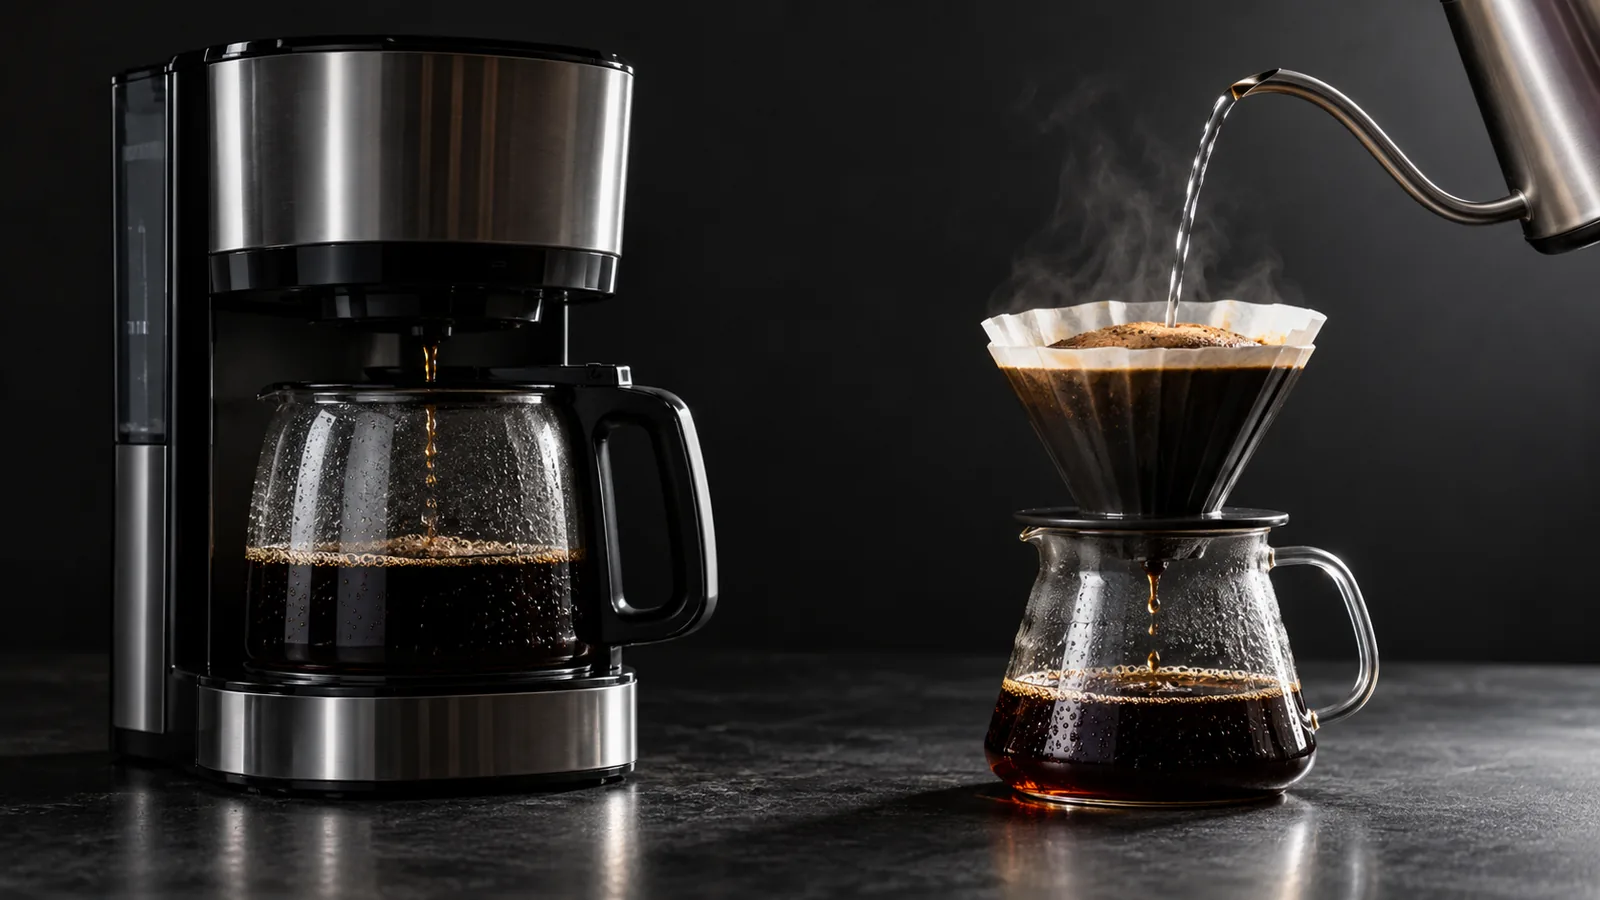
Drip Coffee Maker vs Pour-Over: Which Produces Better Coffee
Pour-over produces better coffee than most drip machines, but an SCA-certified drip machine narrows the gap significantly — and beats every pour-over on convenience. The real question is whether you want to be involved in the brewing process or get consistent coffee at the push of a button.
Read →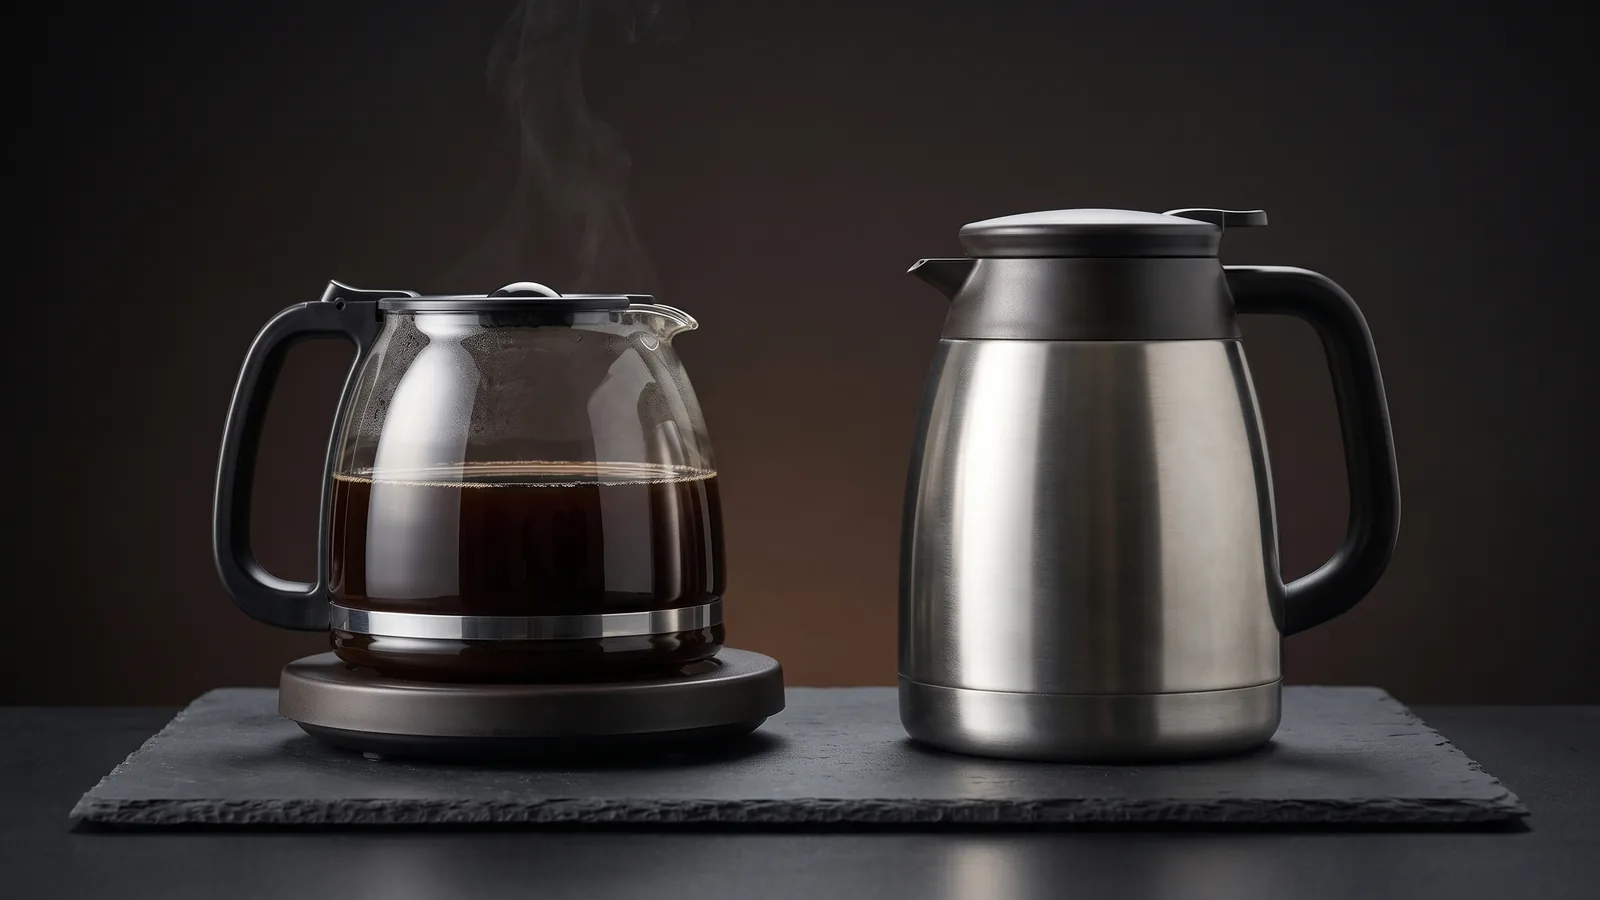
Glass Carafe vs Thermal Carafe: Which Is Better for Drip Coffee
Glass carafes with warming plates burn coffee after 20–30 minutes on heat, which is the primary complaint from buyers who brew and return to the pot later. Thermal carafes hold heat for 2–4 hours without burning. The right choice depends entirely on when you drink your second cup.
Read →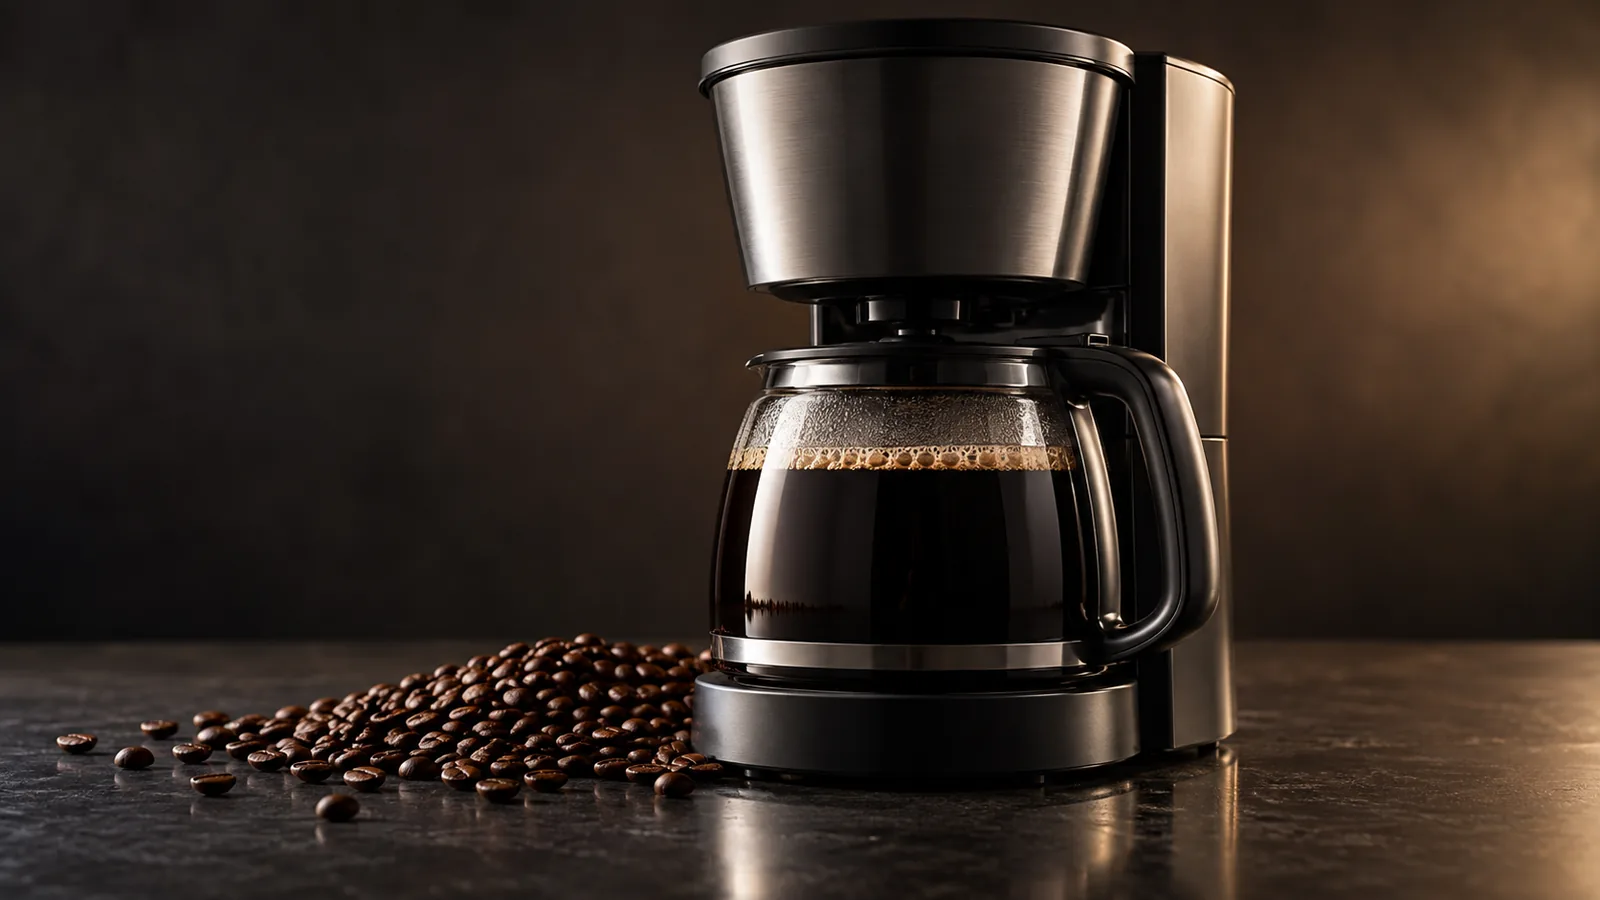
How to Choose a Drip Coffee Maker: Brew Temperature, Carafe Type, and What Actually Matters
Most drip coffee maker buying decisions come down to three questions: what temperature does it actually brew at, which carafe keeps coffee hotter for longer without burning it, and does the capacity match how much coffee you actually make. Everything else is secondary.
Read →Food Processors
Buying guides and ranked picks grounded in verified buyer data.
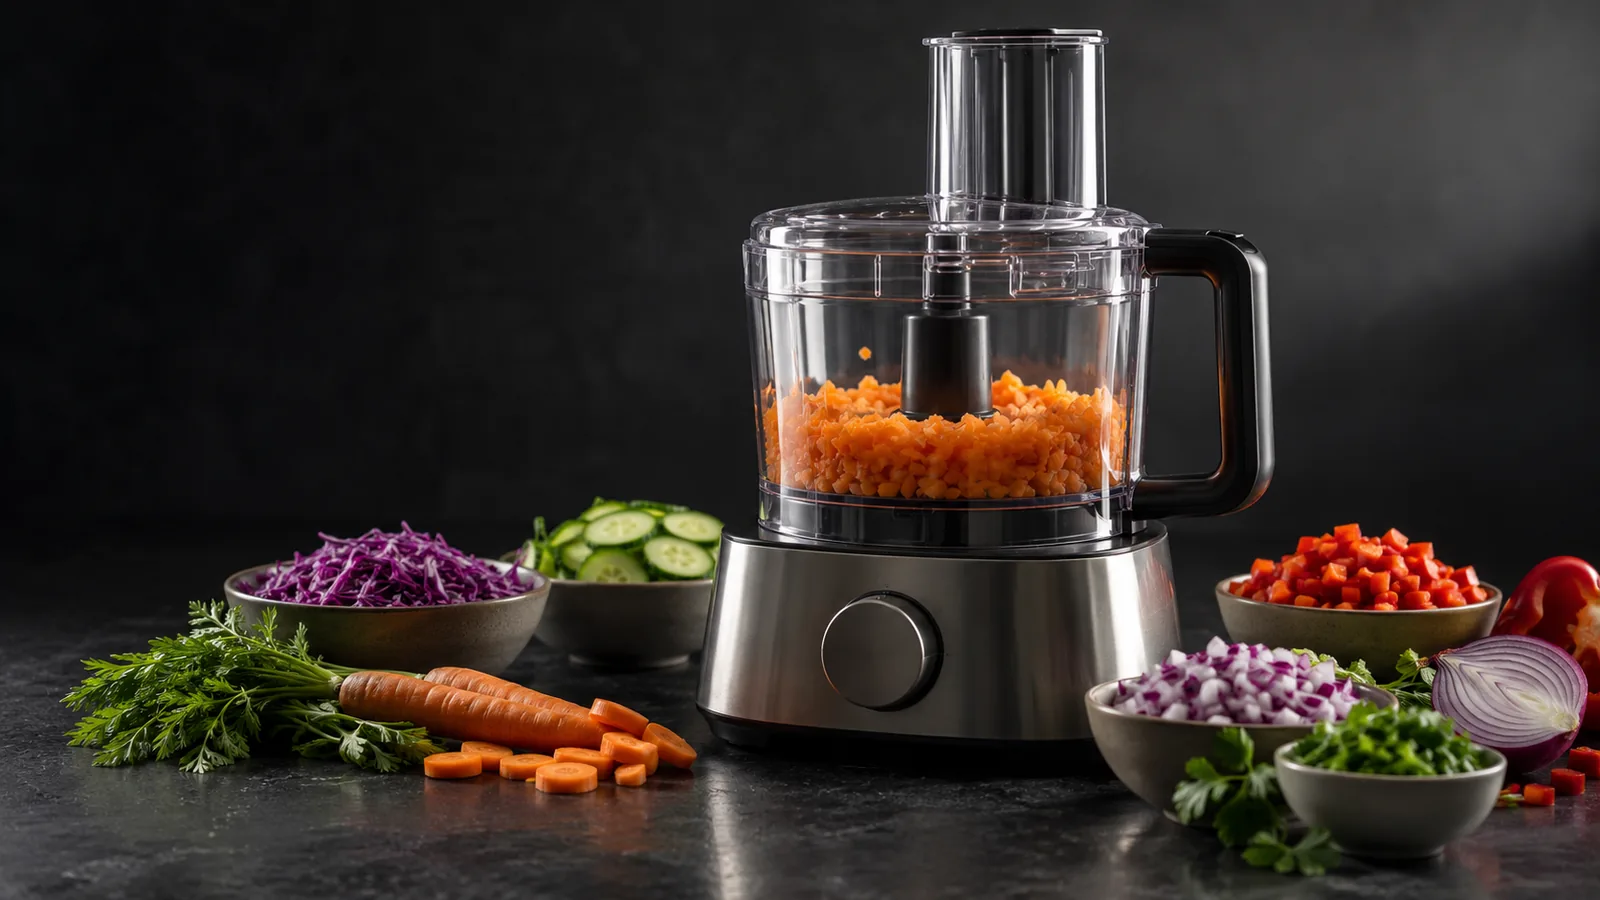
Food Processor Buyer Report 2026: What 1,188 Owner Reviews Reveal
We analyzed 1,188 verified owner-review mentions across 12 of the most-reviewed food processors to find what buyers consistently praise and criticize. The headline is counterintuitive: the category's most common weak point is blending — a job a food processor was never built for. On its actual work, it not only delivers, it beats its own marketing claims. The real fault line is value: buyers split harder on whether a processor is worth its price than on anything else.
Read →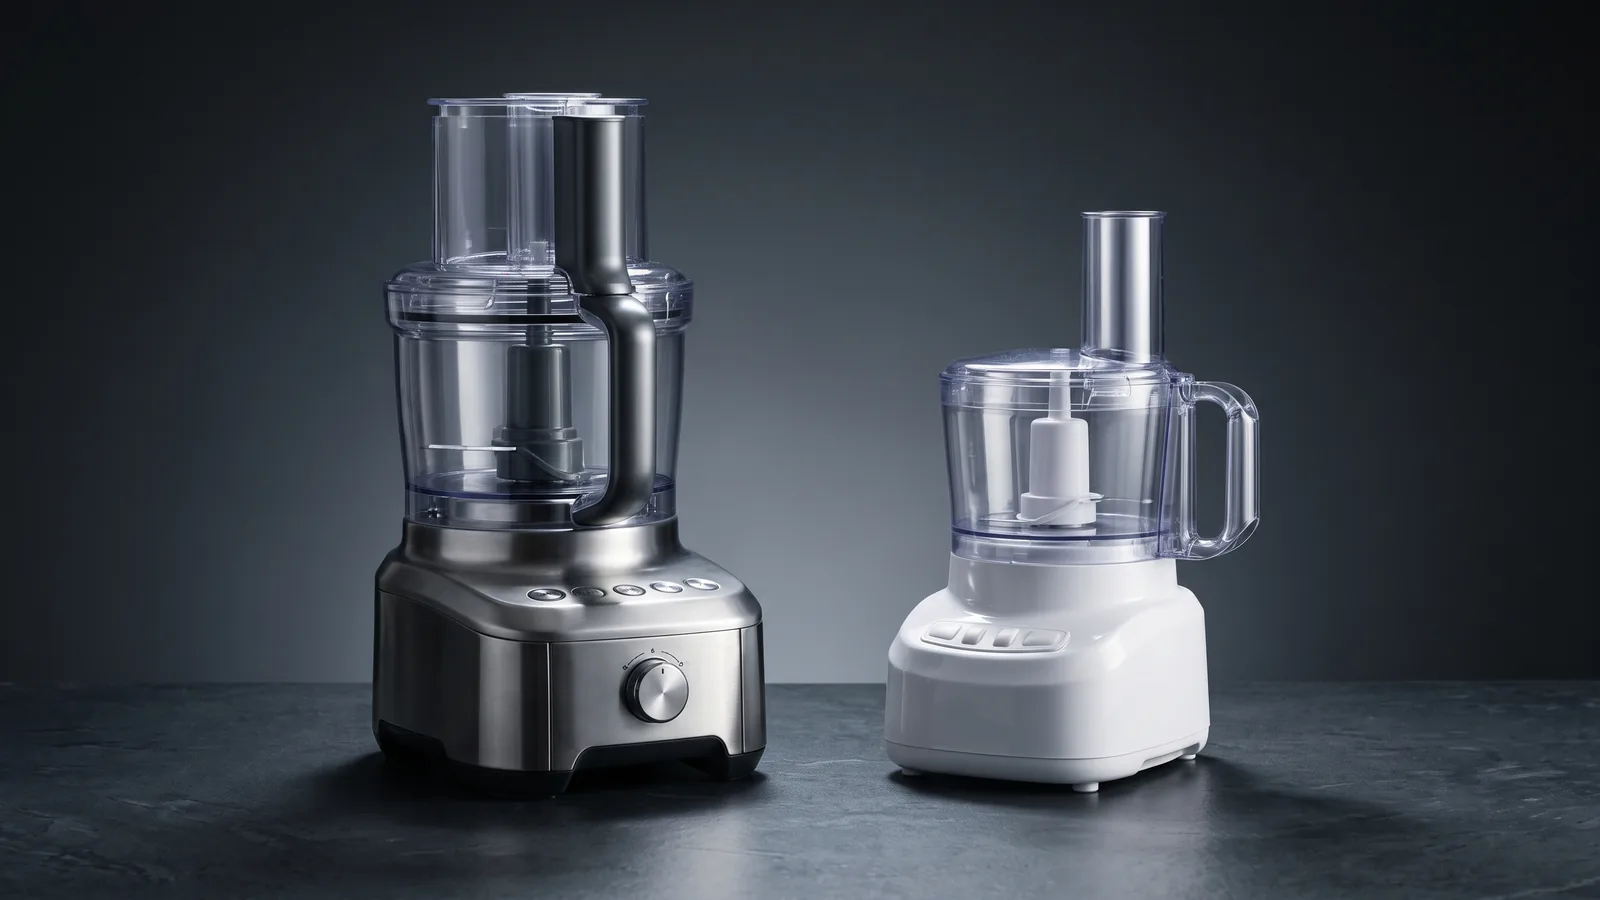
Premium vs Budget Food Processor: What You Actually Pay More For
A $40 food processor and a $250 one both chop an onion. What the extra money buys is a motor that survives dough and nut butter, a bowl and lid that do not crack, sharper and more numerous discs, and quieter operation. For chopping and basic prep, budget is fine. For endurance tasks, the cheap one is the one that breaks.
Read →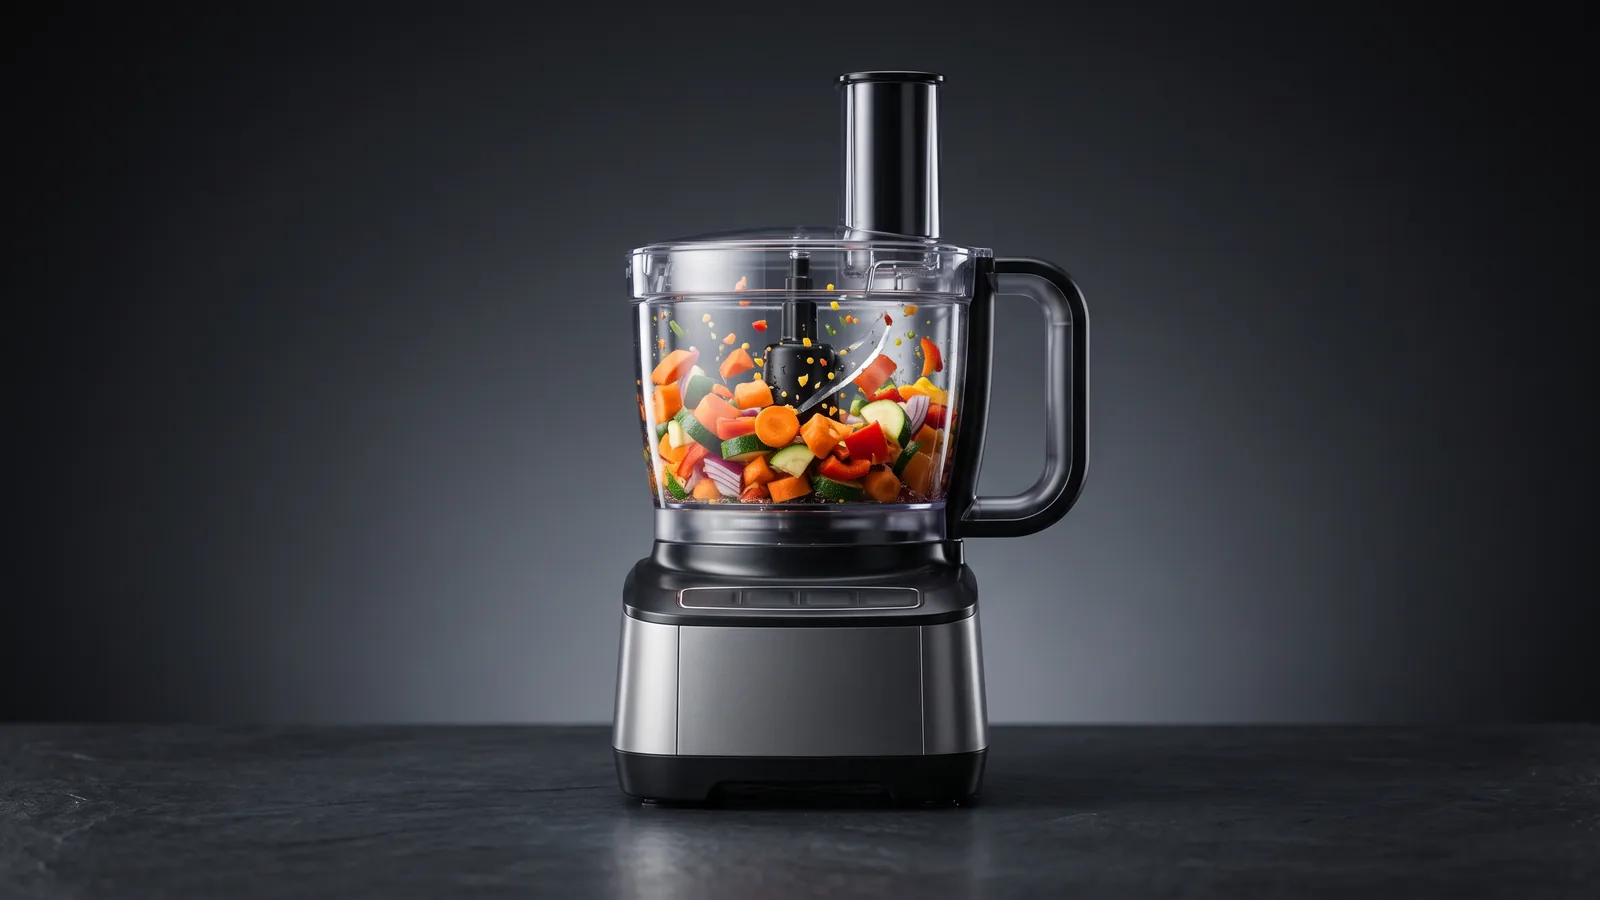
How to Use a Food Processor: A Beginner's Guide
Using a food processor is simple once you know three things: assemble it in the right order (bowl, blade, food, then lock the lid), pulse instead of running it continuously for most jobs, and never fill past the bowl's limits. Every brand — Cuisinart, KitchenAid, Ninja — works on the same principles.
Read →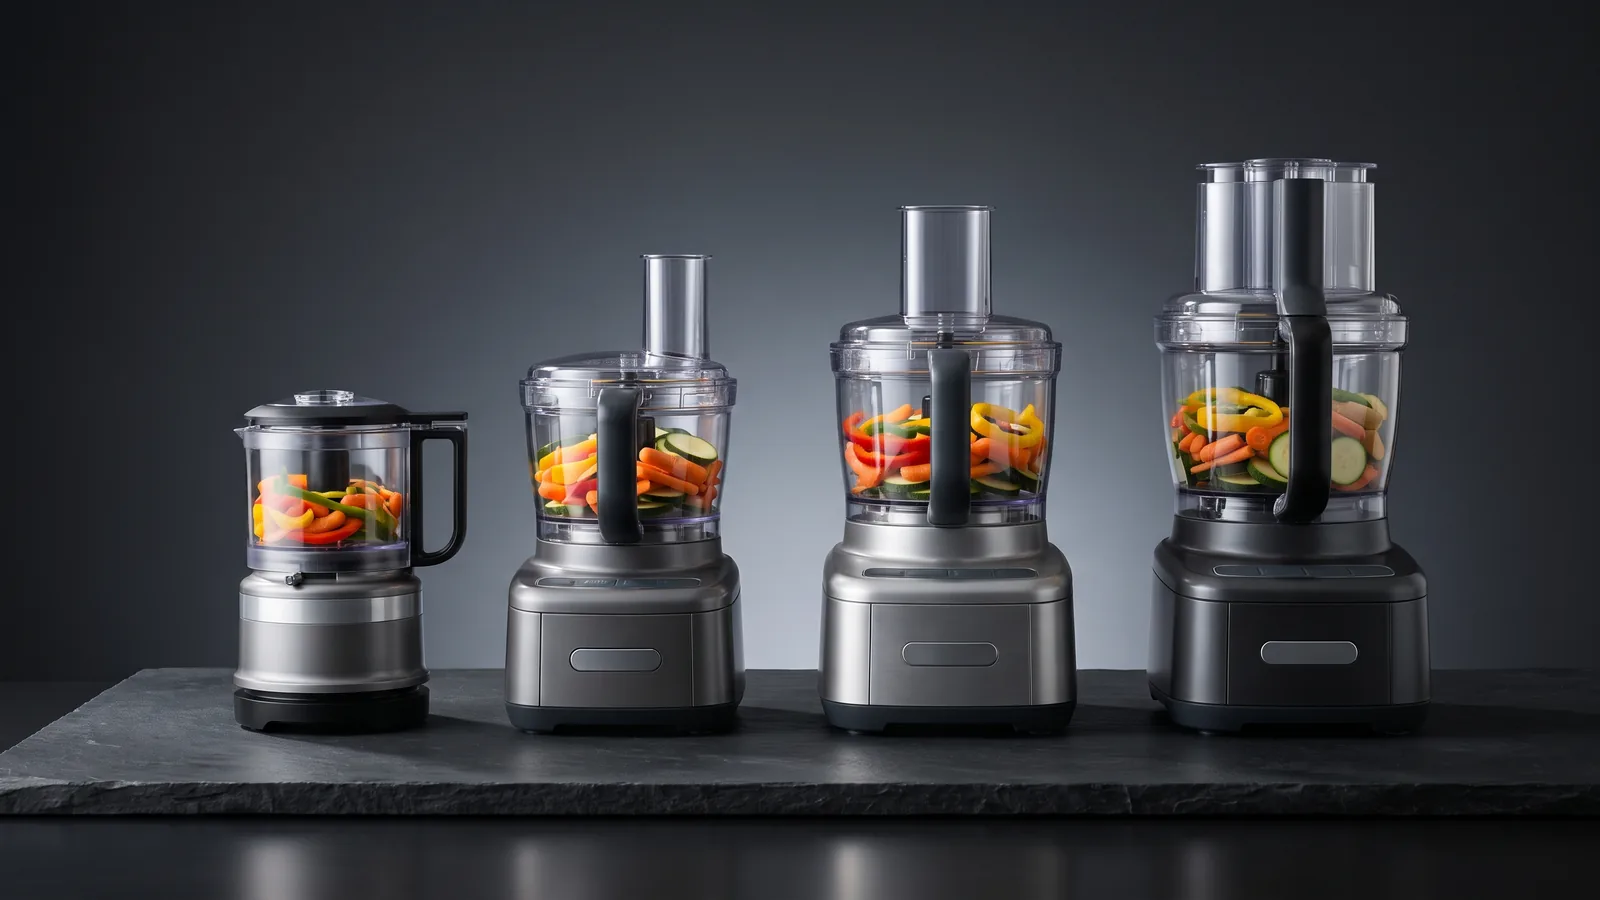
Food Processor Sizes: What Size Do You Need? (2026 Guide)
Food processor size is the bowl's dry capacity in cups. Most one- to two-person kitchens are best served by a 3-4 cup mini or a 7-9 cup midsize; a family of four wants 9-11 cups, and batch cooks want 12-14. The catch: the rated number is for dry ingredients, liquid capacity is far lower, and an oversized bowl processes small amounts poorly.
Read →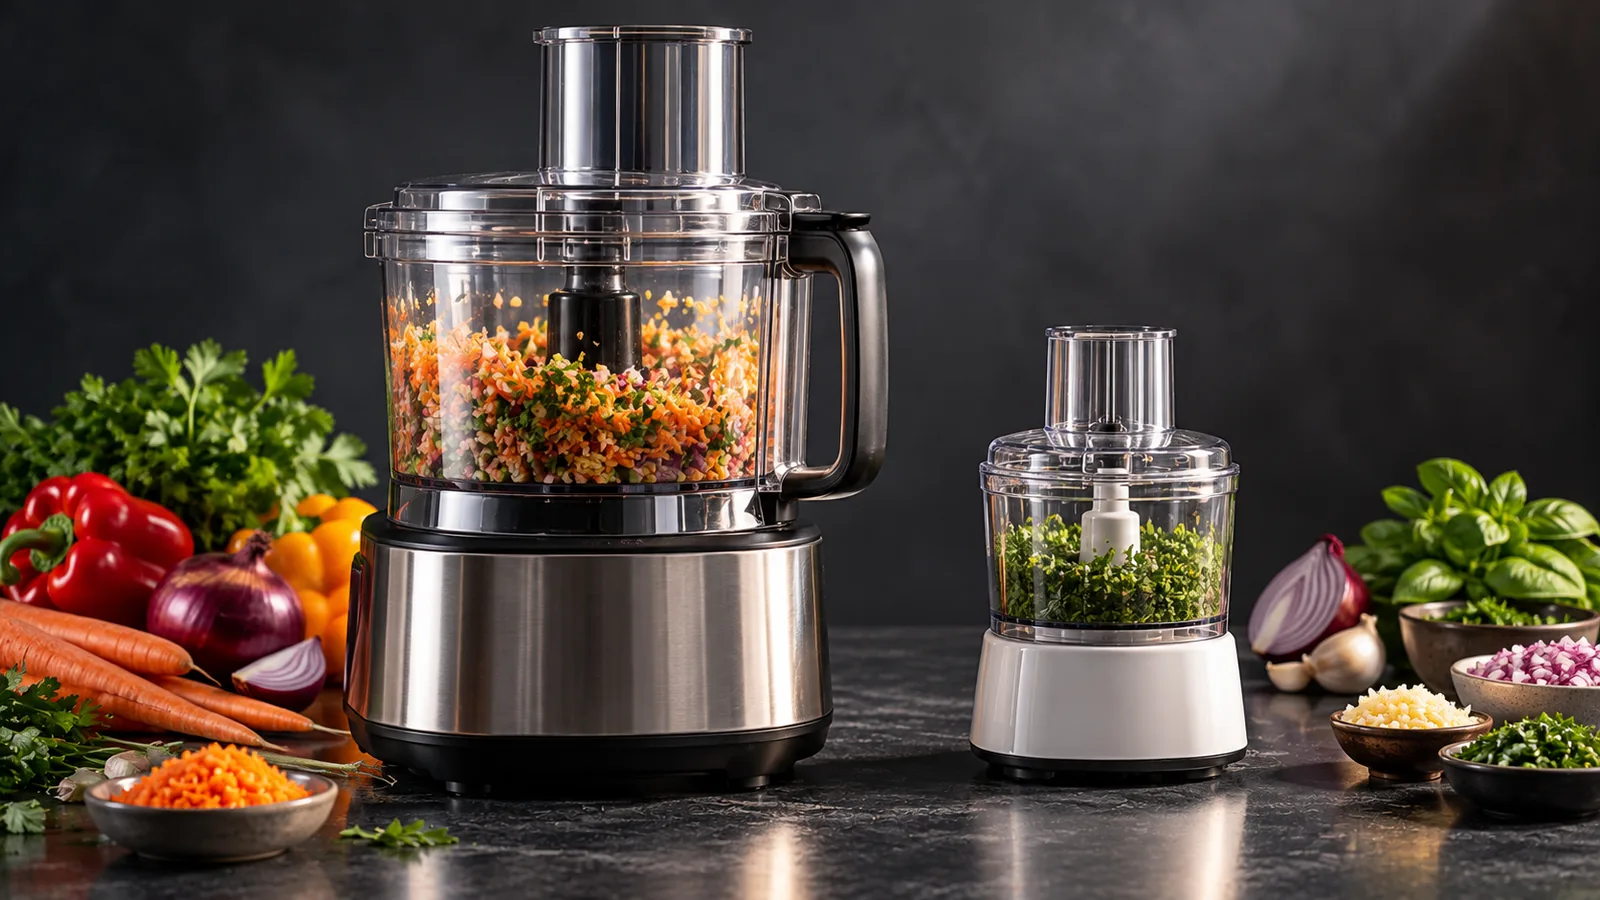
Full-Size vs Mini Food Processor: Which Do You Actually Need
Full-size and mini food processors are not the same tool at different scales — they have different use cases that do not substantially overlap. Buyers who own both consistently report using each for tasks the other handles poorly. The question is not which is better but which tasks you actually cook.
Read →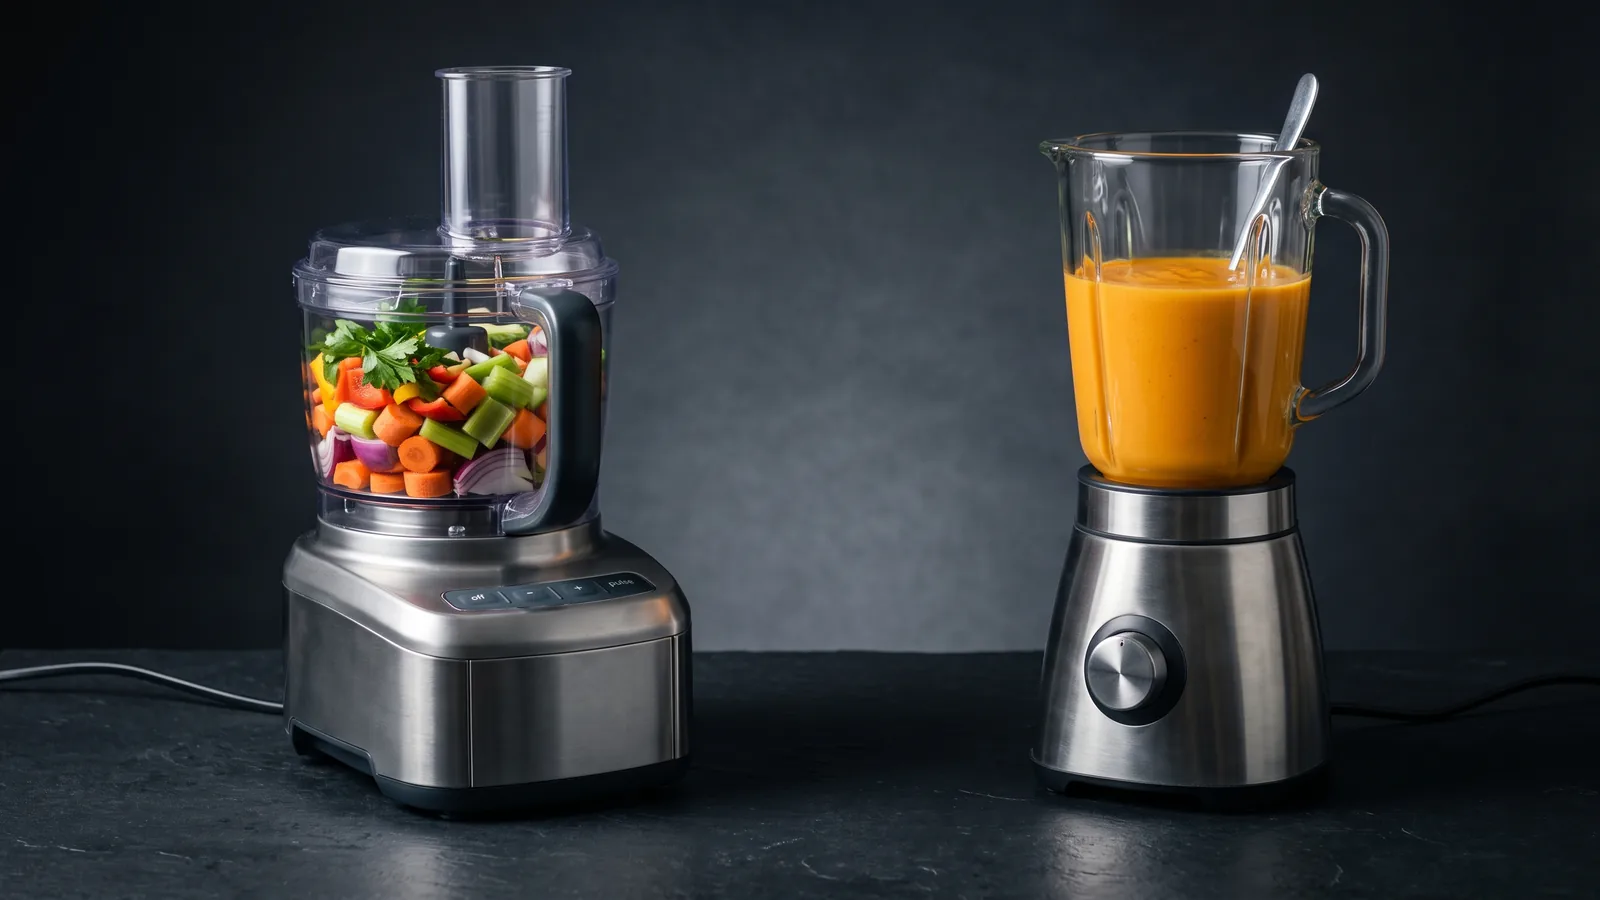
Food Processor vs Blender: Which One to Buy (and When You Need Both)
A food processor and a blender are not interchangeable — they process food differently and each handles tasks the other does poorly or cannot do at all. Understanding what you cook determines which you buy first, and most regular cooks end up needing both.
Read →Milk Frothers
Buying guides and ranked picks grounded in verified buyer data.
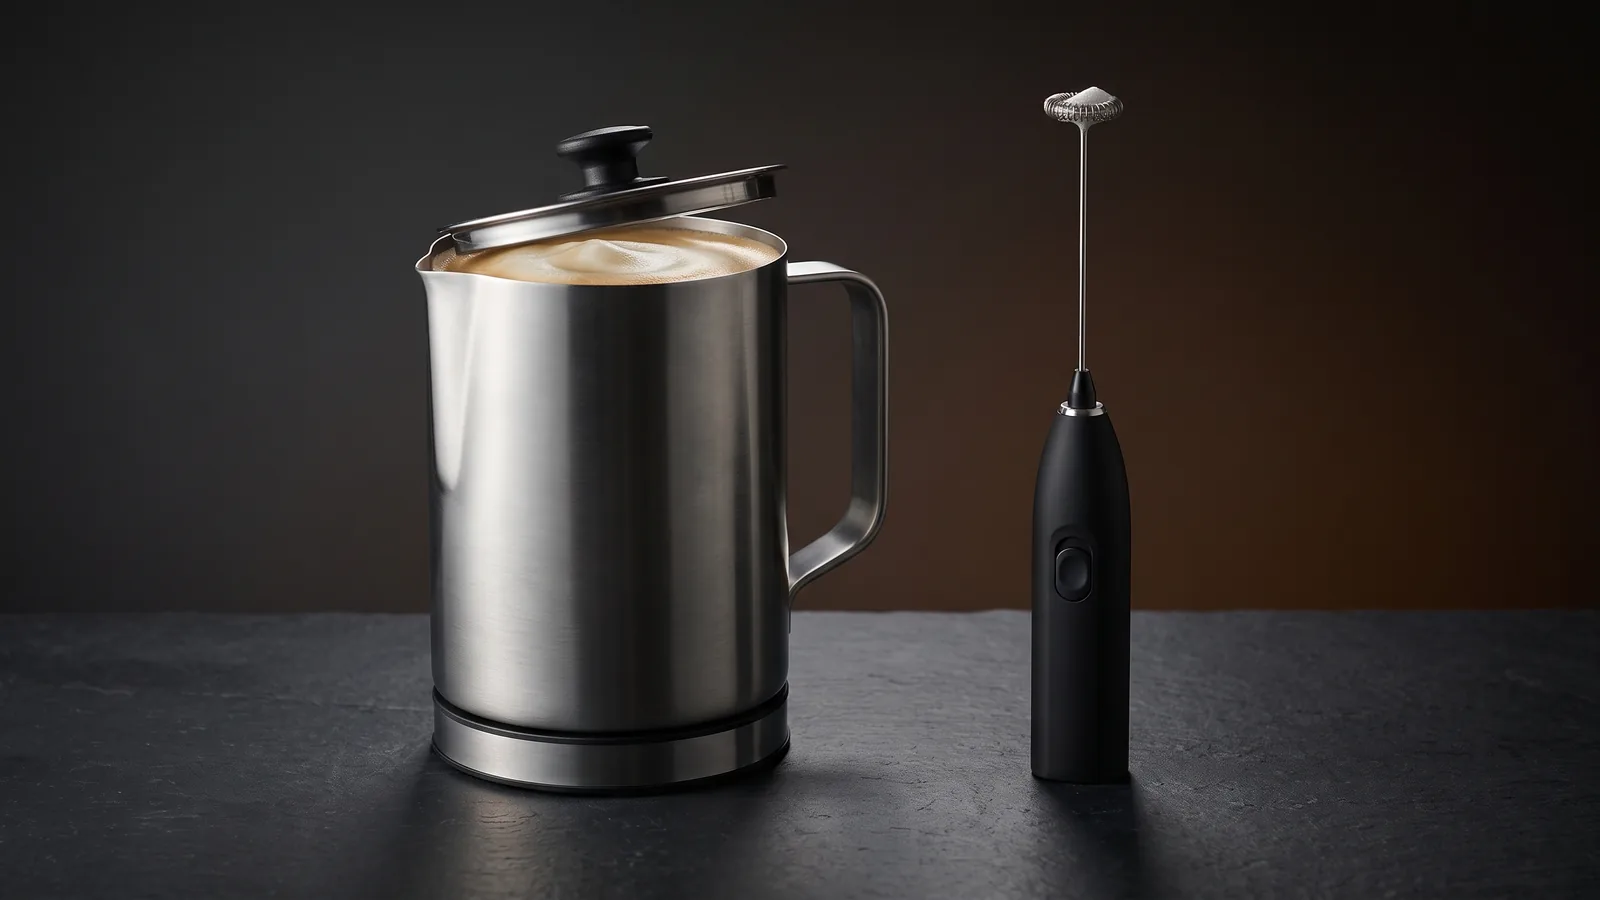
Premium vs Budget Milk Frother: What You Actually Pay More For
A $10 handheld wand and a $60 electric frother both make foam, but they are different tools. The wand whisks air into milk you heat yourself; the electric frother heats and froths in one step and makes denser, more consistent foam. Here is what the money actually buys, and which one fits your coffee.
Read →
How to Froth Milk at Home: Every Method, the Right Milk, and Why It Fails
Frothing milk means forcing air into it to build foam. Any method that agitates warm milk fast enough works — an electric frother, a handheld wand, a steam wand, a French press, or a sealed jar you shake. The two things that decide success are the milk (higher protein and fat froth more stably; whole dairy and barista oat are the easiest) and the temperature (stop around 140–150°F; past ~160°F the foam collapses and the milk scalds).
Read →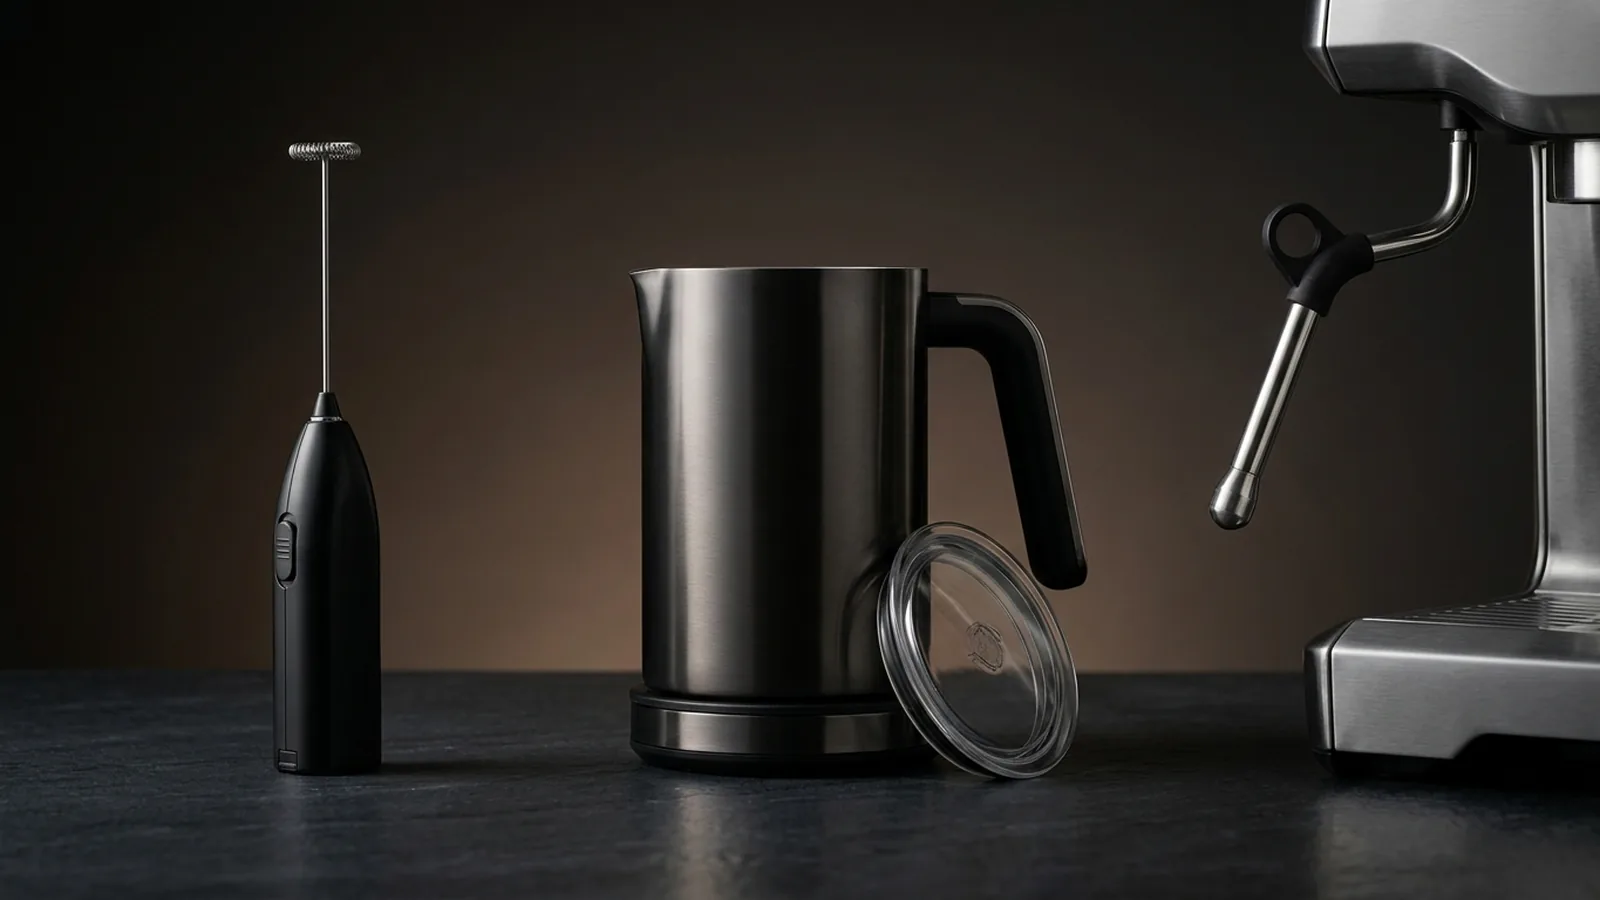
Types of Milk Frothers: Handheld, Electric, and Steam Wand Compared
A milk frother is a small device that whips air into milk to make foam. There are three main types: cheap handheld wands that whisk milk you've heated separately, automatic electric frothers that heat and froth in one jug, and steam wands built into espresso machines that make the finest microfoam. Which is right depends on how much control you want and whether you also make espresso.
Read →The Best Milk Frothers in Canada (2026)
A milk frother comes in two shapes: an automatic jug that heats and froths at one touch, or a handheld wand that whisks froth for a couple of dollars. This guide ranks the best milk frothers you can buy in Canada: an automatic Secura for hot and cold froth, the Nespresso Aeroccino for coffee pairing, a budget handheld wand, and a premium Breville.
Read →Nespresso Aeroccino 3 Milk Frother Review (2026): Is It Worth It in Canada?
The Nespresso Aeroccino 3 is the one-button milk frother that pairs neatly with a pod setup — and its owner reviews back the appeal: quality, ease of use, and good foam are what owners praise most. The honest counterpoint is durability, where a minority report units failing or arriving refurbished-looking. This review, grounded in verified buyer reviews, tells you what owners love, what to watch, and whether it's the right frother for a Canadian kitchen.
Read →The Best Milk Frothers in Ireland (2026)
A milk frother is the cheapest upgrade to home coffee there is — but the right one depends on how you drink it. A standalone electric frother heats and froths a jug of milk at one touch for lattes and hot chocolate; a handheld battery whisk costs a couple of euro and froths a single cup; a branded frother matches a pod machine. This guide ranks the best milk frothers you can actually buy in Ireland: an electric hot-and-cold morpilot, a bargain GRIFEMA handheld, and a premium Lavazza.
Read →Coffee Grinders
Buying guides and ranked picks grounded in verified buyer data.
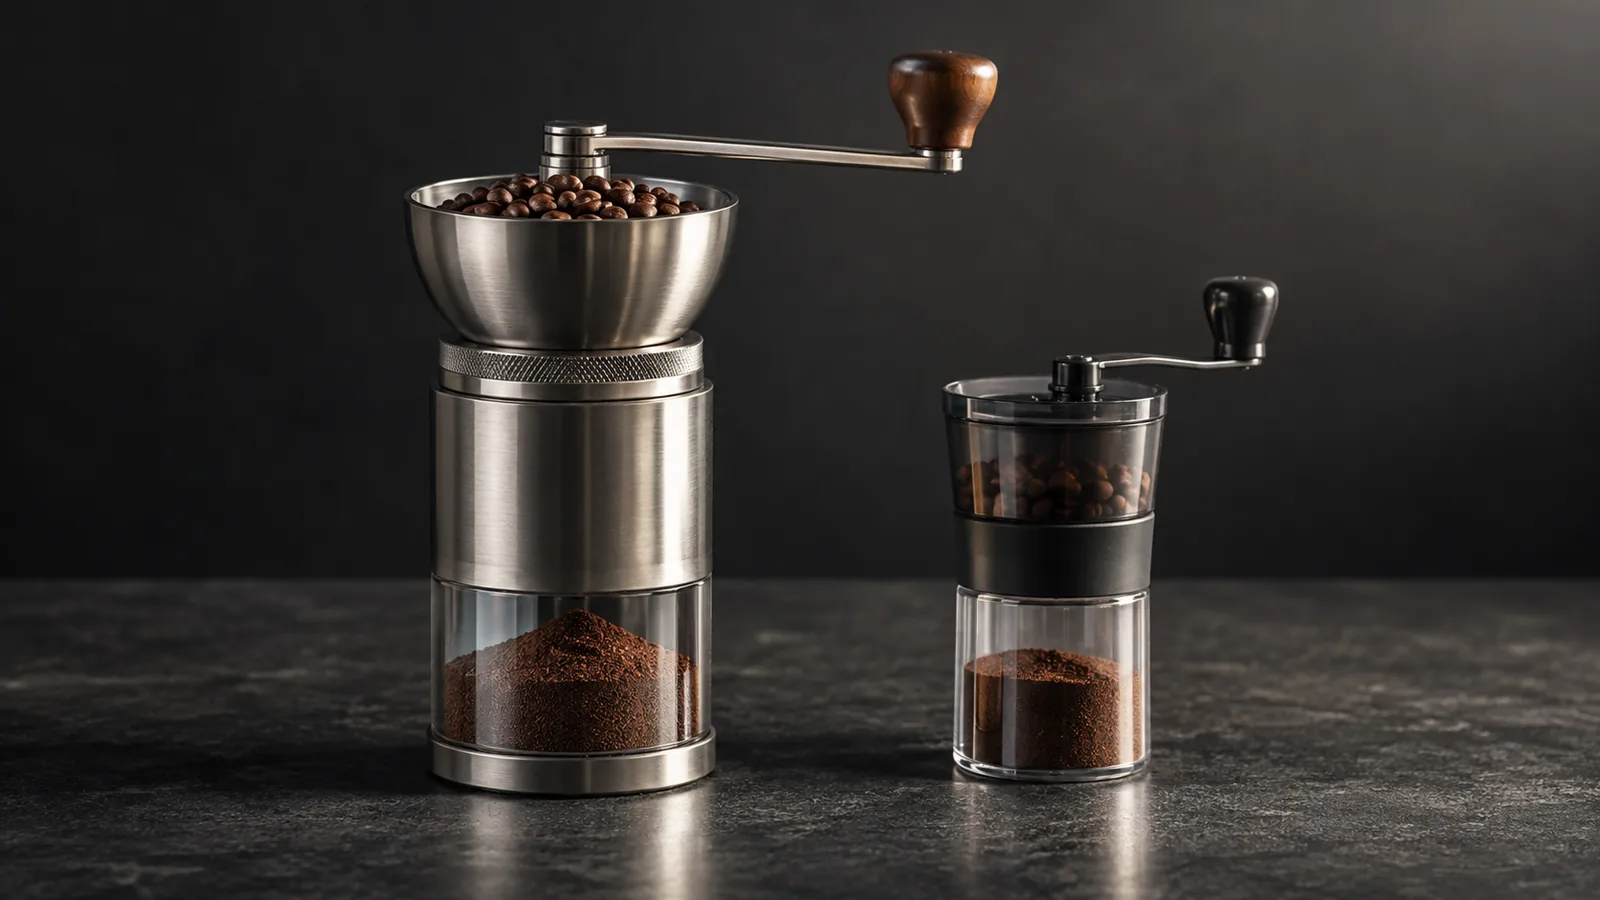
Premium vs Budget Coffee Grinder: What You Actually Pay More For
The whole point of a grinder is a uniform grind, and that is exactly what price buys. Cheap blade grinders chop unevenly; entry burr grinders are consistent; premium burr grinders add finer adjustment, less heat, and less mess. Here is what each dollar actually changes in the cup — and where the smart money stops.
Read →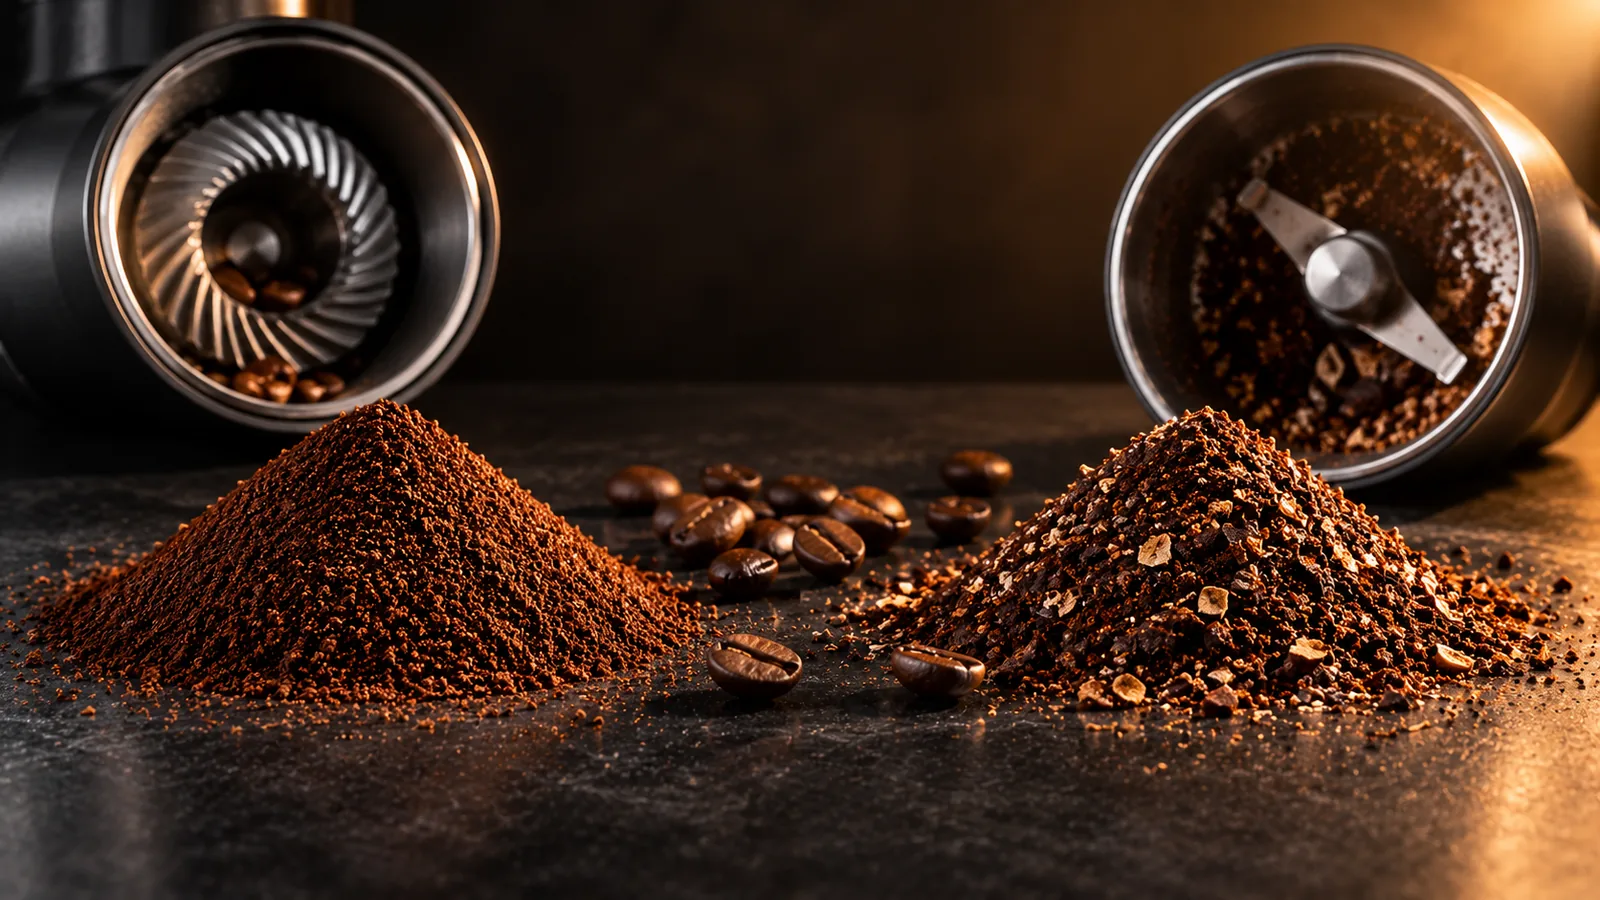
Burr vs Blade Coffee Grinder: What a Burr Grinder Is and Why It Matters
A blade grinder chops beans with a spinning blade, producing an uneven mix of dust and chunks that brews unevenly. A burr grinder crushes beans between two abrasive surfaces to a uniform size you can dial in — which is why it makes better, more consistent coffee and is the only type suitable for espresso or pour-over. Blade grinders are cheaper; burr grinders are the upgrade that actually changes the cup.
Read →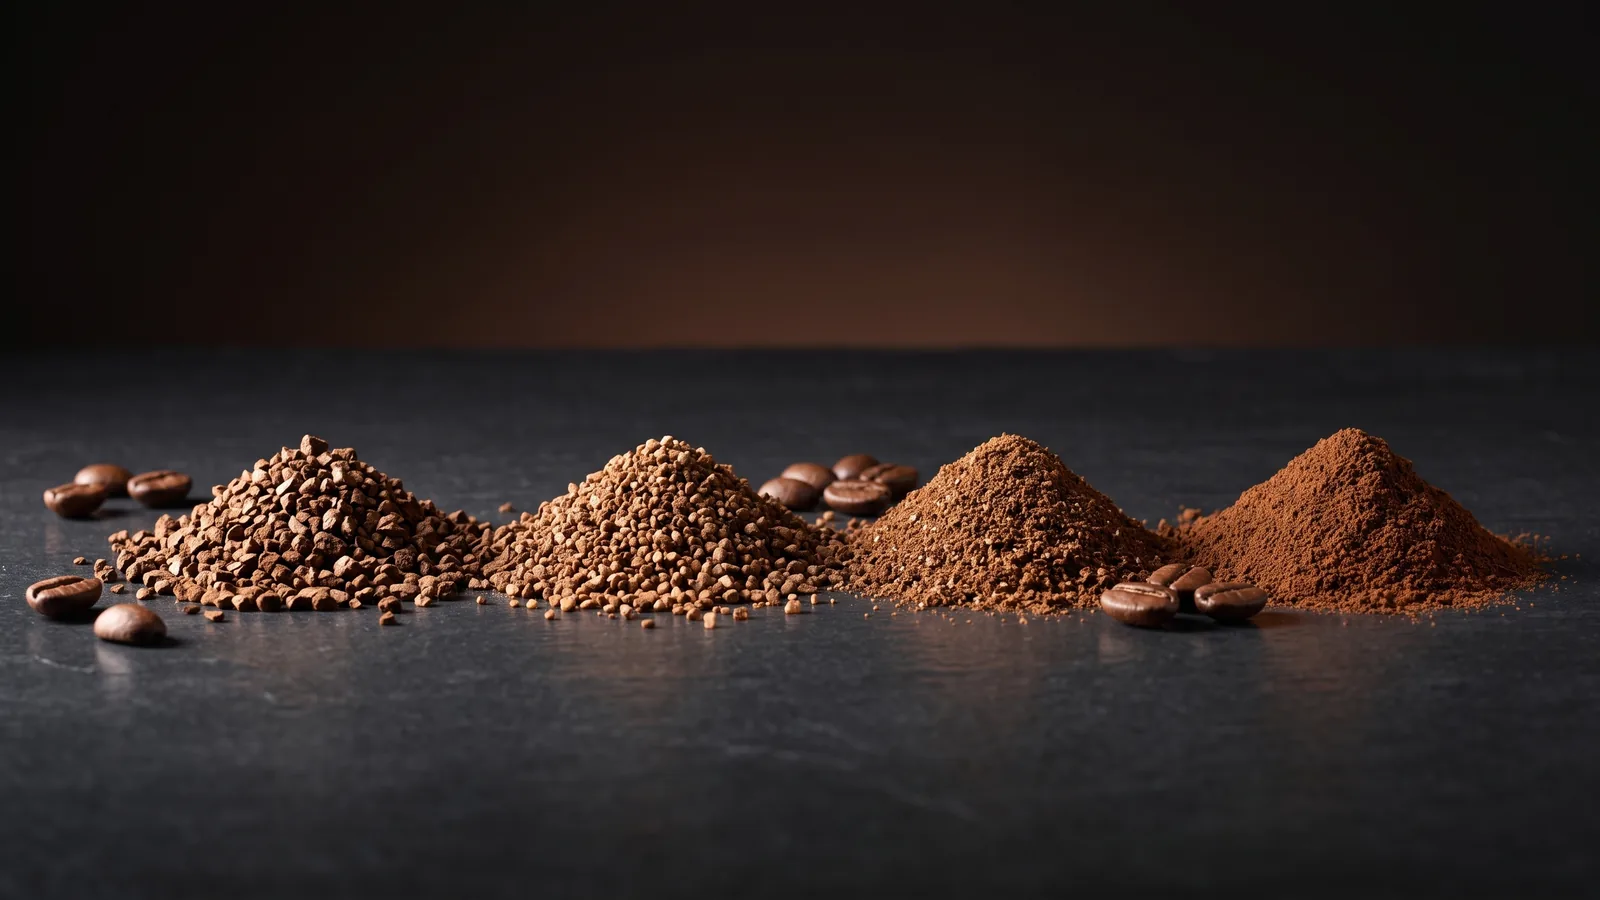
Coffee Grind Size Guide: The Right Grind for Every Brew Method
Grind size sets how fast water pulls flavor out of coffee, so each brew method needs its own grind: fine for espresso, medium for drip and pour-over, coarse for French press, extra-coarse for cold brew. Too fine for the method tastes bitter (over-extracted); too coarse tastes sour and weak (under-extracted). Matching the grind to the brew is the fastest fix for bad home coffee.
Read →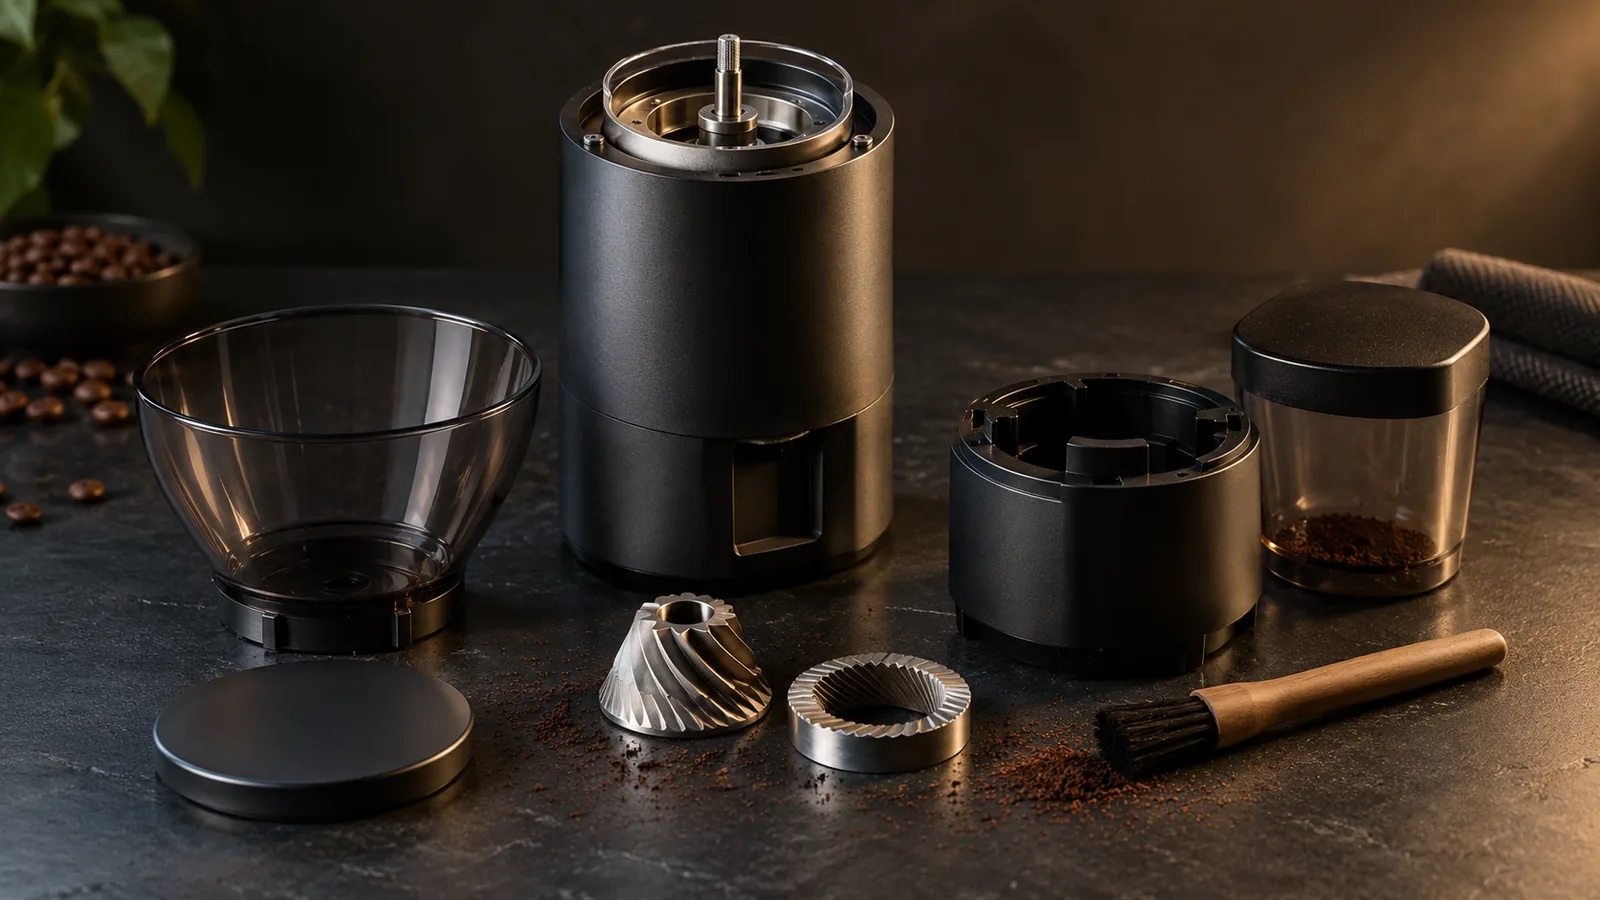
How to Clean a Coffee Grinder (Burr and Blade) Without Wrecking It
Coffee grinders need cleaning because coffee's oils coat the internals and go rancid, staling every grind that follows. A blade grinder cleans in seconds — wipe it, or pulse uncooked rice to absorb the oils. A burr grinder needs the burrs brushed out and, periodically, grinder-cleaning tablets; keep water away from metal burrs, which rust. The one rule that saves grinders: never wash metal burrs in water.
Read →The Best Burr Coffee Grinders, Electric and Manual
The best burr coffee grinder for most kitchens is the KitchenAid Burr Coffee Grinder: the strongest owner feedback of any electric burr grinder we analyzed. The Baratza Virtuoso+ is the upgrade owners keep for years. And if you will grind by hand, the Timemore Chestnut C2S has the happiest owners of all. Several of the best-selling burr grinders did not make this list.
Read →The Best Coffee Grinders in Canada (2026)
The one decision that matters most in a coffee grinder is burr versus blade: a burr grinder produces the even grind good coffee needs, while a blade grinder is cheaper but grinds unevenly. This guide ranks the best coffee grinders you can buy in Canada: an everyday OXO burr, a precise Baratza Encore for pour-over and espresso, a budget Krups blade, and a bargain Black+Decker.
Read →Immersion Blenders
Buying guides and ranked picks grounded in verified buyer data.
Premium vs Budget Immersion Blender: What You Actually Pay More For
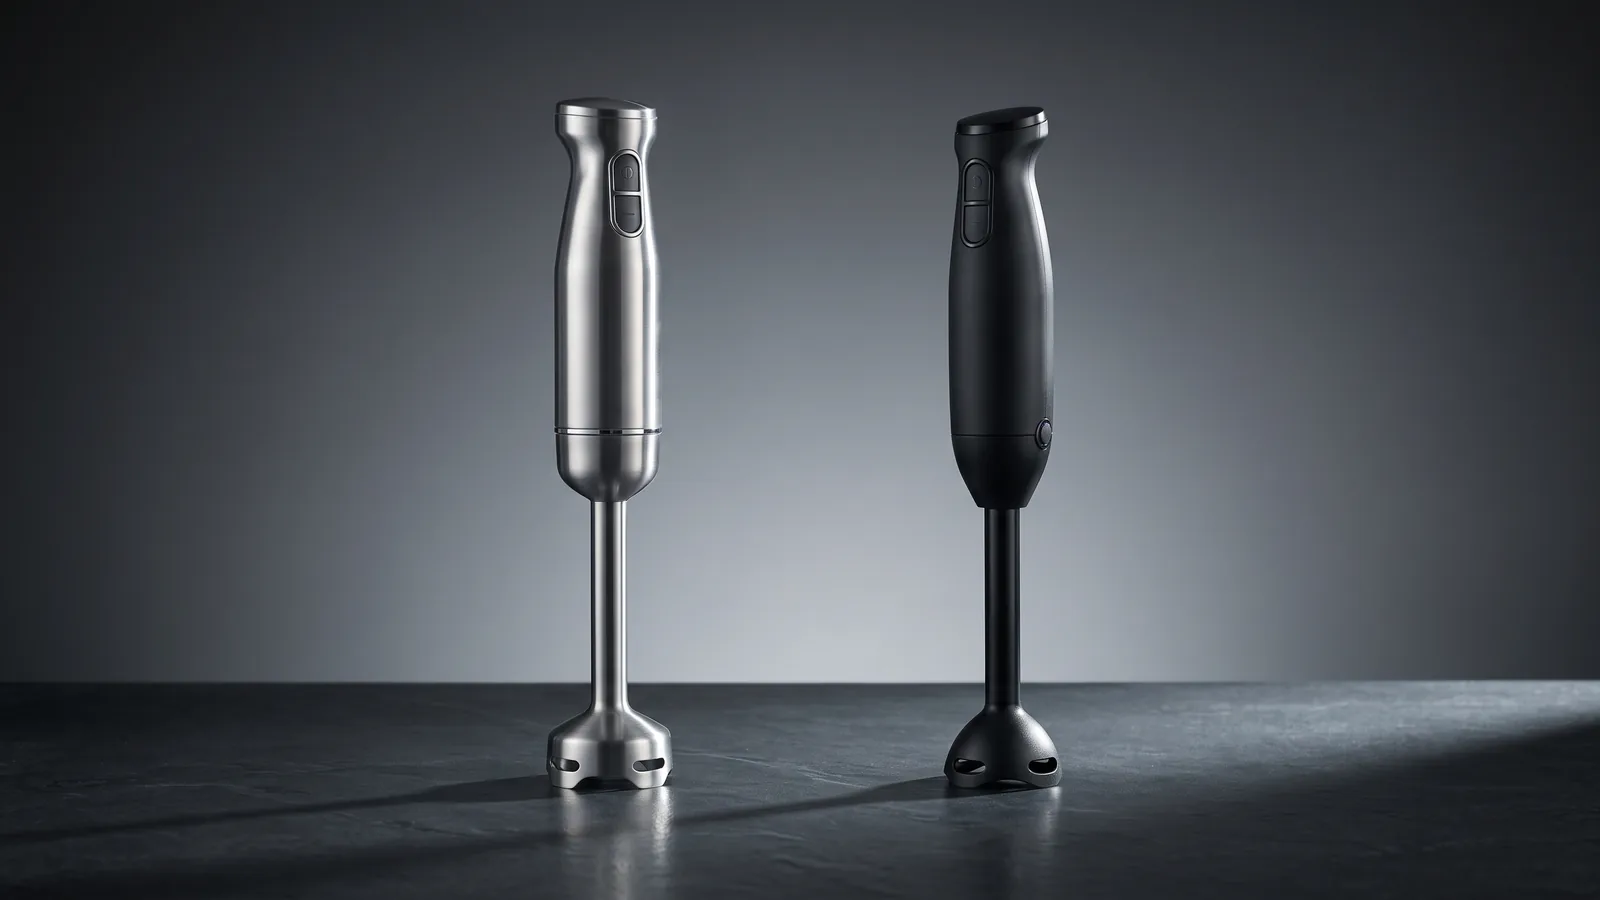
A $20 immersion blender and an $80 one both puree soup. What the money buys is a stronger motor that won't bog down in thick mixtures, a metal shaft that survives heat and years of use, variable speed for control, and attachments (whisk, chopper) that replace other tools. Here is where the price goes, and when the cheap one is plenty.
Read →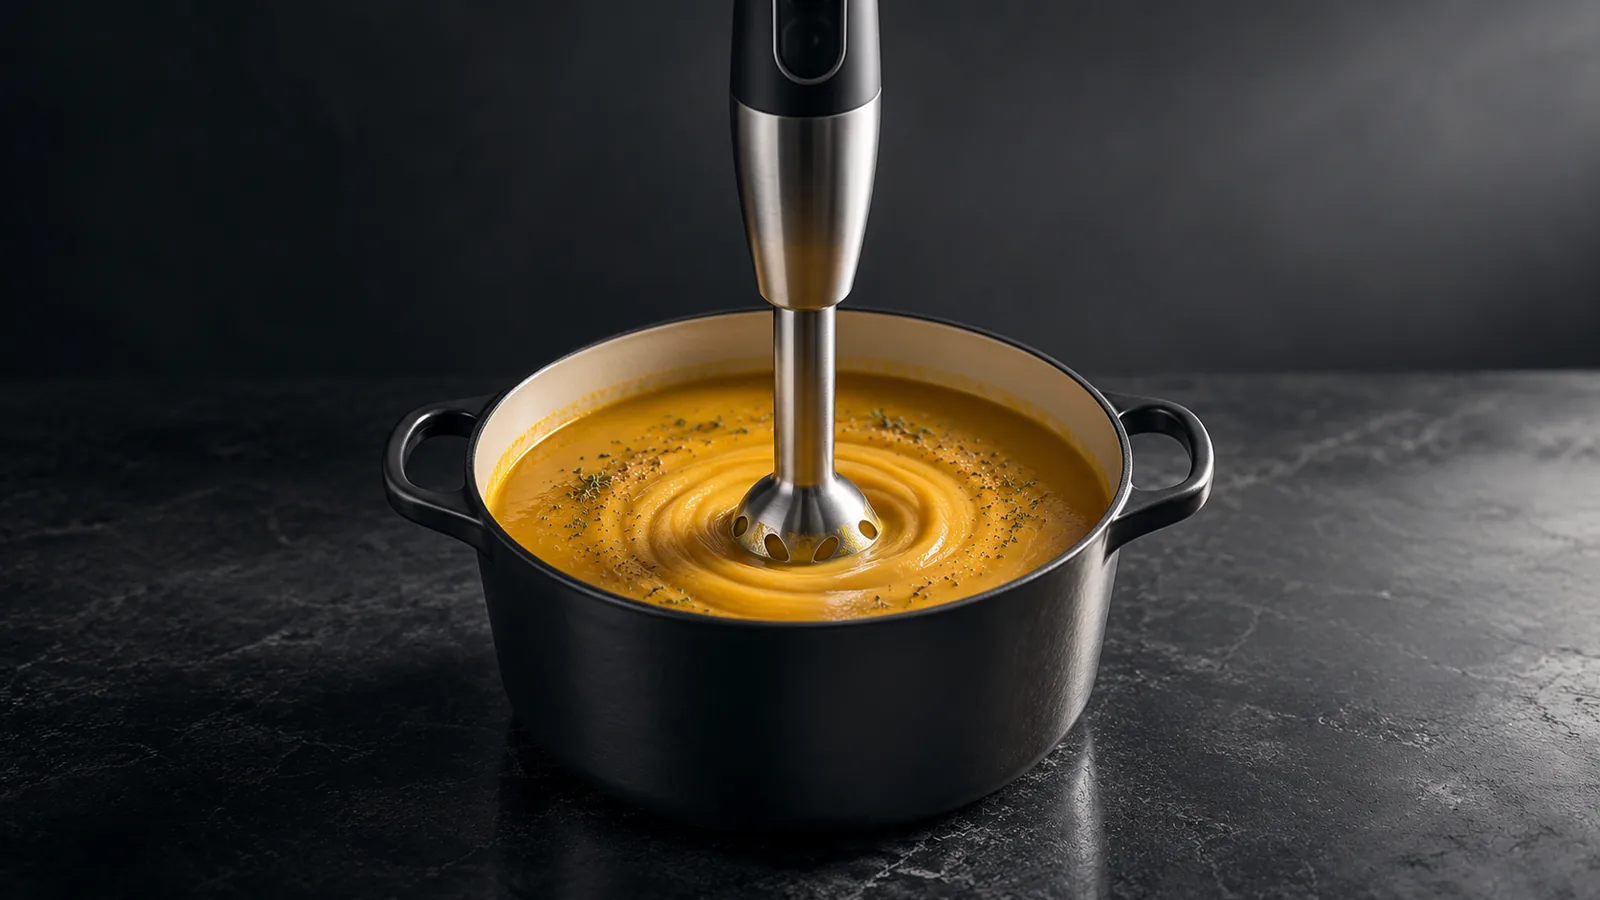
How to Use an Immersion Blender (Without Splattering Everywhere)
Using an immersion blender well comes down to one rule: fully submerge the blade before you turn it on, and turn it off before you lift it out — that alone prevents almost all the splatter people complain about. Blend in a tall, narrow container, keep the blade near the bottom and tilt to pull food in, and move slowly. From there it purees soup in the pot, whips mayo, and blends sauces in seconds.
Read →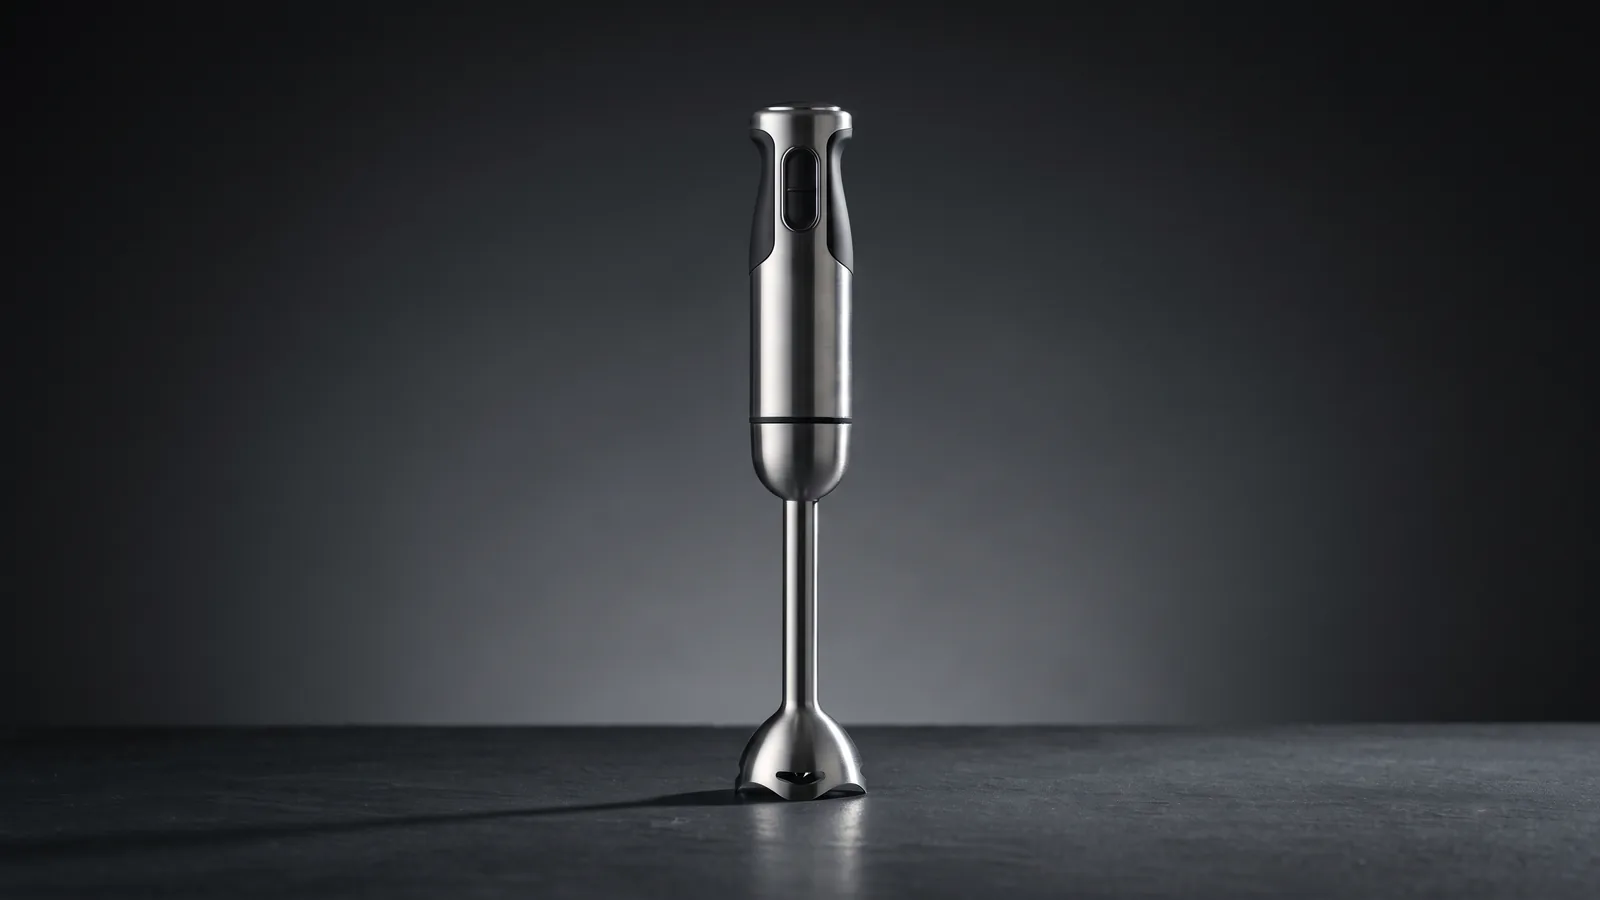
What Is an Immersion Blender? What It Does and When to Use One
An immersion blender is a handheld wand with a spinning blade at the tip that you dip directly into a pot, jar, or bowl to blend — which is why it's also called a hand blender or stick blender. It excels at pureeing soup right in the pot, making sauces, mayonnaise, and small smoothies with almost no cleanup. It's less powerful than a countertop blender and not made for big batches or crushing ice, but for blending in the container you're already using, nothing is faster.
Read →The Best Immersion Blenders (Hand Blenders) by Owner Reviews
The best immersion blender for most cooks is the KitchenAid Variable Speed Corded Hand Blender: simple, well-built, and backed by a deep owner record. If you want a chopper and whisk too, the Braun MultiQuick 7 is the set owners rate best. On a budget, the Turelar 5-in-1 has the strongest owner feedback of the low-priced sets.
Read →Coffee Brewing
Buying guides and ranked picks grounded in verified buyer data.
The Coffee-to-Water Ratio, Explained (The Golden Ratio)
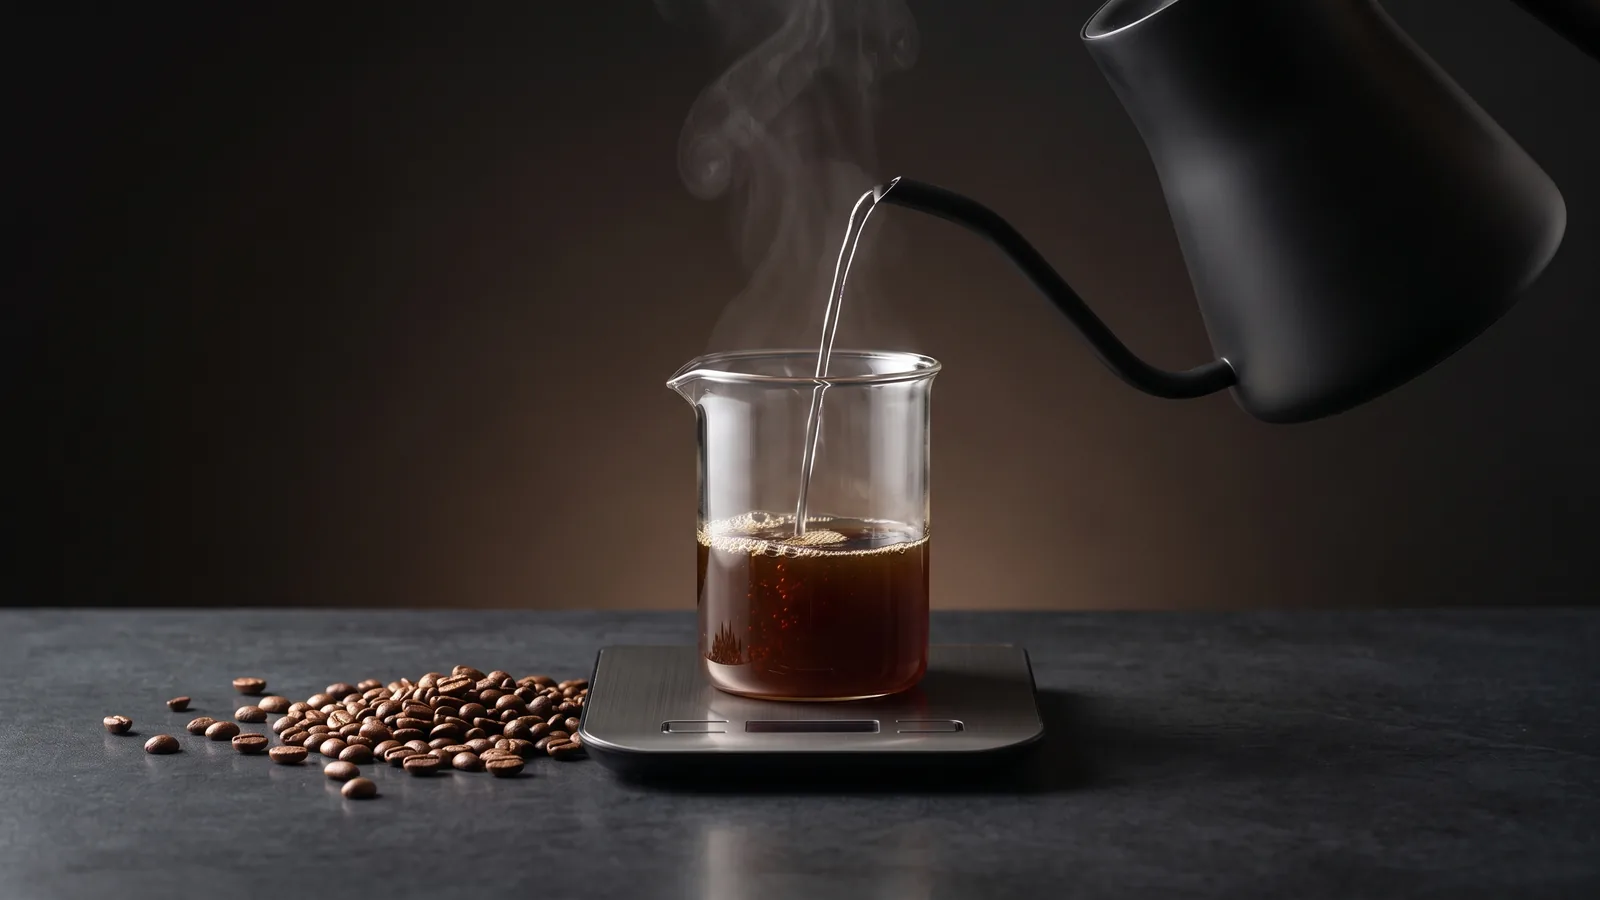
The coffee-to-water ratio is how much coffee you use per unit of water, written like 1:16 — one gram of coffee to sixteen grams of water. The widely used golden ratio is about 1:15 to 1:18 by weight, and it's the single biggest lever on how your coffee tastes: a lower number means stronger, a higher number means milder. Weigh it once and every cup gets predictable.
Read →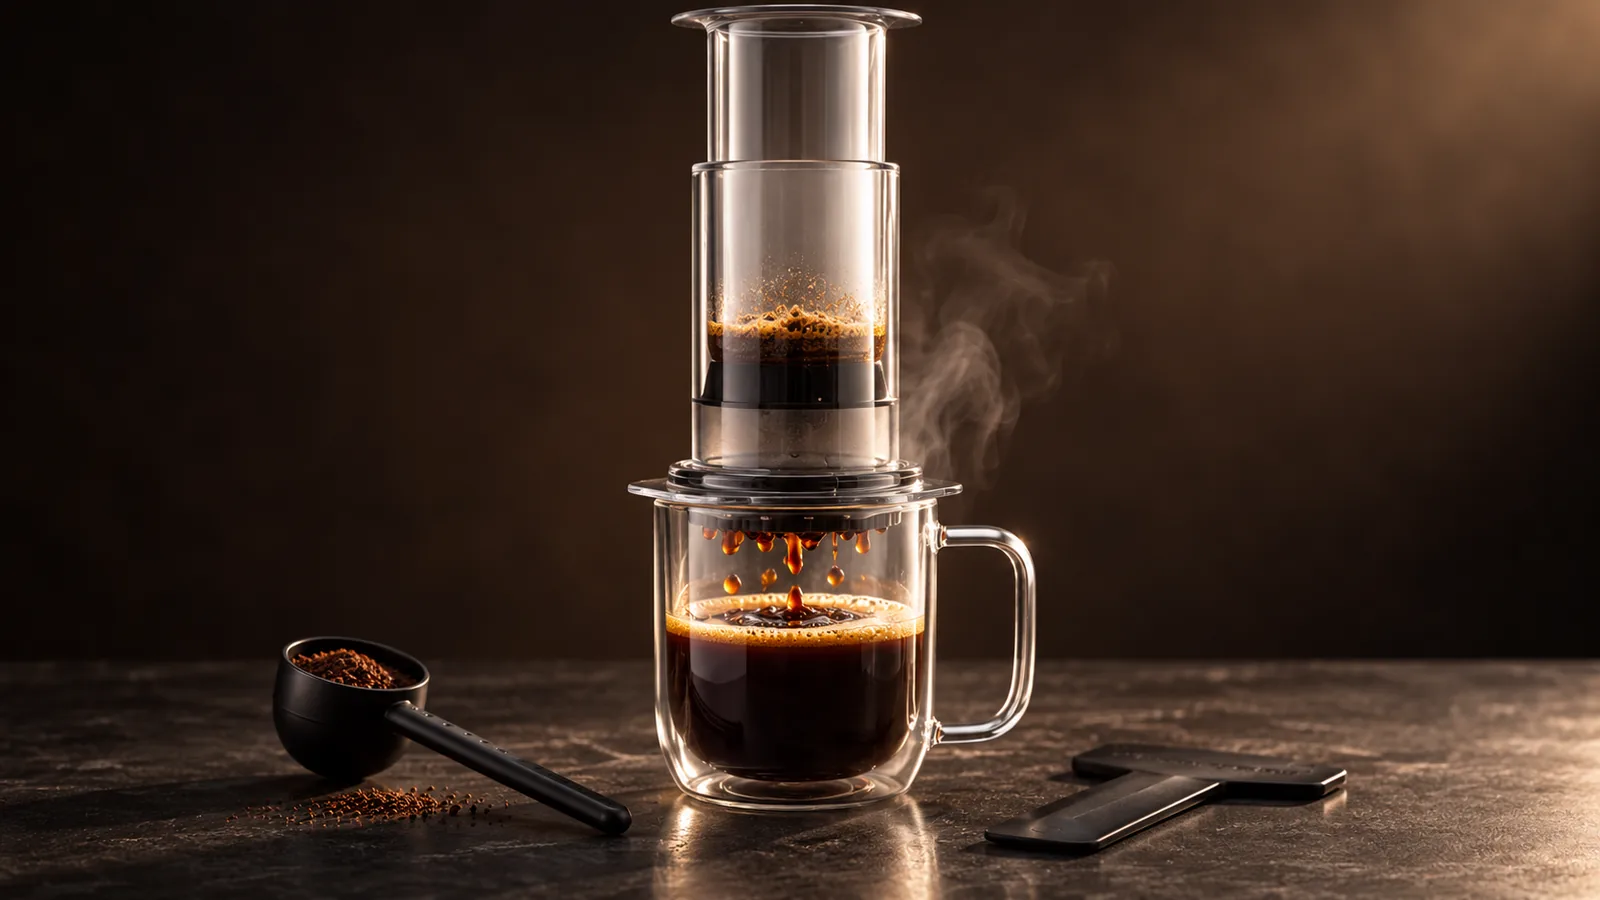
How to Use an AeroPress: Ratio, Grind, and Method
The AeroPress makes a clean, concentrated cup in about a minute: a medium-fine grind, a 1:14–1:16 ratio, water around 175–200°F, a short stir-and-steep, then a slow press. It's forgiving and fast — the two levers that matter most are grind size and press speed, and you can brew it standard or inverted depending on how much control you want.
Read →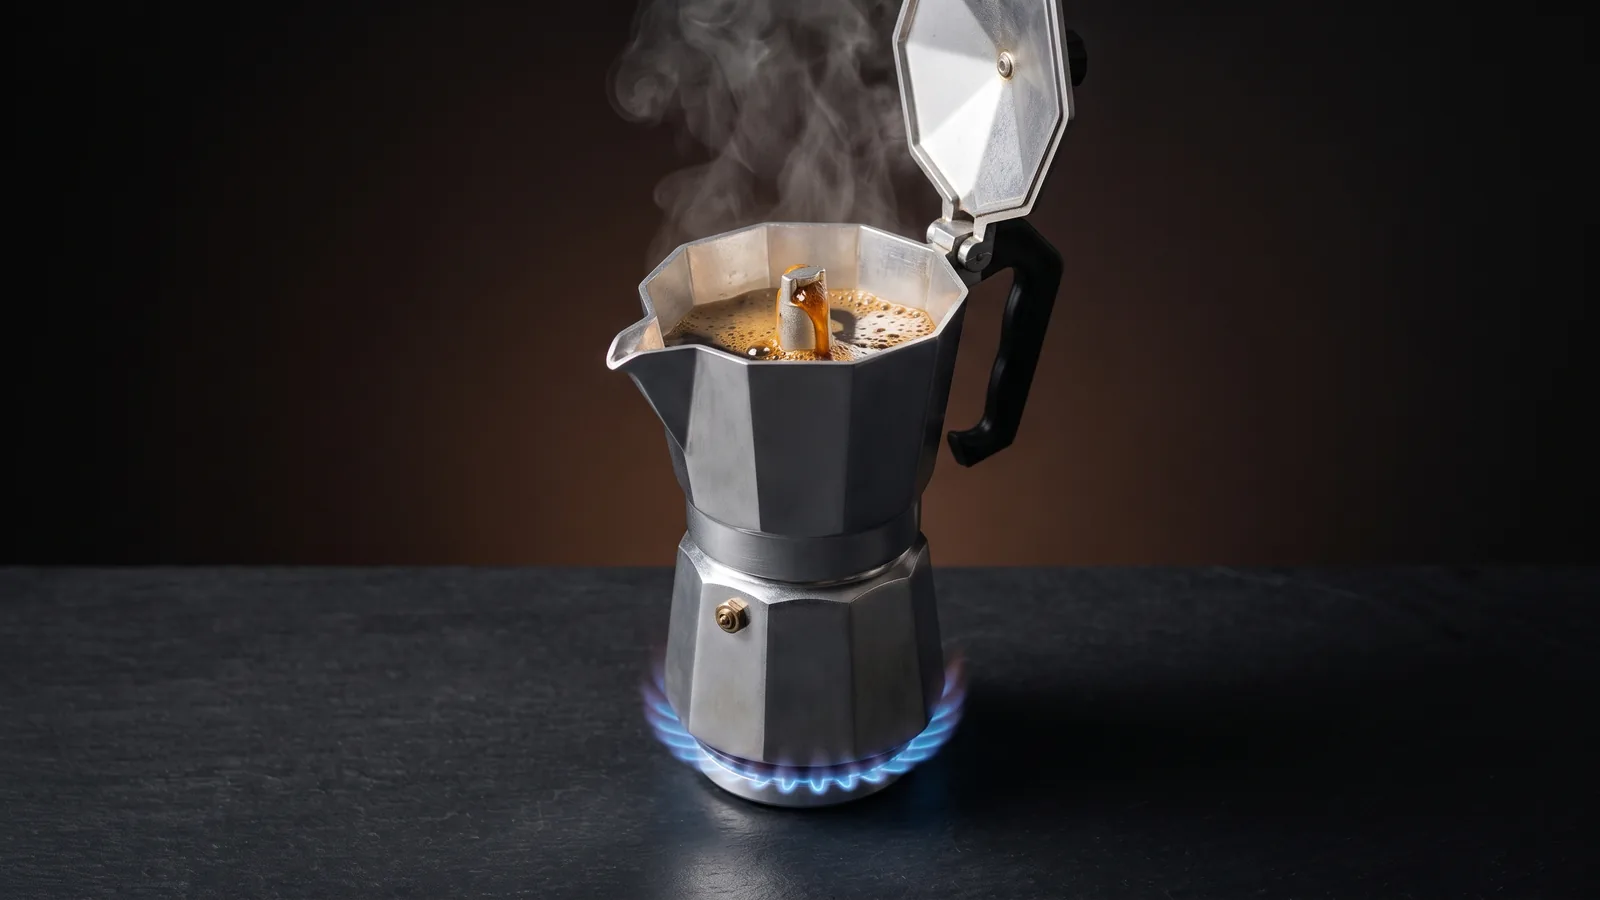
How to Use a Moka Pot: Grind, Heat, and the Right Technique
A moka pot makes strong, espresso-style coffee on the stovetop: fill the base to the valve with hot water, fill the funnel with a fine-medium grind (don't tamp), and brew on medium-low heat until you hear a gentle gurgle — then pull it off. The two things that make or break it are grind size and heat: too fine or too hot and it turns bitter and metallic.
Read →
How to Make Cold Brew Coffee: Ratio, Grind, and Steep Time
Cold brew is the most hands-off way to make coffee: coarse grounds, cold water, a 1:8 ratio for concentrate (or 1:15 to drink straight), and a 12–24 hour steep in the fridge before you strain. There's no heat and no timing pressure — the two things to get right are a coarse grind and enough steep time, and the payoff is a smooth, low-acid coffee that keeps for a week.
Read →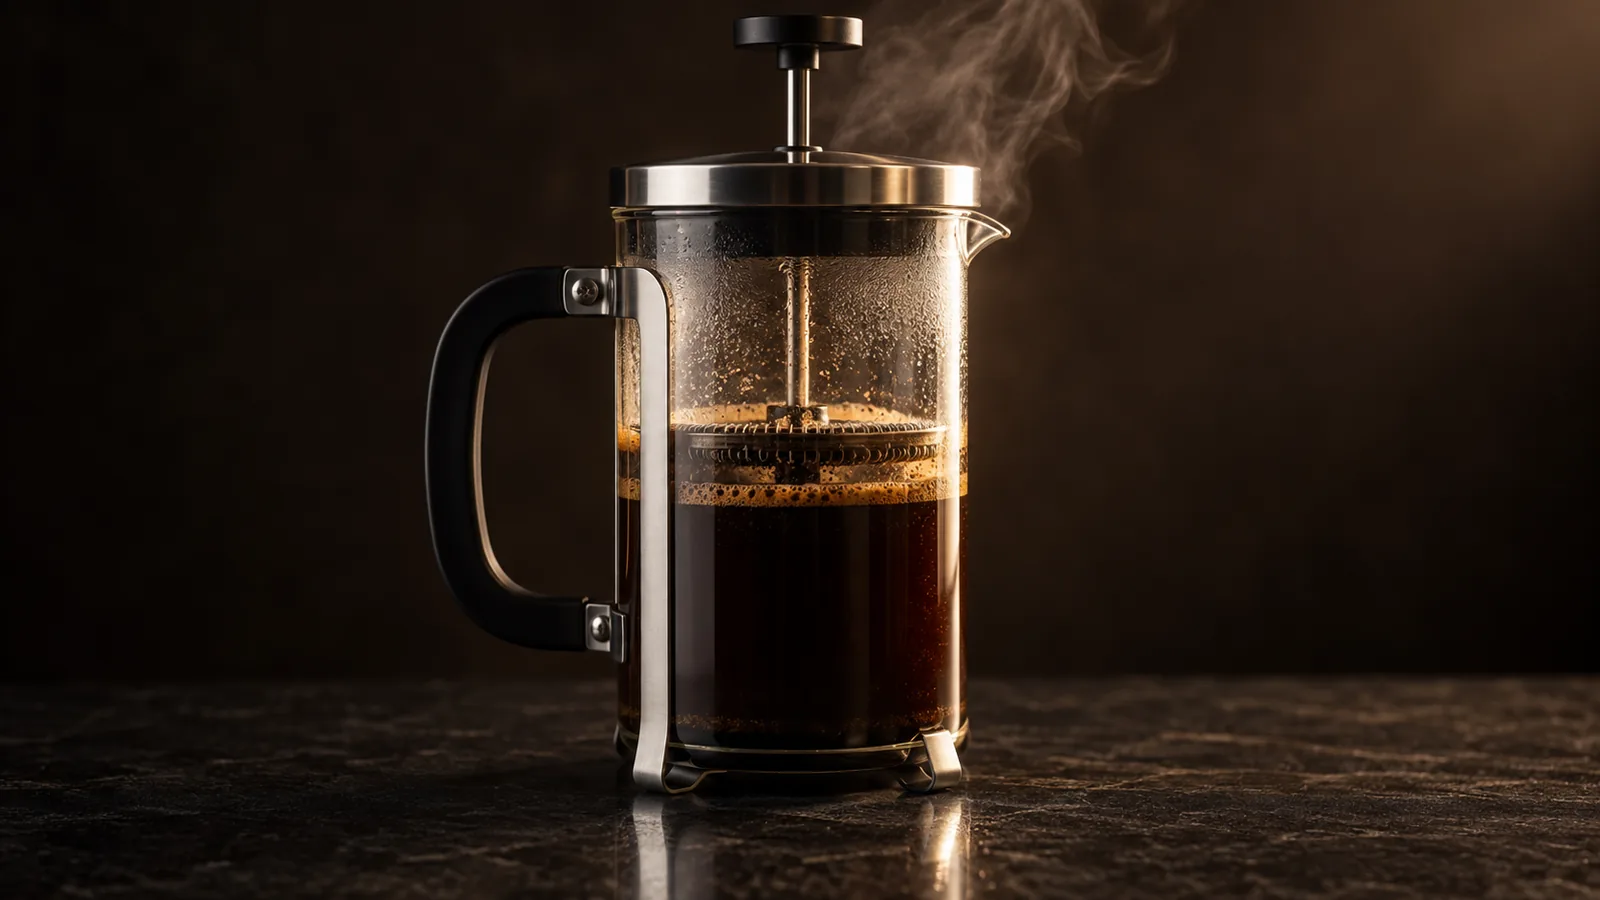
How to Use a French Press: Ratio, Grind, and Steep Time
A French press is the most forgiving way to make full-bodied coffee: a 1:12–1:15 ratio, a coarse grind, water just off the boil, and a four-minute steep before you press slowly and pour. The coarse grind and long steep are what give it its rich body — and what make grind size and steep time the two things to get right.
Read →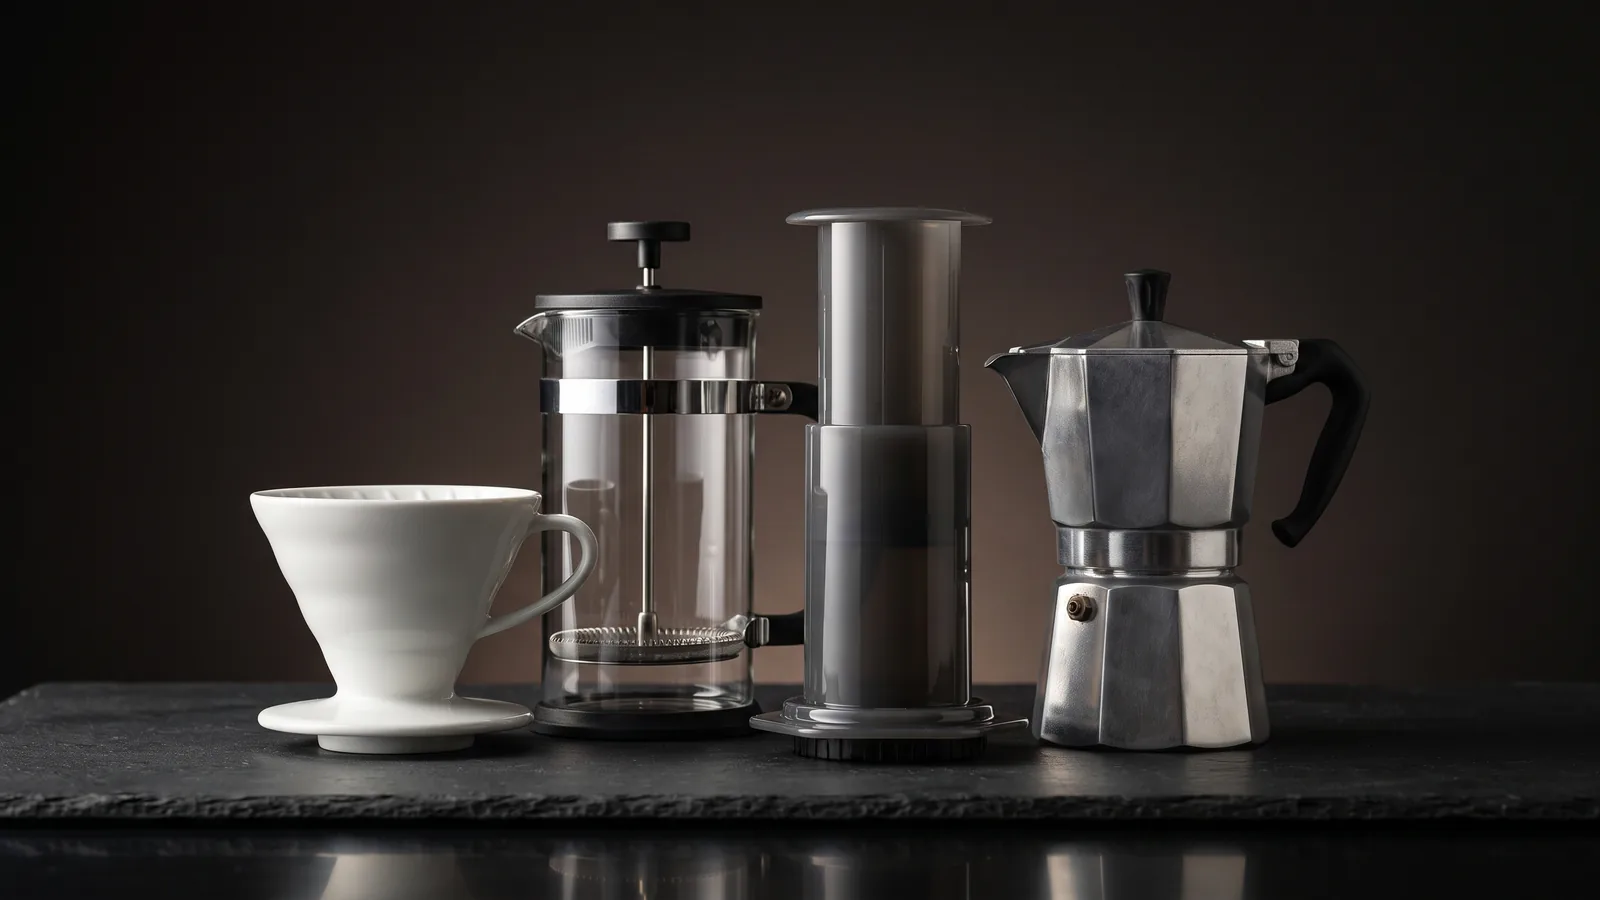
Coffee Brewing Terms, Explained: A Plain-Language Glossary
A plain-language glossary of the coffee terms that actually change your cup: extraction, TDS, fines and boulders, bloom, degassing, channeling, drawdown, retention, and more. Each one defined in a sentence, with why it matters — so the vocabulary on every other coffee page makes sense.
Read →Espresso Machines
Buying guides and ranked picks grounded in verified buyer data.
How Long Do Espresso Machines Last? What Owner Reviews Show
Owner reviews cannot tell you an average lifespan, but they show clearly when things go wrong. Across 37 espresso machines, more than half of the failure complaints that give a timeframe say the machine failed within months, not years. Most early failures fall inside the warranty, which is why the warranty and the return window matter more than the brand.
Read →How to Choose an Espresso Machine: The Complete Buyer's Guide
Choosing an espresso machine is really one decision with a lot of consequences: how much of the shot do you want to control, and how much do you want the machine to handle? Get that right and everything else — the grinder, the pressure, the boiler, the steam wand — follows from it. This guide walks every factor that actually changes the coffee in your cup, and routes you to the right machine for how you drink.
Read →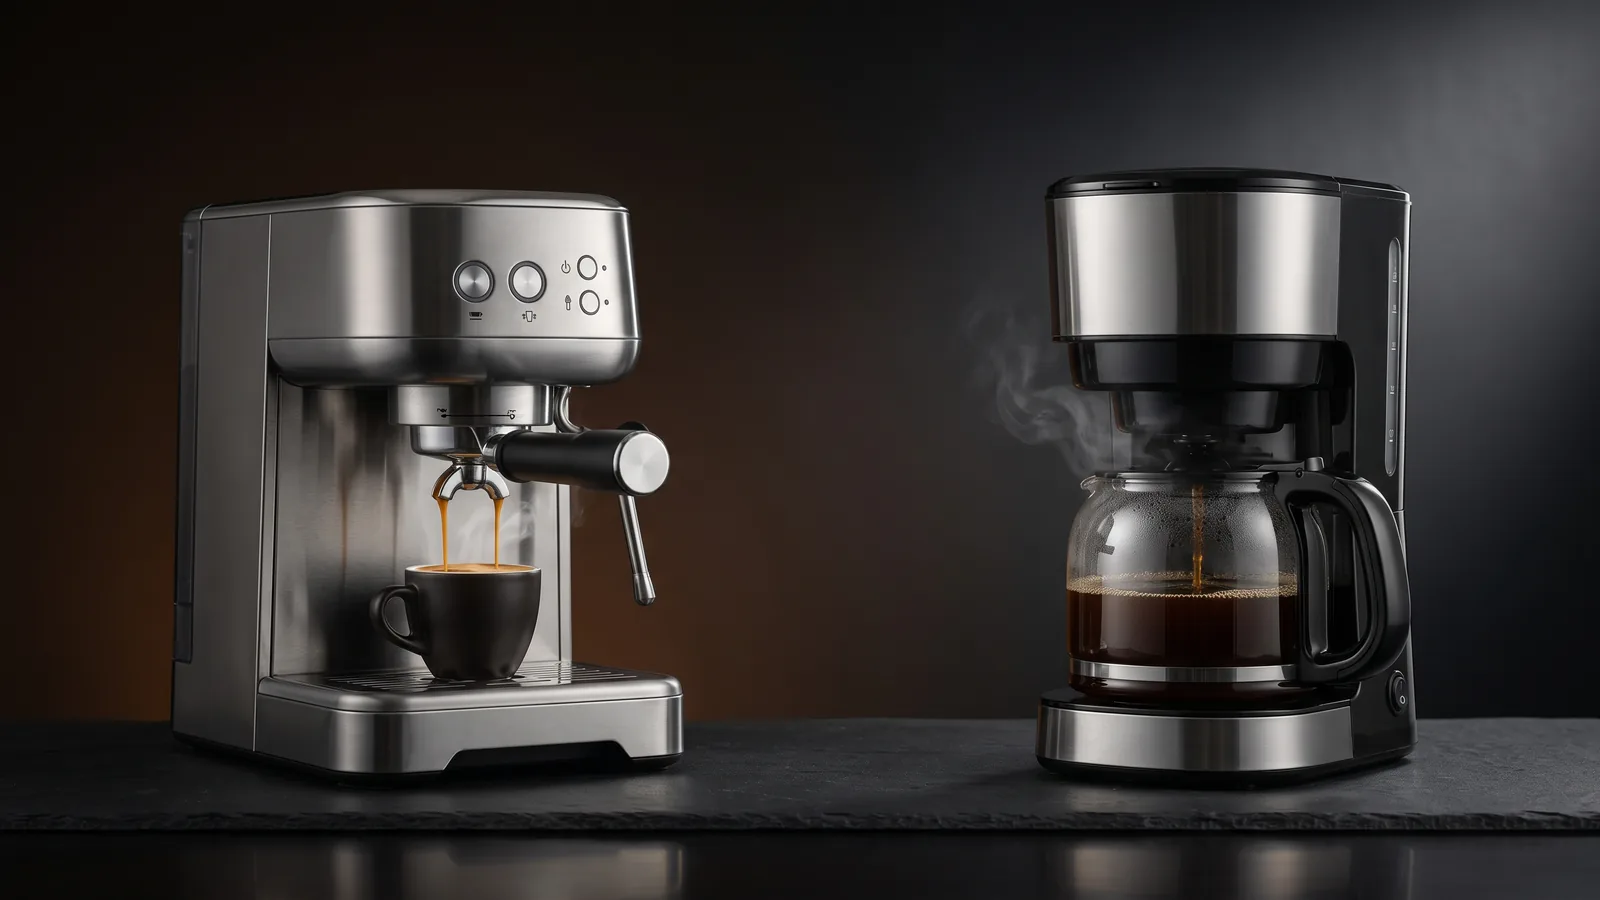
Espresso Machine vs Coffee Maker: Which Should You Buy?
A coffee maker makes easy, hands-off mugs of drip coffee; an espresso machine makes concentrated shots and cafe-style milk drinks but asks for a grinder, skill, and more money. If you drink black coffee by the mug, buy a coffee maker. If you want lattes and cappuccinos and enjoy the craft, buy an espresso machine — and budget for a grinder too.
Read →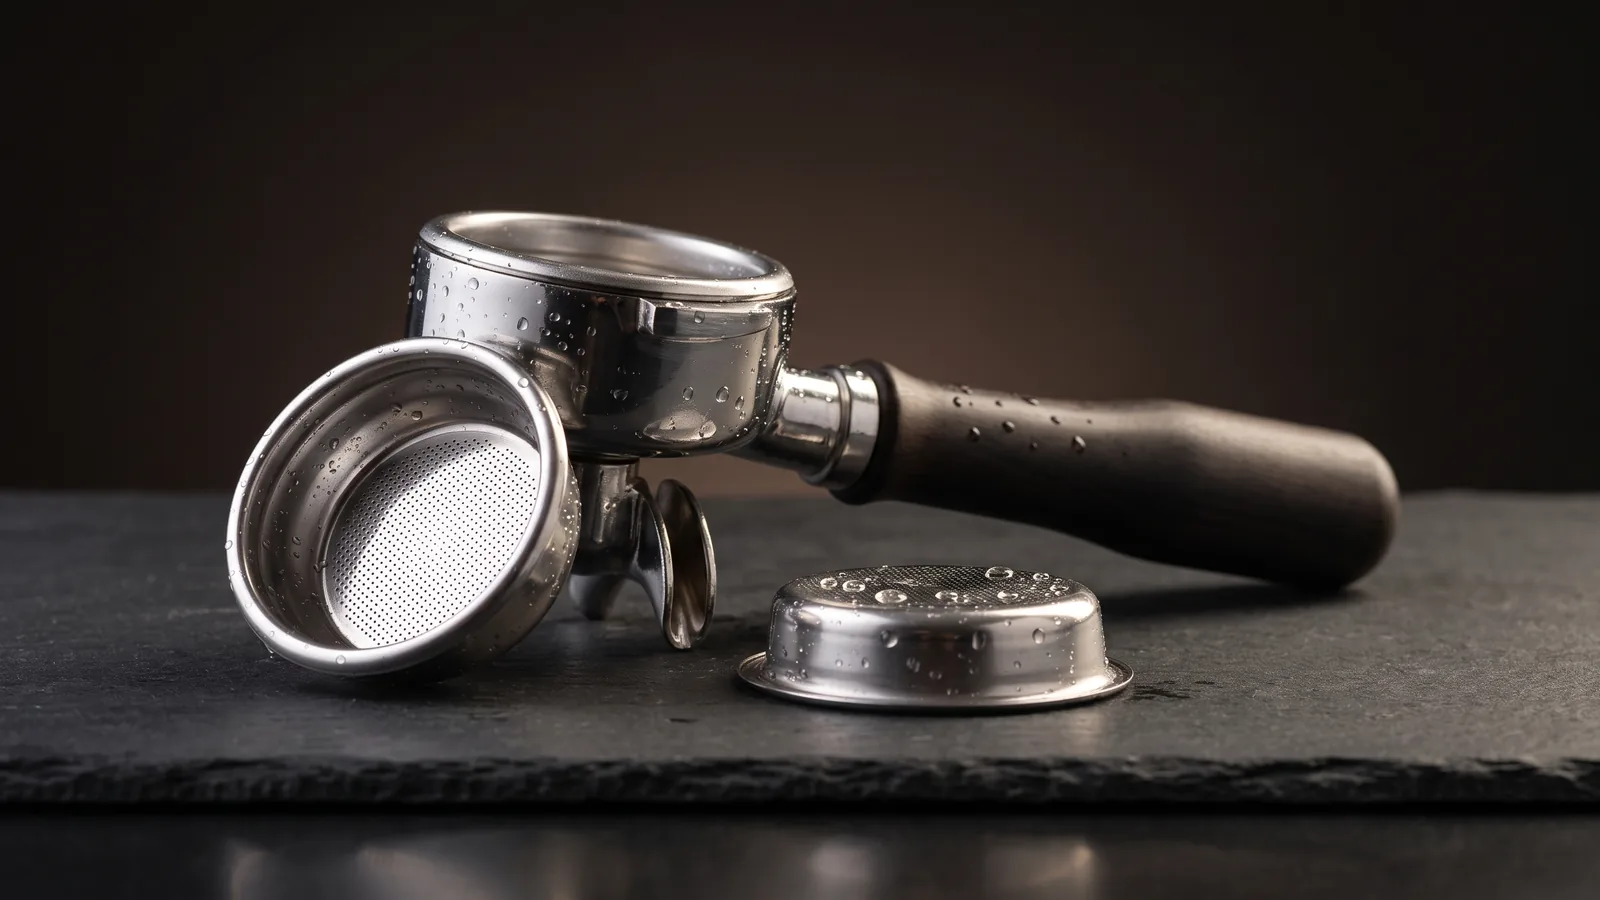
How to Clean an Espresso Machine: Daily, Weekly, and Descaling
Keeping an espresso machine clean is three routines: a 30-second daily wipe-down (steam wand, portafilter, group head), a weekly backflush and basket soak, and periodic descaling to clear mineral scale. Skip them and shots turn bitter and the machine clogs; keep them and it pulls clean shots for years. The steam wand and descaling are the two most-neglected — and most damaging to ignore.
Read →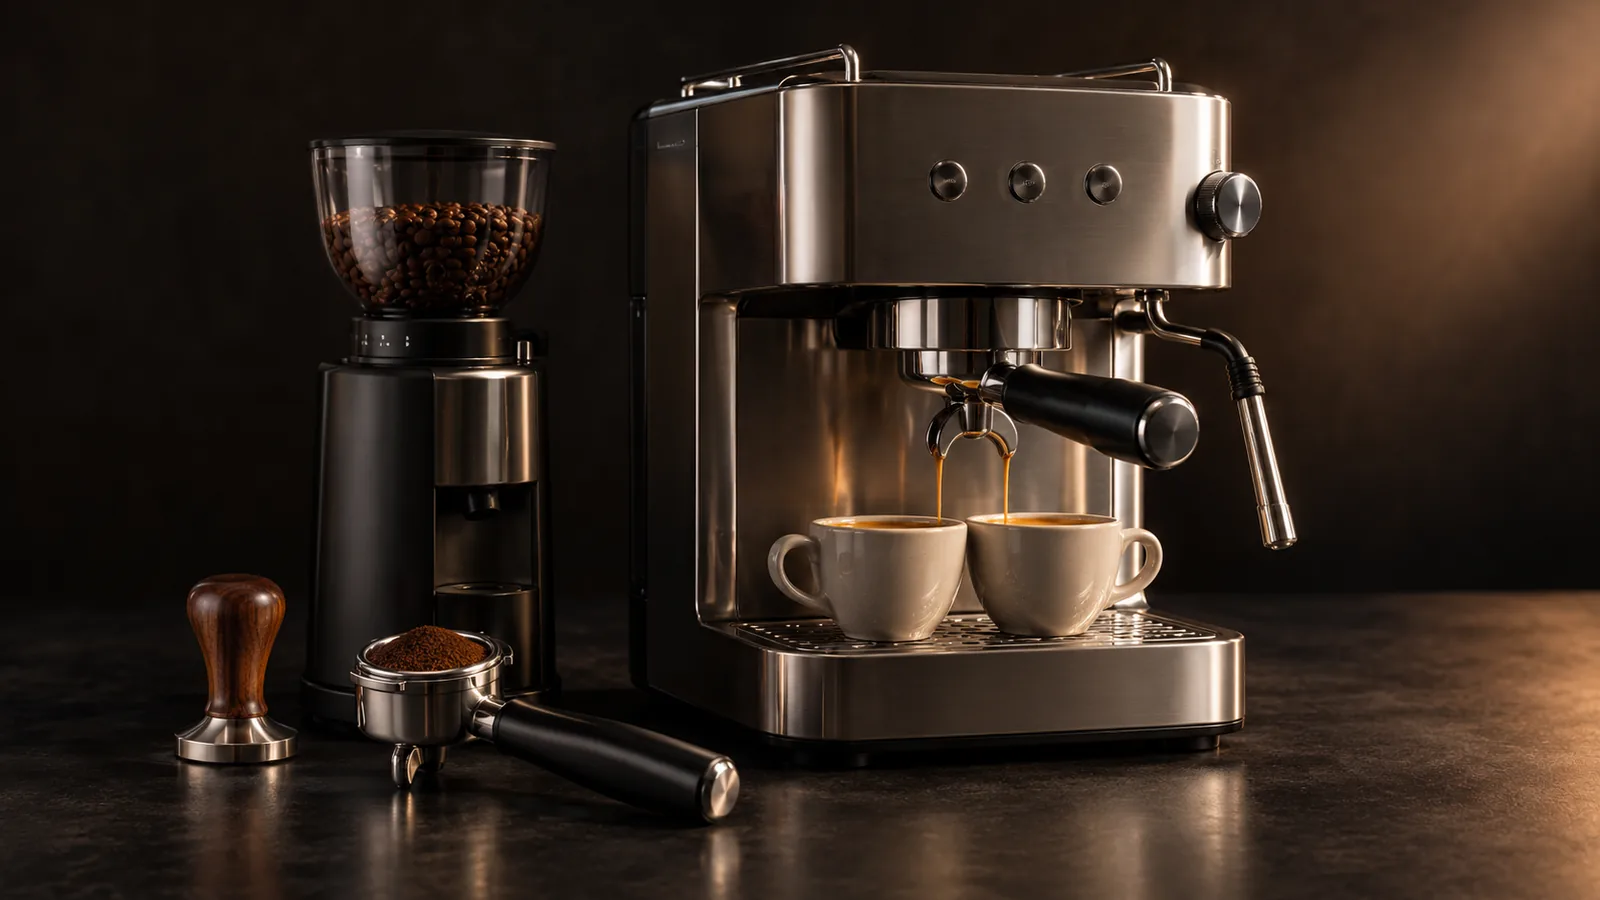
What You Need to Make Espresso at Home: The Complete Starter Kit
Making espresso at home takes five things: an espresso machine, a burr grinder that grinds fine enough, a tamper, a scale, and fresh beans. The grinder is the part beginners skip and regret — espresso lives or dies on a consistent, fine grind, so a good grinder matters as much as the machine. Add a milk pitcher only if you want lattes.
Read →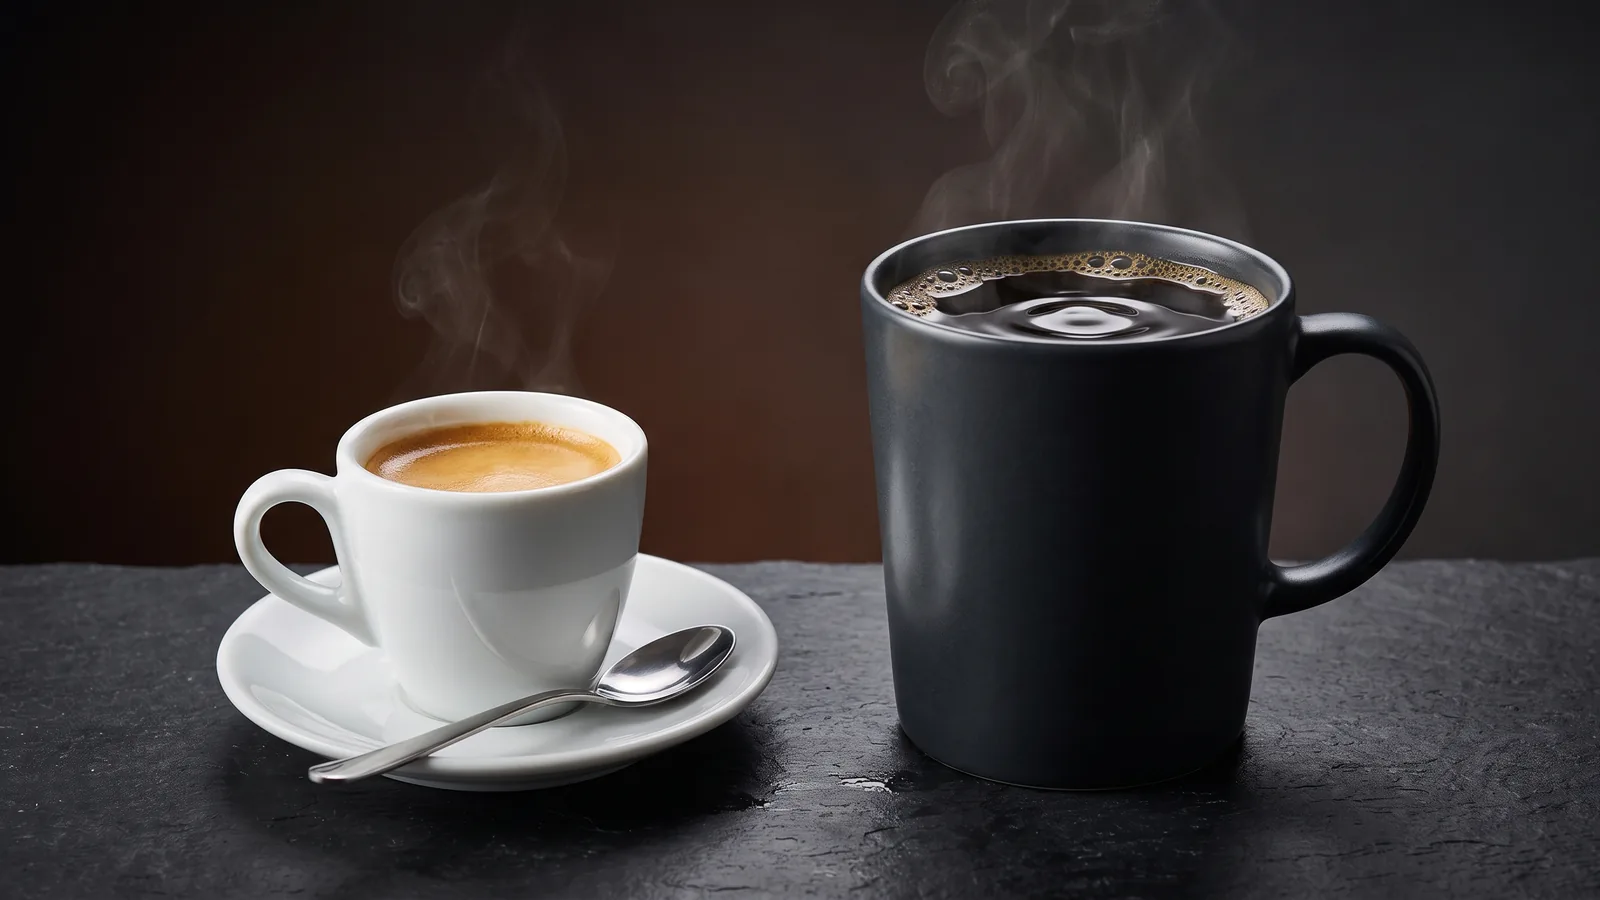
Espresso vs Coffee: What's Actually Different (and Which Has More Caffeine)
Espresso and drip coffee are made from the same beans — the difference is how the water meets them. Espresso forces hot water through finely ground coffee under about 9 bars of pressure, making a small, concentrated shot; drip lets water pass through by gravity, making a larger, lighter cup. Per ounce, espresso has far more caffeine; per serving, a mug of drip usually has more, because you drink so much more of it.
Read →Air Fryers
Buying guides and ranked picks grounded in verified buyer data.
How Long Do Air Fryers Last? What Owner Reviews Show
Owner reviews cannot give an average lifespan, but they show when air fryers fail. Across 44 air fryers, 60% of the failure complaints that give a timeframe say months, and 34% say a few years. On basket models, three in four dated failures come within months. A frequent fault is a unit that stops heating.
Read →How to Choose an Air Fryer: Type, Size, Basket and Reliability
Choose an air fryer in this order: type, then size, then basket material, then controls. Type matters most: across 44 air fryers we analyzed, basket models drew about five and a half times as much praise as complaint, and oven-style models under two. Then size up, because owners complain that an air fryer is too small about twice as often as too large.
Read →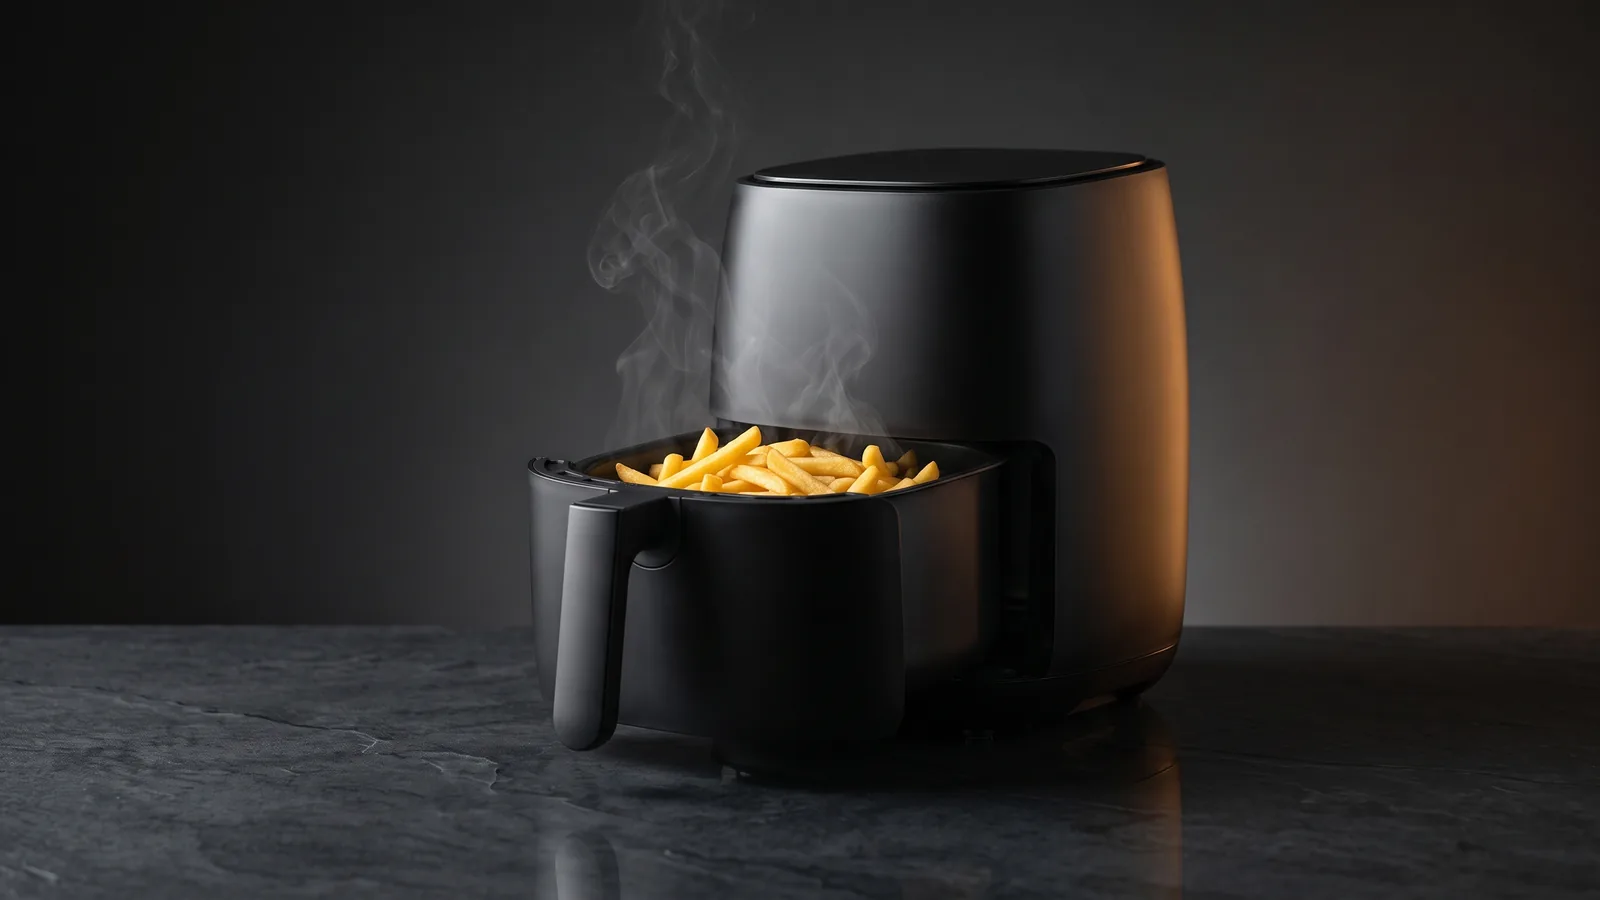
Air Fryer Buyer Report 2026: What 4,381 Owner Reviews Reveal
We analyzed 4,381 verified owner-review mentions across 8 of the most-reviewed air fryers to find what buyers consistently praise and criticize. The headline is unusual: this is an 'it just works' category. Crisping is a solved problem — frying quality was the single most common standout strength — and there is no dominant complaint. The only real fault line is size: buyers who mismatch the capacity to their household are the ones who end up unhappy.
Read →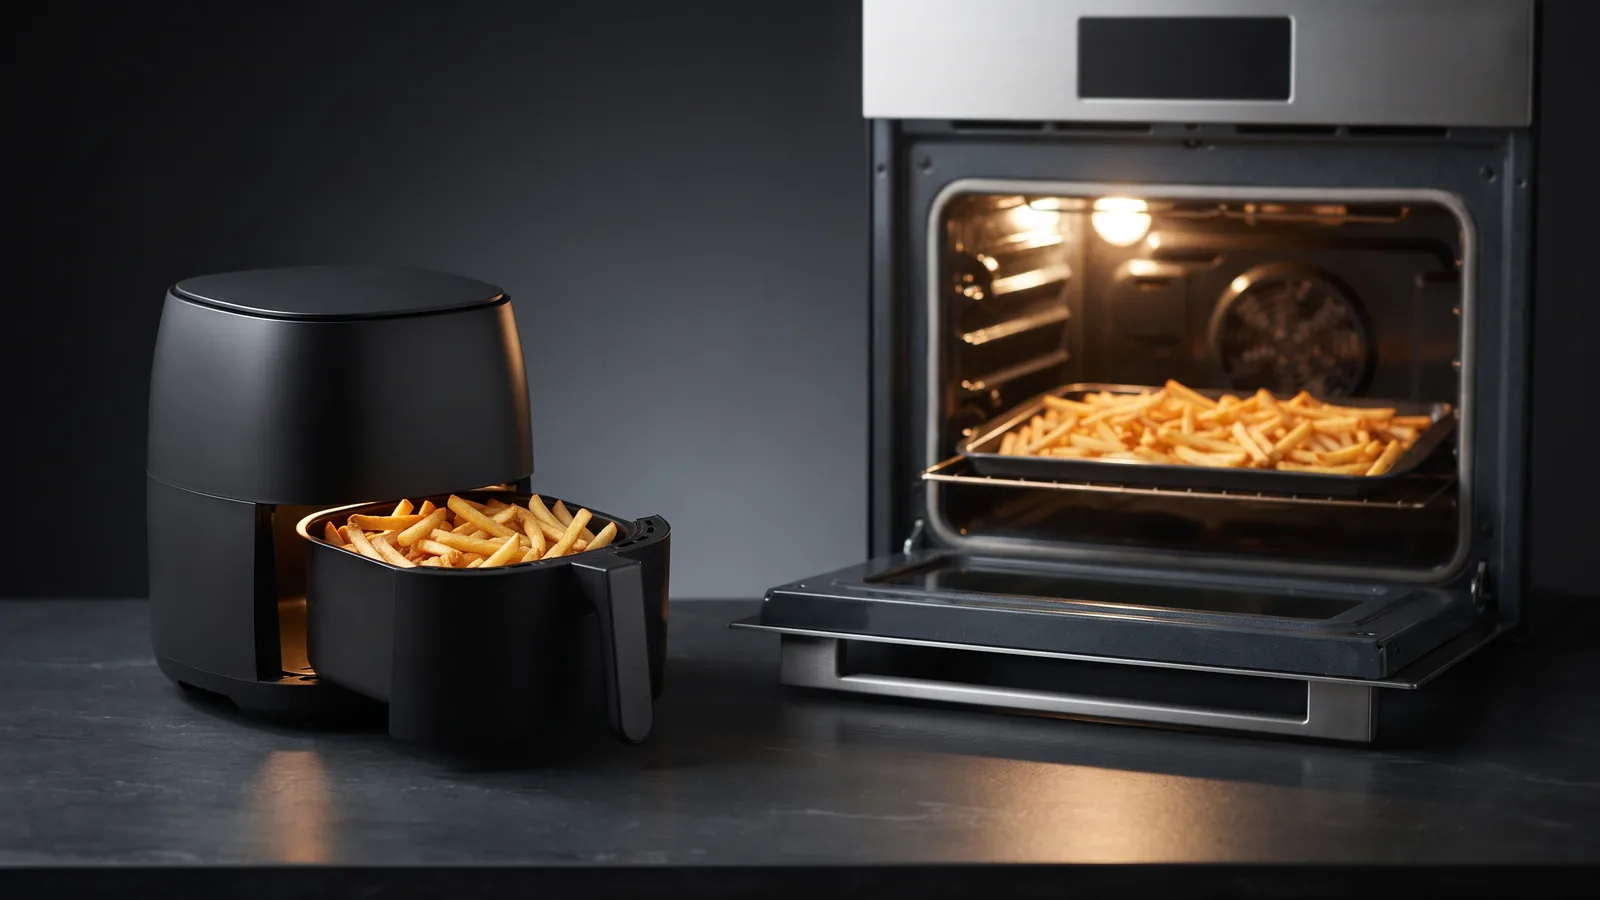
Air Fryer vs Oven: When the Small Box Actually Beats the Big One
An air fryer and a convection oven work the same way — a fan moving hot air — so the real difference is size. The air fryer's small chamber and strong fan preheat fast and crisp small batches better; the oven wins on capacity and even, gentle cooking. If you cook for one or two and crave crispy, the air fryer earns its counter space; if you cook big batches or full meals, the oven still rules. Many kitchens keep both.
Read →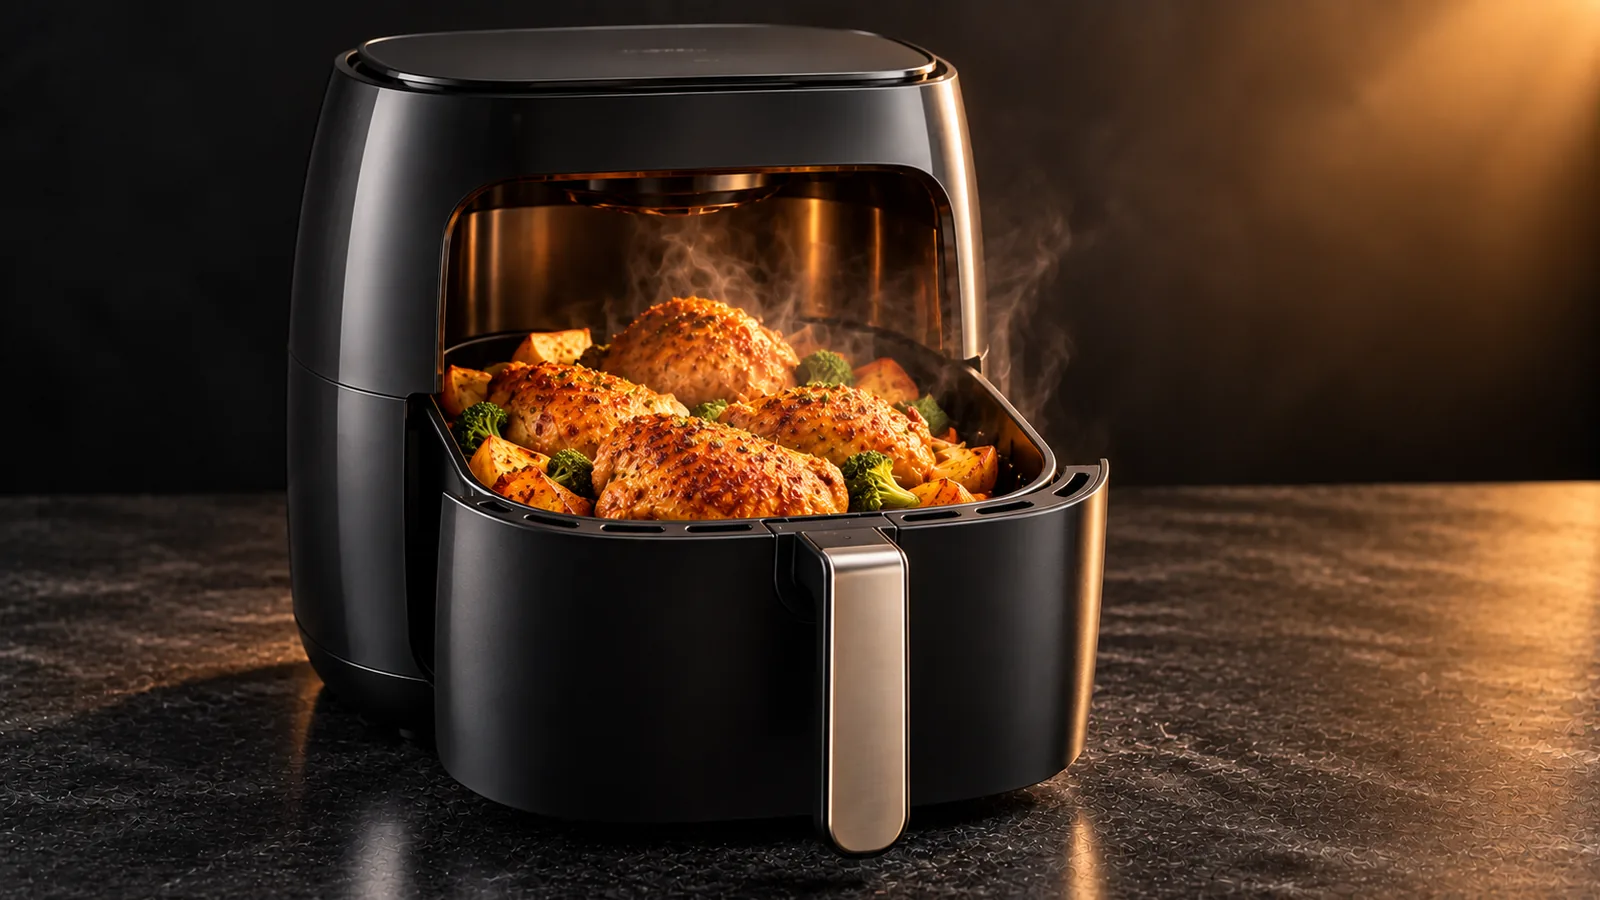
How Does an Air Fryer Work? The Mechanism, Explained
An air fryer doesn't fry — it's a small, powerful convection oven. A heating element and a fan blast hot air (up to about 400°F) around food at high speed, crisping the surface the way frying does but with little or no oil. The compact chamber and strong fan are why it crisps faster and browns better than a full-size oven for small batches. Understanding that it's rapid hot-air circulation, not oil, explains what it's great at and where it struggles.
Read →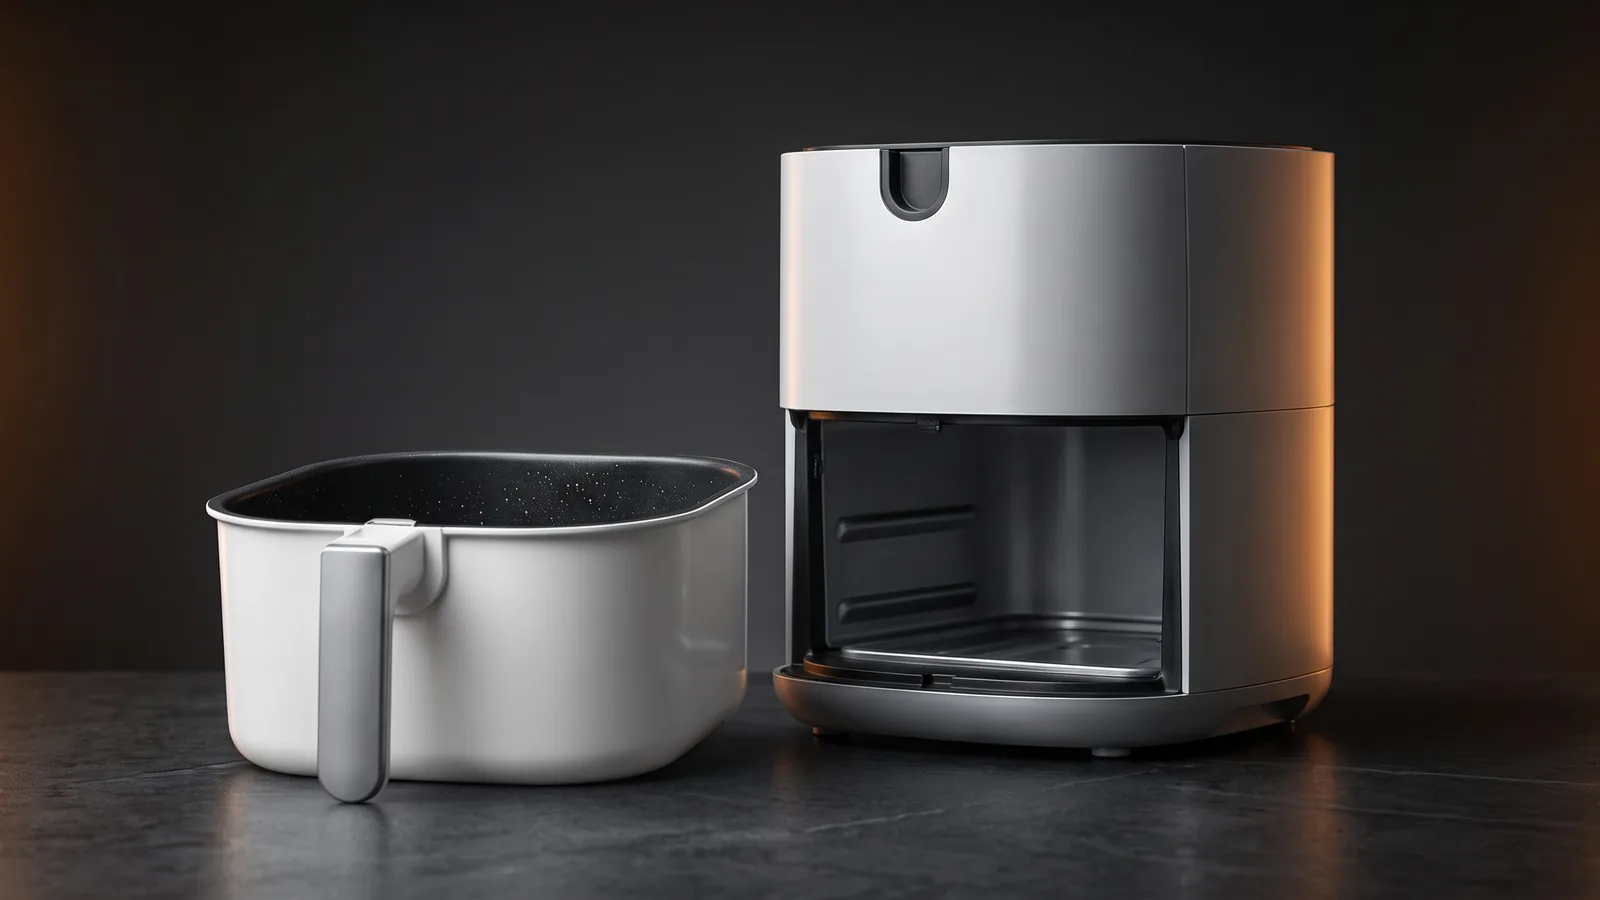
How to Clean an Air Fryer (Without Ruining the Nonstick)
Cleaning an air fryer is quick if you do it often: wash the basket and tray in warm soapy water after each use, wipe the heating element and interior when cool, and deal with baked-on grease with a paste of baking soda, not metal scourers. The two mistakes that ruin air fryers are letting grease bake on until it smokes, and scrubbing the nonstick with abrasives. A soft brush and a light touch keep it working for years.
Read →Stand Mixers
Buying guides and ranked picks grounded in verified buyer data.
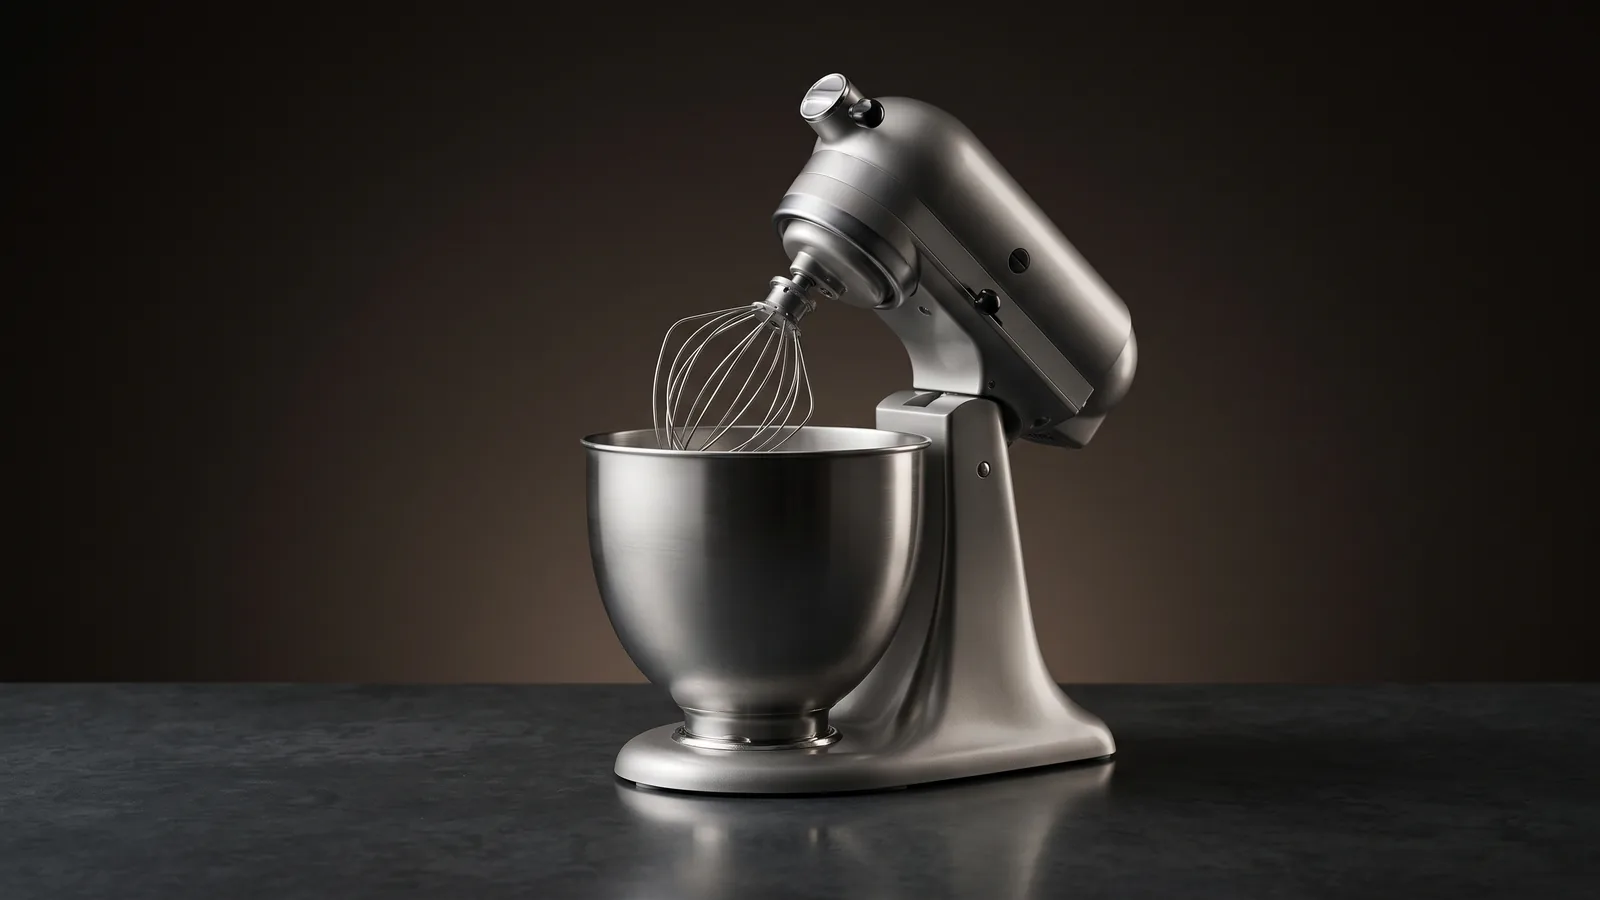
Stand Mixer Buyer Report 2026: What Owners Praise and Criticize
We analyzed verified owner-review mentions across 6 of the most-reviewed stand mixers to find what buyers consistently praise and criticize. Two findings stand out: stand mixers over-deliver on their promises more than almost any appliance we've studied, and they have no dominant complaint. They're also bought as much for looks and gifting as for baking — which reframes the decision around size and which one you'll love owning.
Read →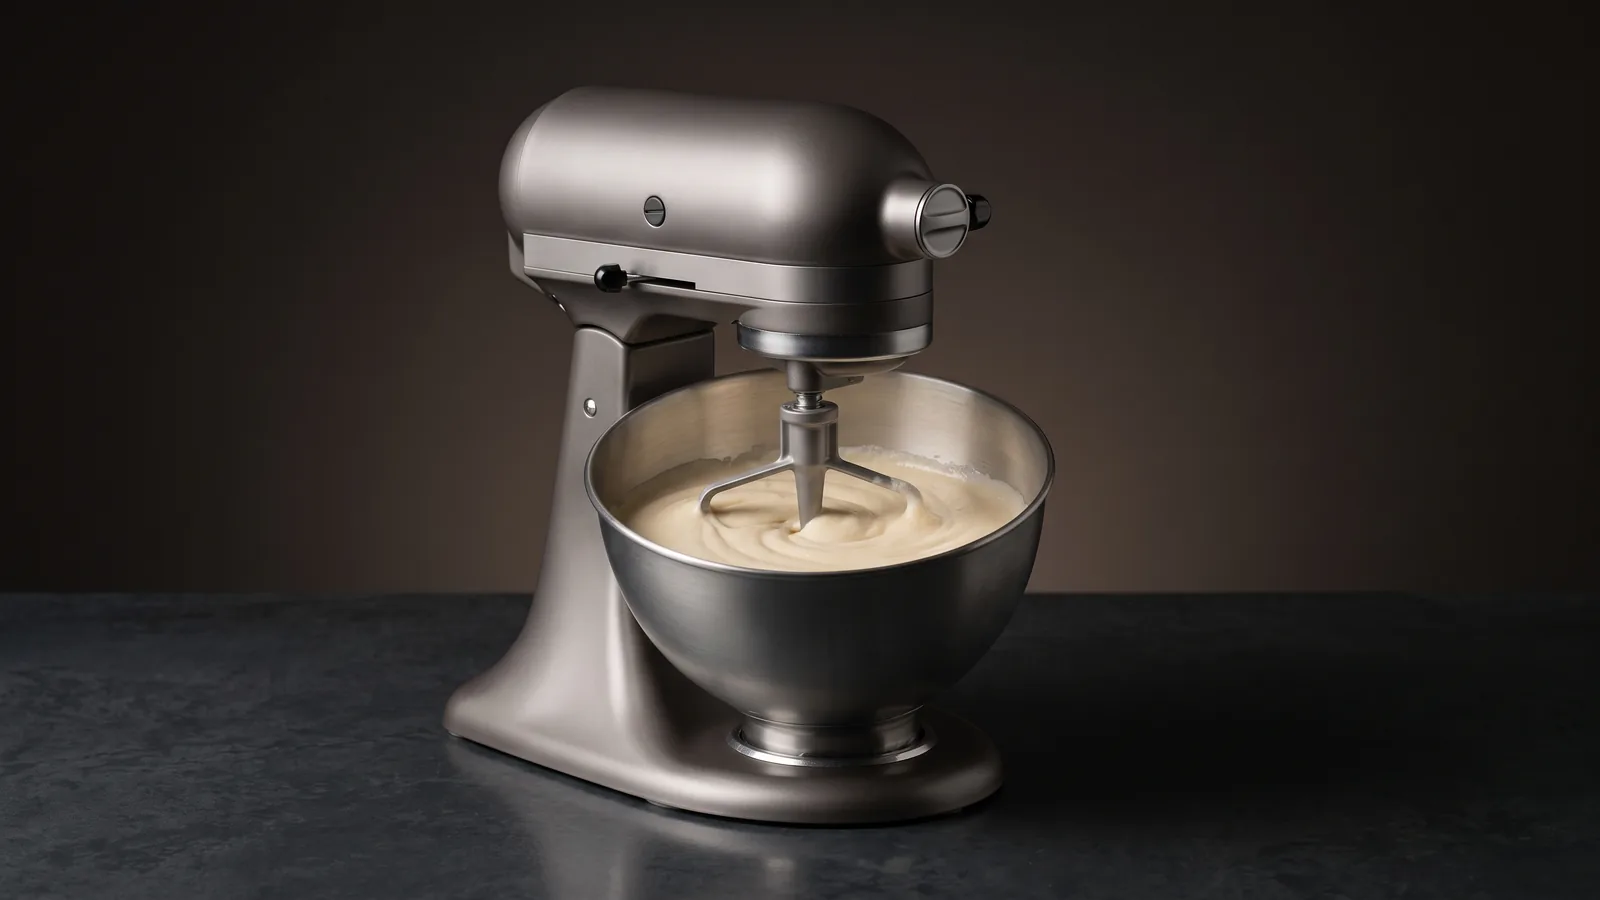
How Does a Stand Mixer Work? The Planetary Action, Explained
A stand mixer works by planetary action: the beater spins on its own axis while also orbiting around a fixed bowl, so it reaches every part of the batter without you moving anything. A powerful motor drives it hands-free, which is why it handles stiff bread dough and long whipping jobs a hand mixer can't. Swap between a flat beater, dough hook, and wire whip for different tasks, and an attachment hub turns it into a whole kitchen system.
Read →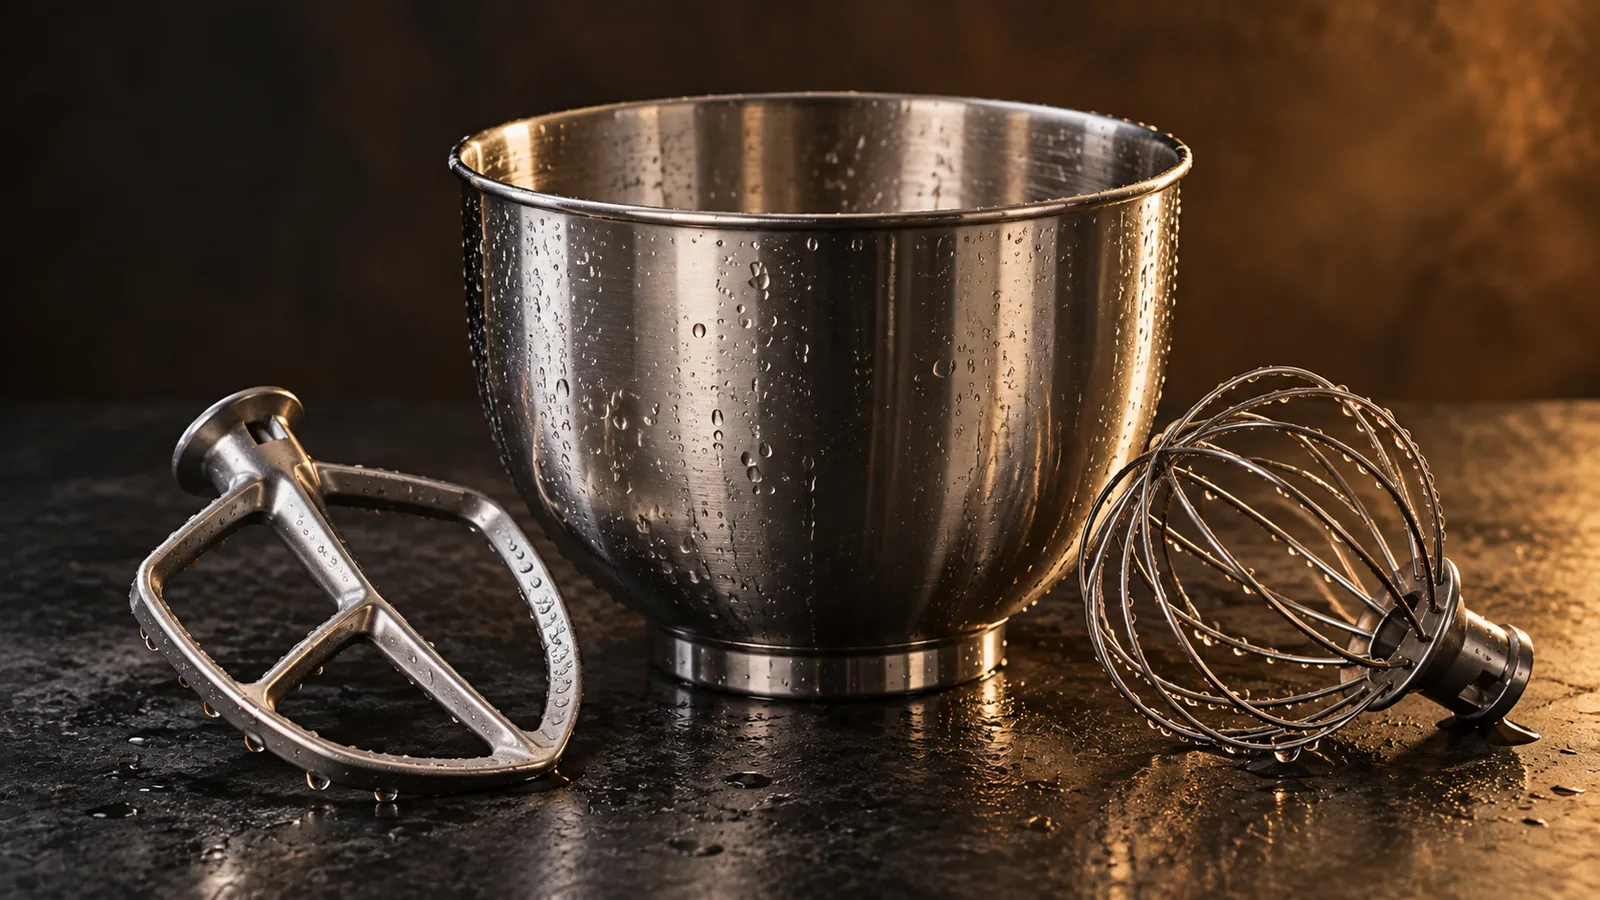
How to Clean a Stand Mixer (Bowl, Beaters, and the Head)
Cleaning a stand mixer is quick: wash the bowl and attachments after each use, wipe the body and the underside of the head where batter splatters, and never submerge the motor. Check whether your attachments are dishwasher-safe — some coated beaters should be hand-washed. A wipe-down after every use and an occasional look under the head keeps it clean and running for decades.
Read →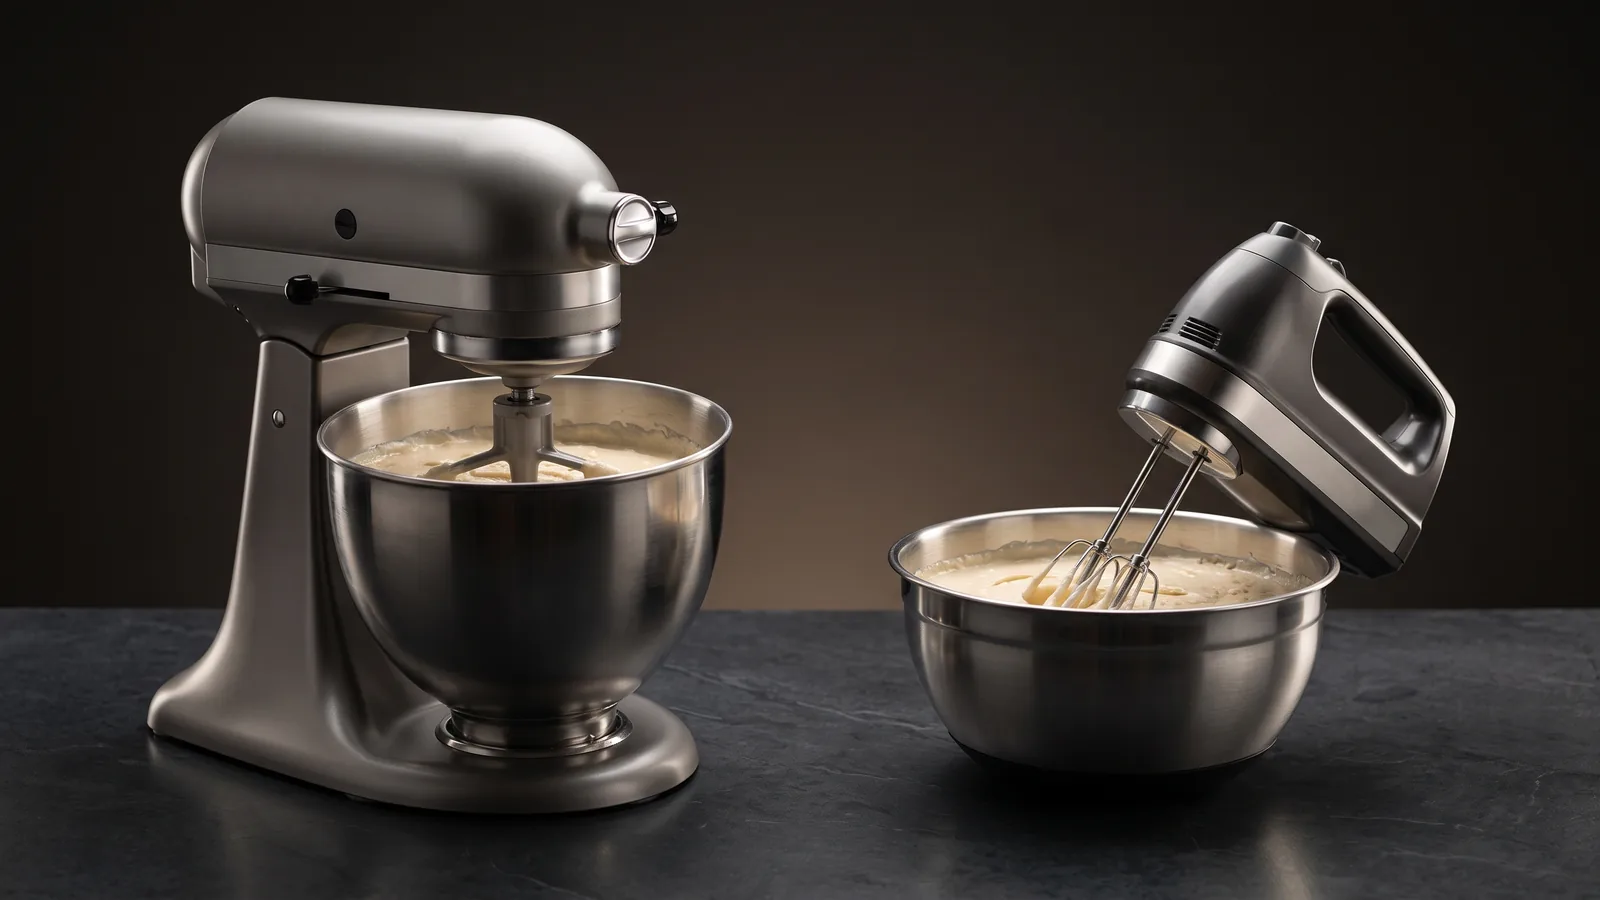
Stand Mixer vs Hand Mixer: Which Do You Actually Need?
A hand mixer is cheap, light, and perfect for occasional light jobs — whipping cream, beating eggs, a batch of cookies. A stand mixer is powerful and hands-free, so it kneads real bread dough and runs long jobs while you do something else. If you bake bread, bake often, or make big batches, the stand mixer earns its counter space and price. If you bake occasionally and light, a hand mixer is all you need.
Read →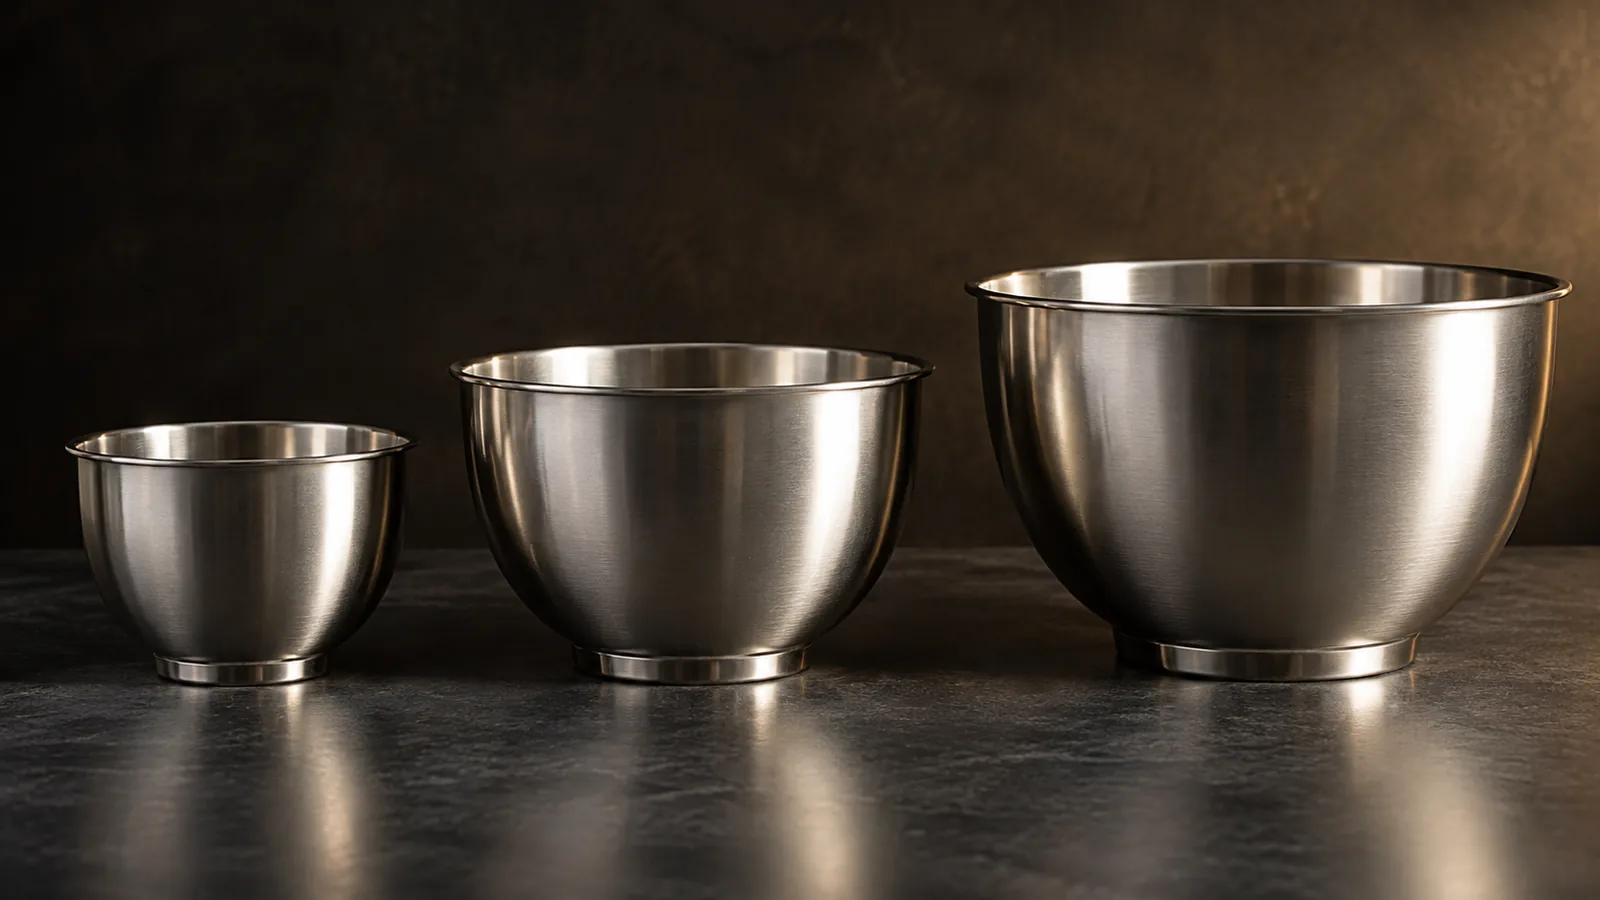
What Size Stand Mixer Do I Need? Quarts by How You Bake (2026)
Stand mixers are sized in quarts, and the right size follows how you bake: 3.5 qt for small kitchens and occasional light baking, 4.5–5 qt for most home bakers (the standard), 5.5–6 qt for frequent bakers and doubled recipes, and 7–8 qt bowl-lift for serious bread and big batches. Bigger isn't automatically better — a large bowl mixes small amounts poorly, so size to the batches you actually make most.
Read →Which KitchenAid Stand Mixer Should You Buy? The Range Compared
For most home bakers, the KitchenAid Artisan 5-quart is the one to buy: the size for most baking, with the full range of attachments. For bread and big batches, the 5.5-quart bowl-lift, which has the deepest owner record in the range. To spend less, the Classic 4.5-quart. For a small kitchen, the Artisan Mini.
Read →Blenders
Buying guides and ranked picks grounded in verified buyer data.
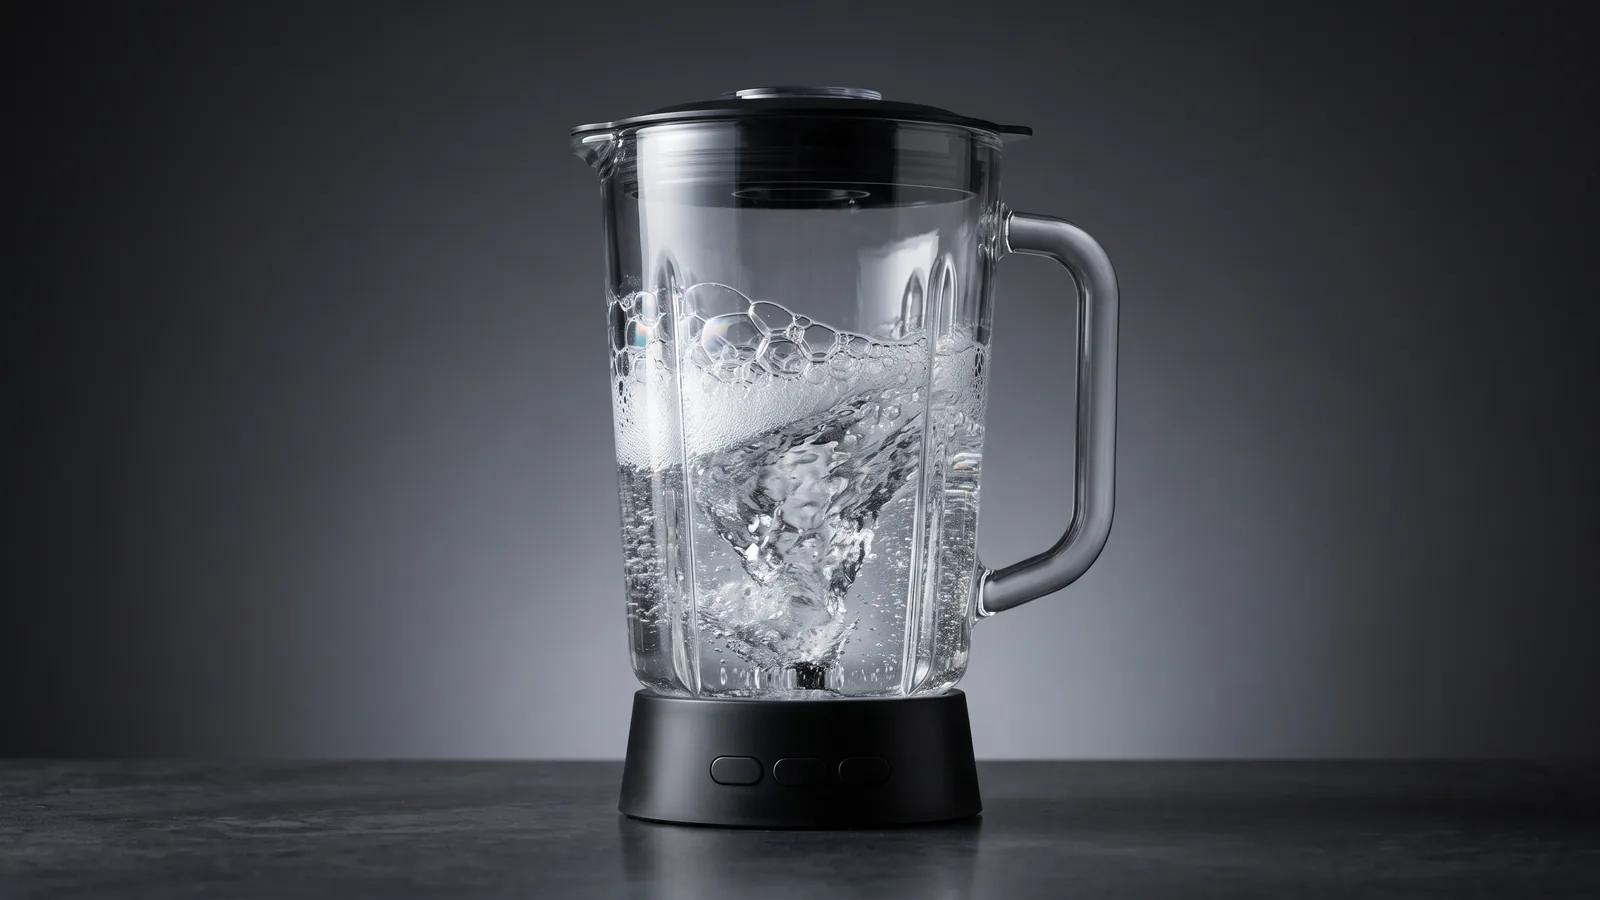
How to Clean a Blender (the 30-Second Self-Clean Trick)
The fastest way to clean a blender is to let it clean itself: fill it a third with warm water and a drop of dish soap, run it for 30 seconds, and rinse. For stuck-on residue, disassemble the blade and gasket and wash by hand. Never submerge the motor base. The two things that keep a blender fresh are cleaning it right after use (before residue dries) and drying it fully so it doesn't smell.
Read →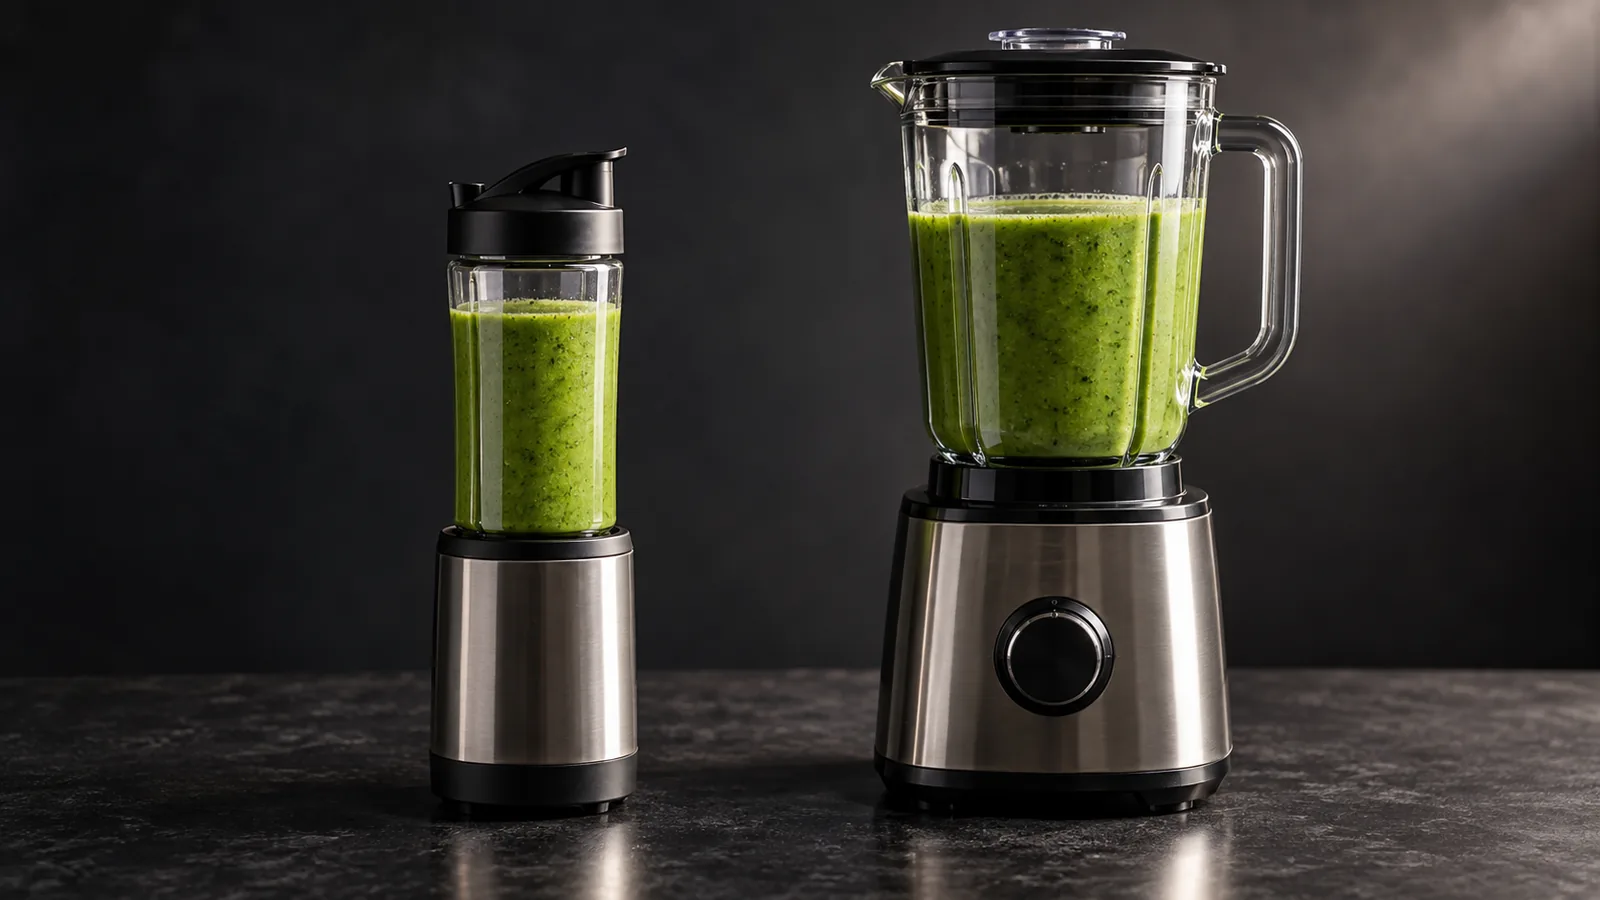
Personal vs Countertop Blender: Which Size Do You Need?
A personal blender makes one blend-and-go serving in a cup you drink from — cheap, compact, and perfect for daily smoothies for one. A countertop blender makes big batches, blends smoother, and handles tough jobs like hot soup and nut butter that a personal blender can't. If you make a single smoothie most days, the personal wins on convenience; if you cook, batch, or blend hard ingredients, the countertop earns its space.
Read →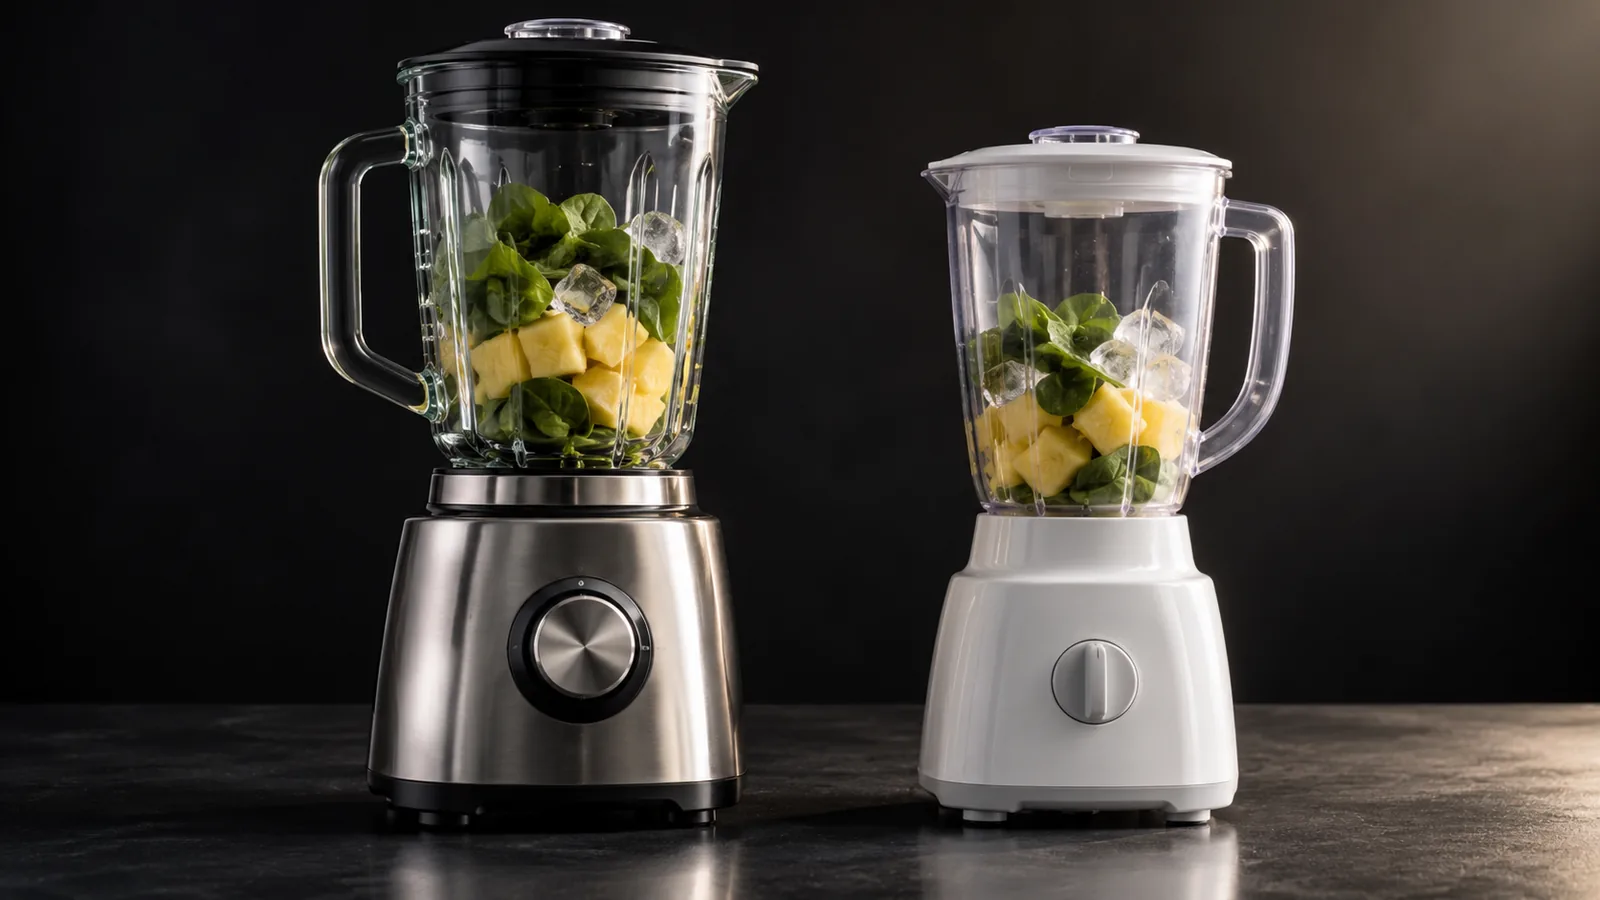
Premium vs Budget Blender: What You Actually Pay More For
A $60 blender and a $500 one both make a smoothie — but not the same smoothie, and not for the same number of years. What the money buys is a stronger, longer-lasting motor that powers through ice, frozen fruit, nut butters, and hot soup without straining, plus better blades, a tamper, and a warranty measured in years. If you blend soft drinks occasionally, budget is fine. If you make tough blends daily, premium pays for itself in results and longevity.
Read →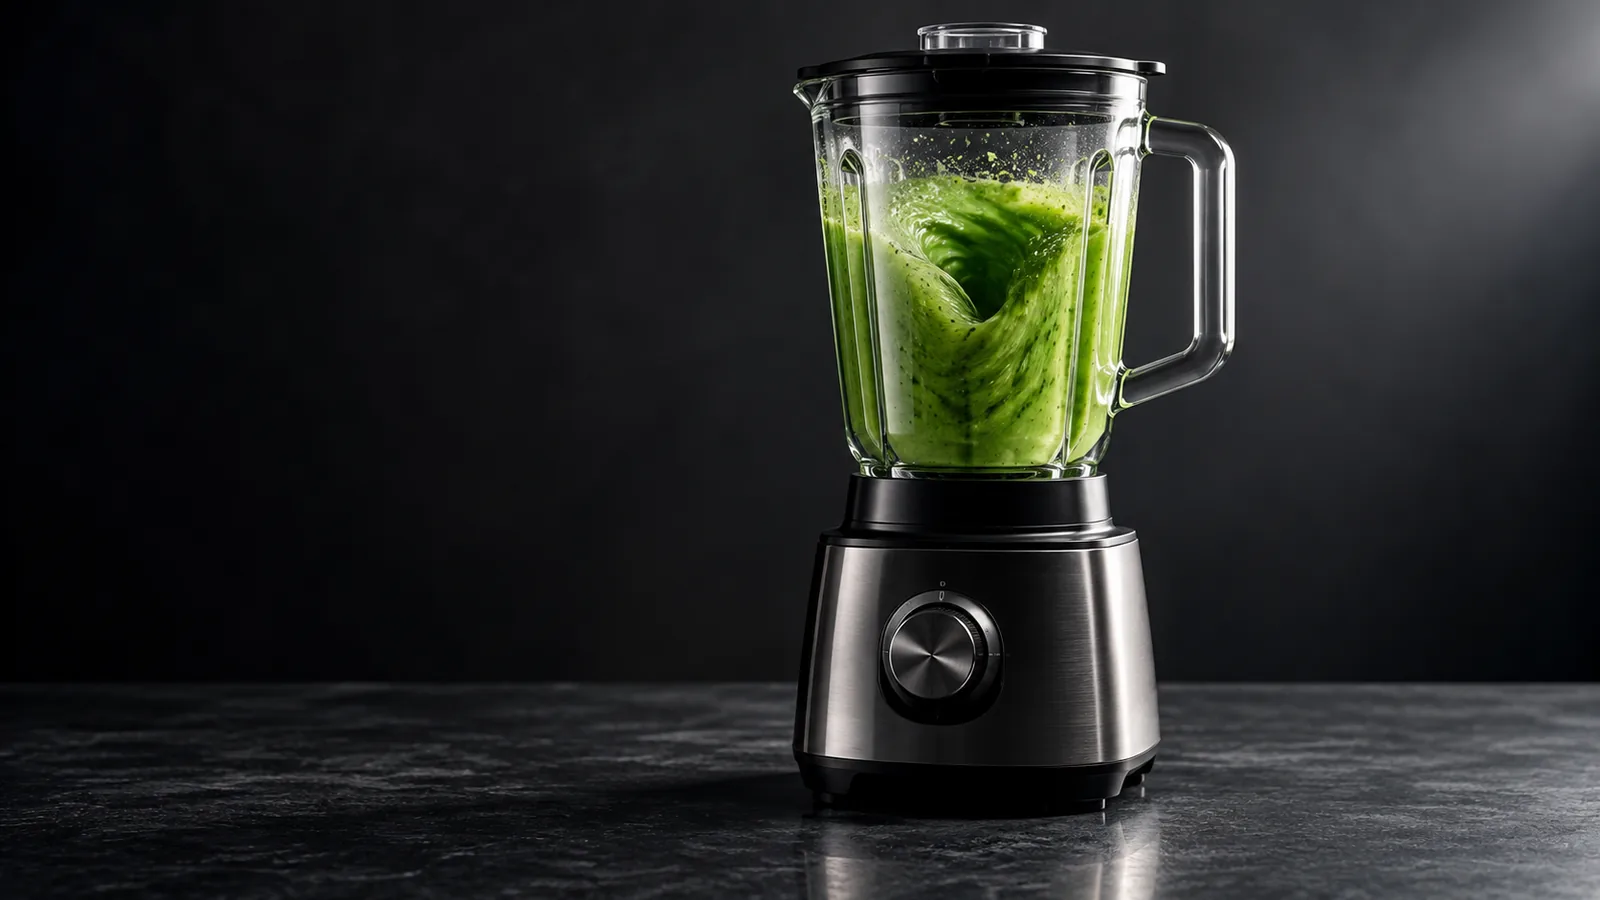
What to Look for in a Blender: The 5 Things That Actually Matter
Choosing a blender comes down to five things: motor power (for ice and frozen fruit), blade and jar design, jar size and material, a tamper for thick blends, and the controls you'll actually use. Wattage matters most for tough jobs — smoothies with ice, nut butters, hot soup — while everything else is about fit and convenience. Ignore preset counts and marketing horsepower; judge a blender by whether it powers through what you actually make.
Read →Which Ninja Blender Should You Buy? The Range Compared
For most kitchens, the Ninja Professional Plus (BN701) is the Ninja blender to buy: a full-size blender with presets and the best owner feedback in the range. For less money, the Professional (BL610). To blend and food-process with one base, the Kitchen System (BL770). For smoothies in the cup you drink from, the Nutri-Blender Pro, or the smaller Ninja Fit.
Read →The Best Blenders: Countertop, Personal, and Glass-Jar Picks
The best blender for most kitchens is the Ninja Professional Plus: a full-size pitcher, strong owner feedback, and a mid-range price. If you blend one smoothie at a time, the Ninja Nutri-Blender Pro is the personal blender owners are happiest with. For a Vitamix, see our separate guide to the range: the owner evidence on individual Vitamix models is thin, and value is their most common complaint.
Read →Noolaguide participates in the Amazon Associates program. When you buy through our links, we may earn a commission at no extra cost to you. Our rankings are not influenced by affiliate relationships. Full disclosure.
How we review →